
80 miles in the Selway-Bitterroot Wilderness
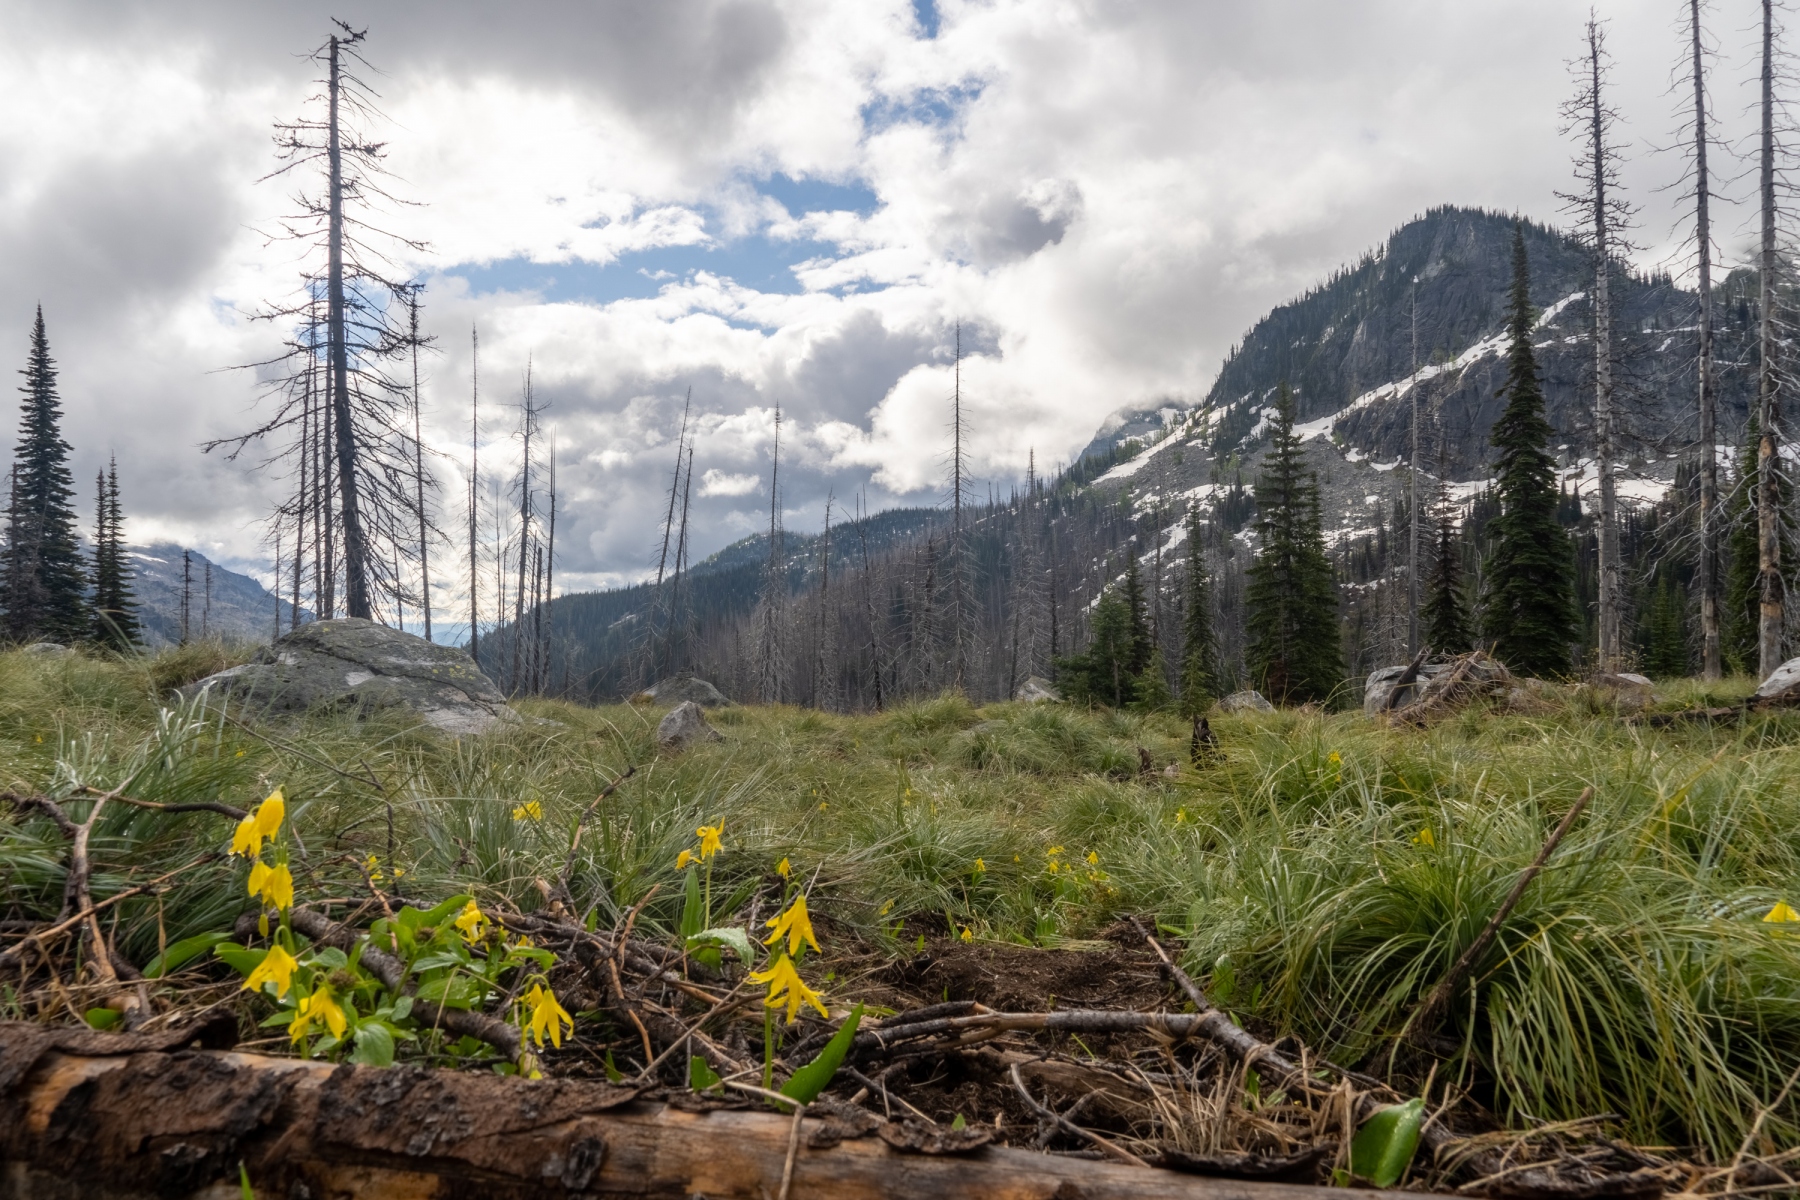
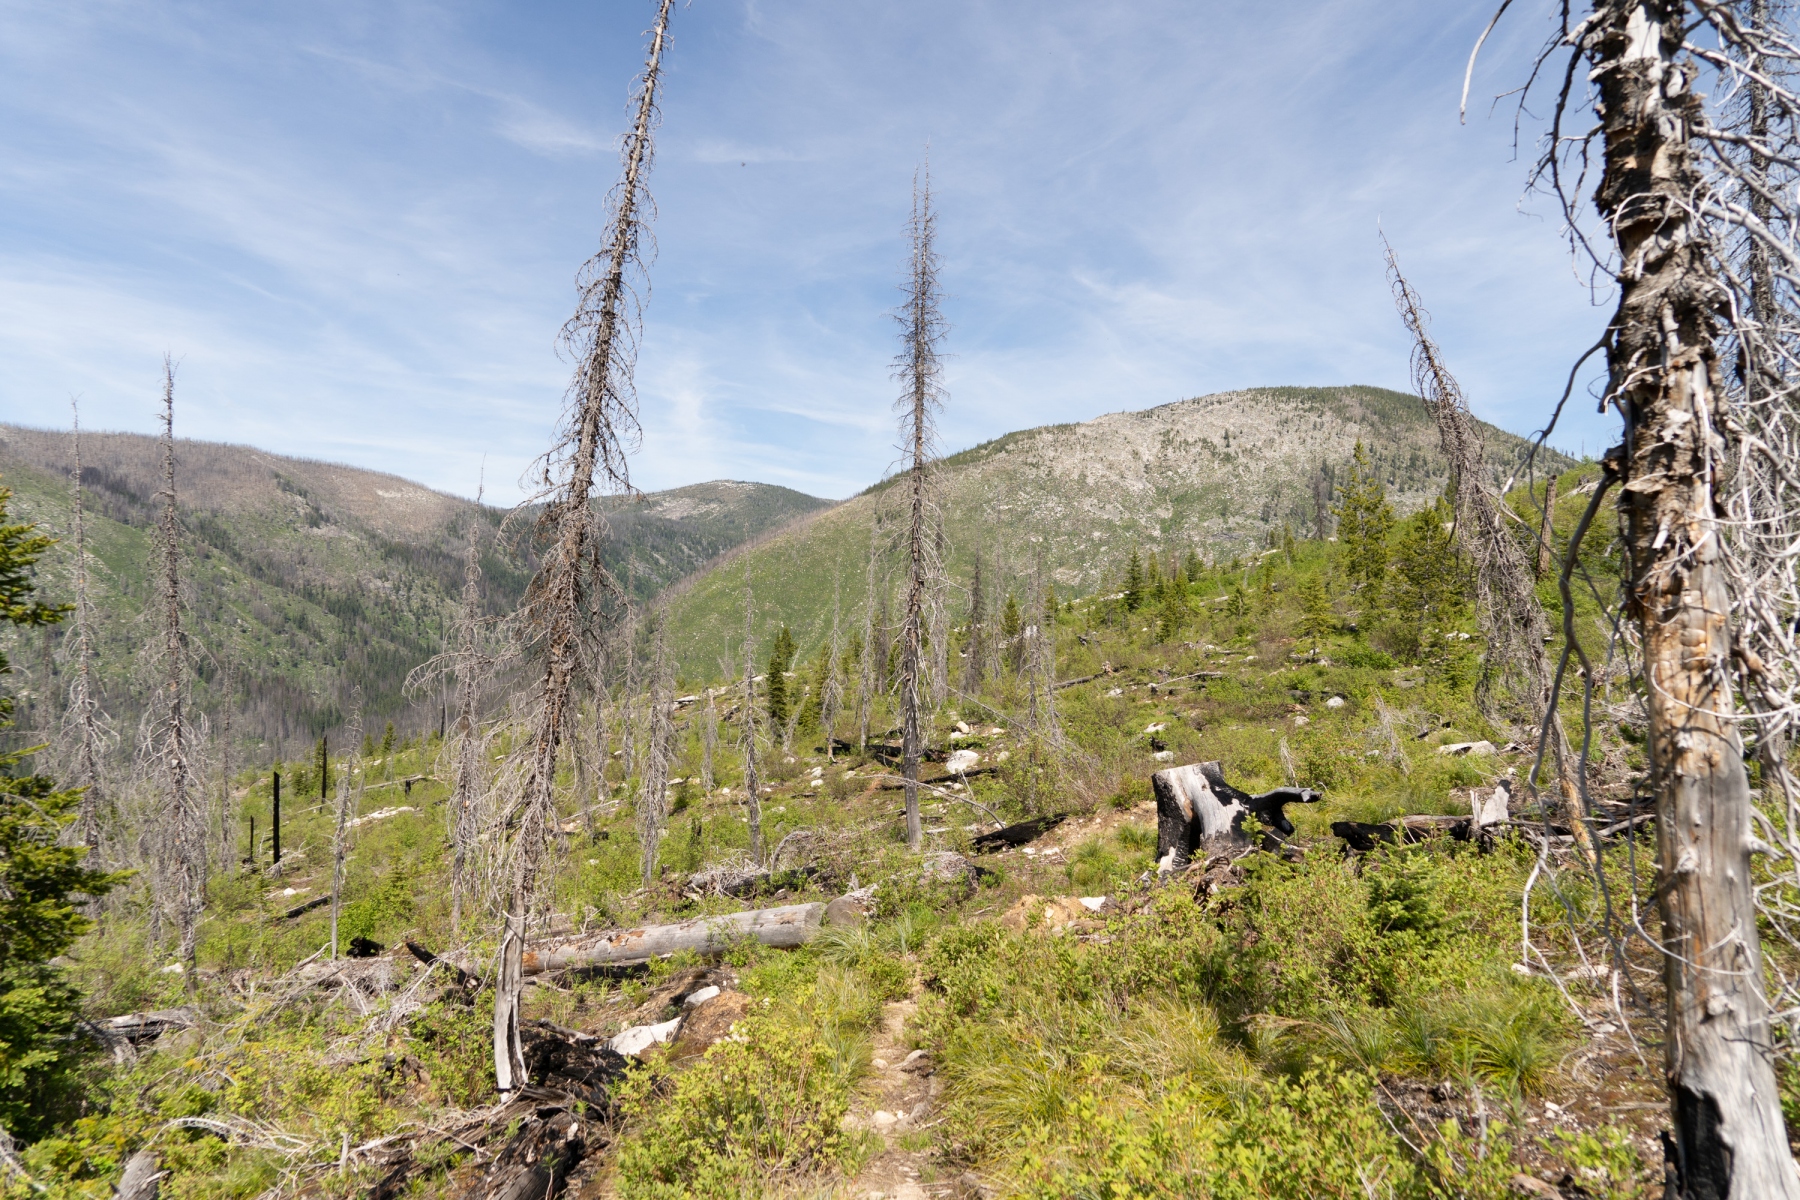
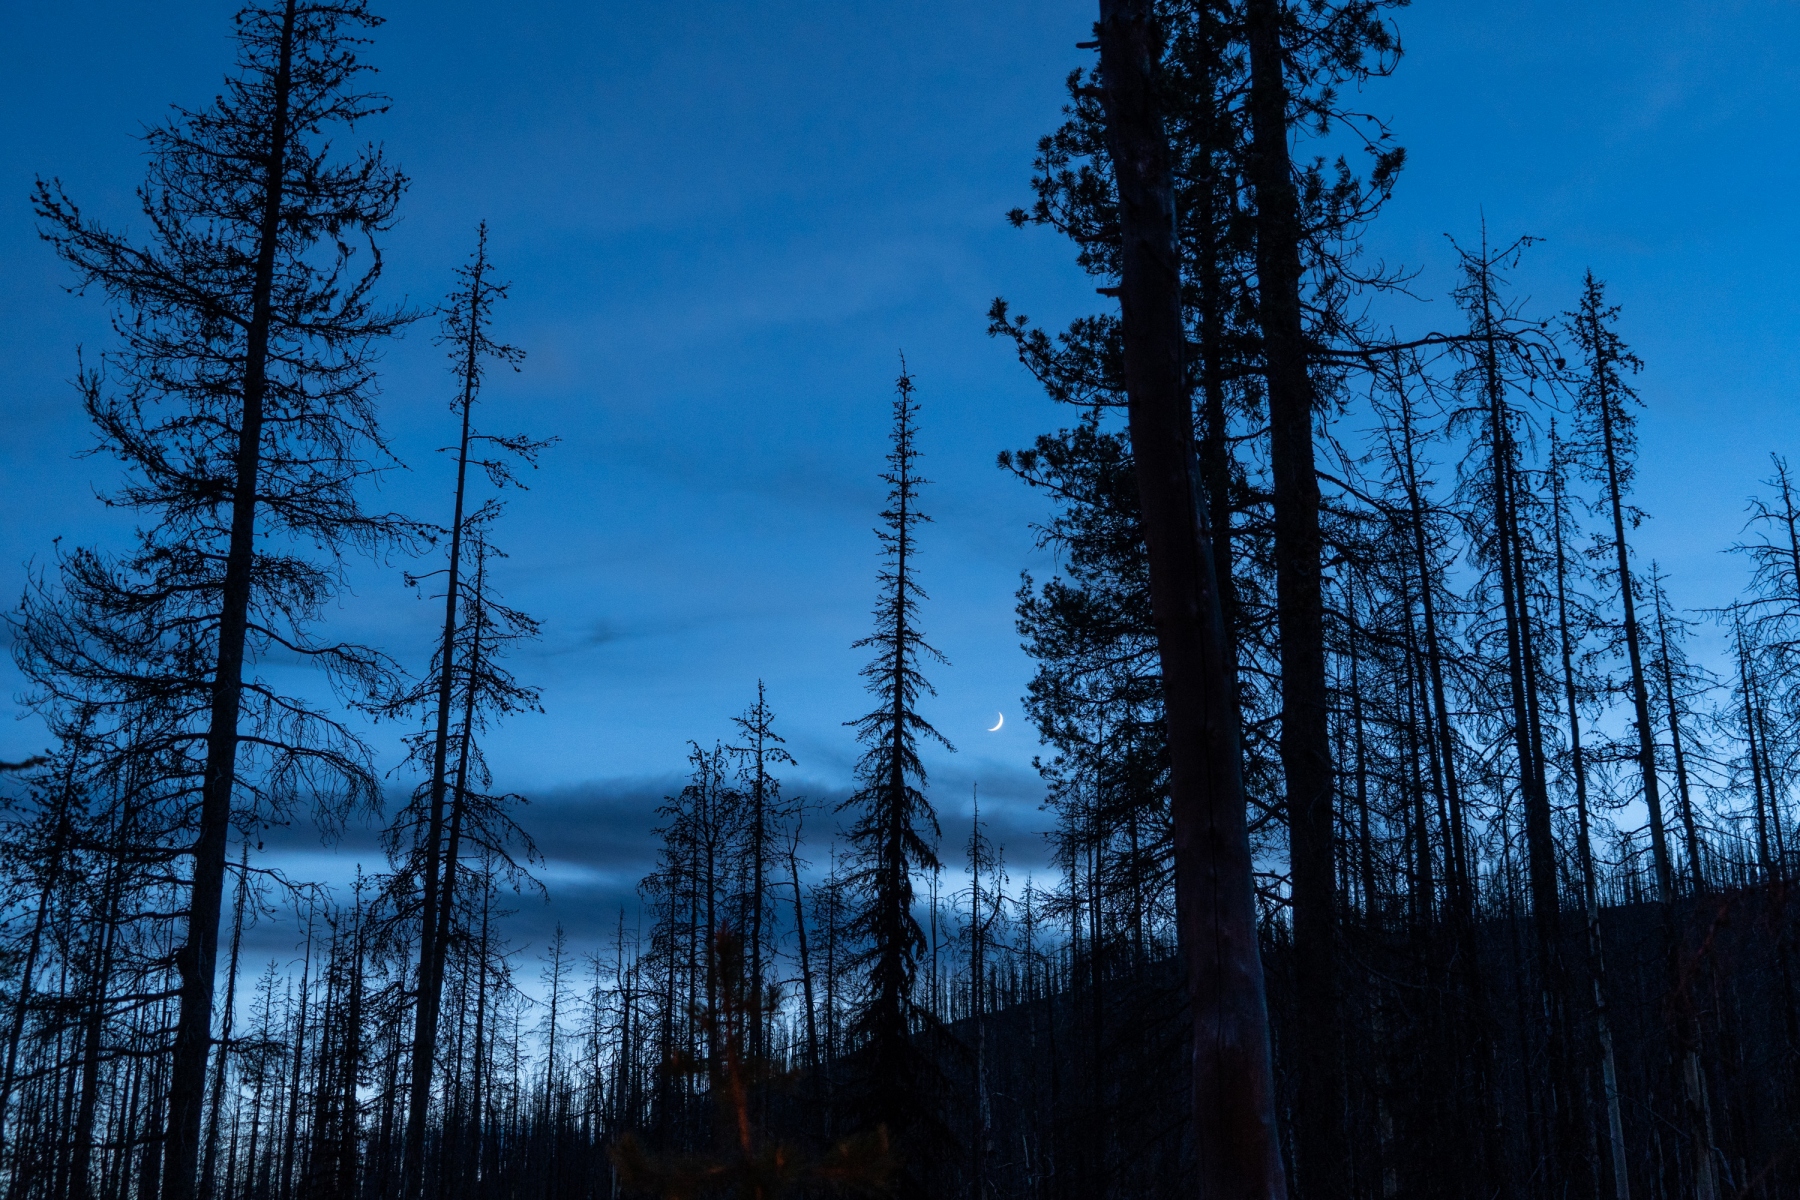
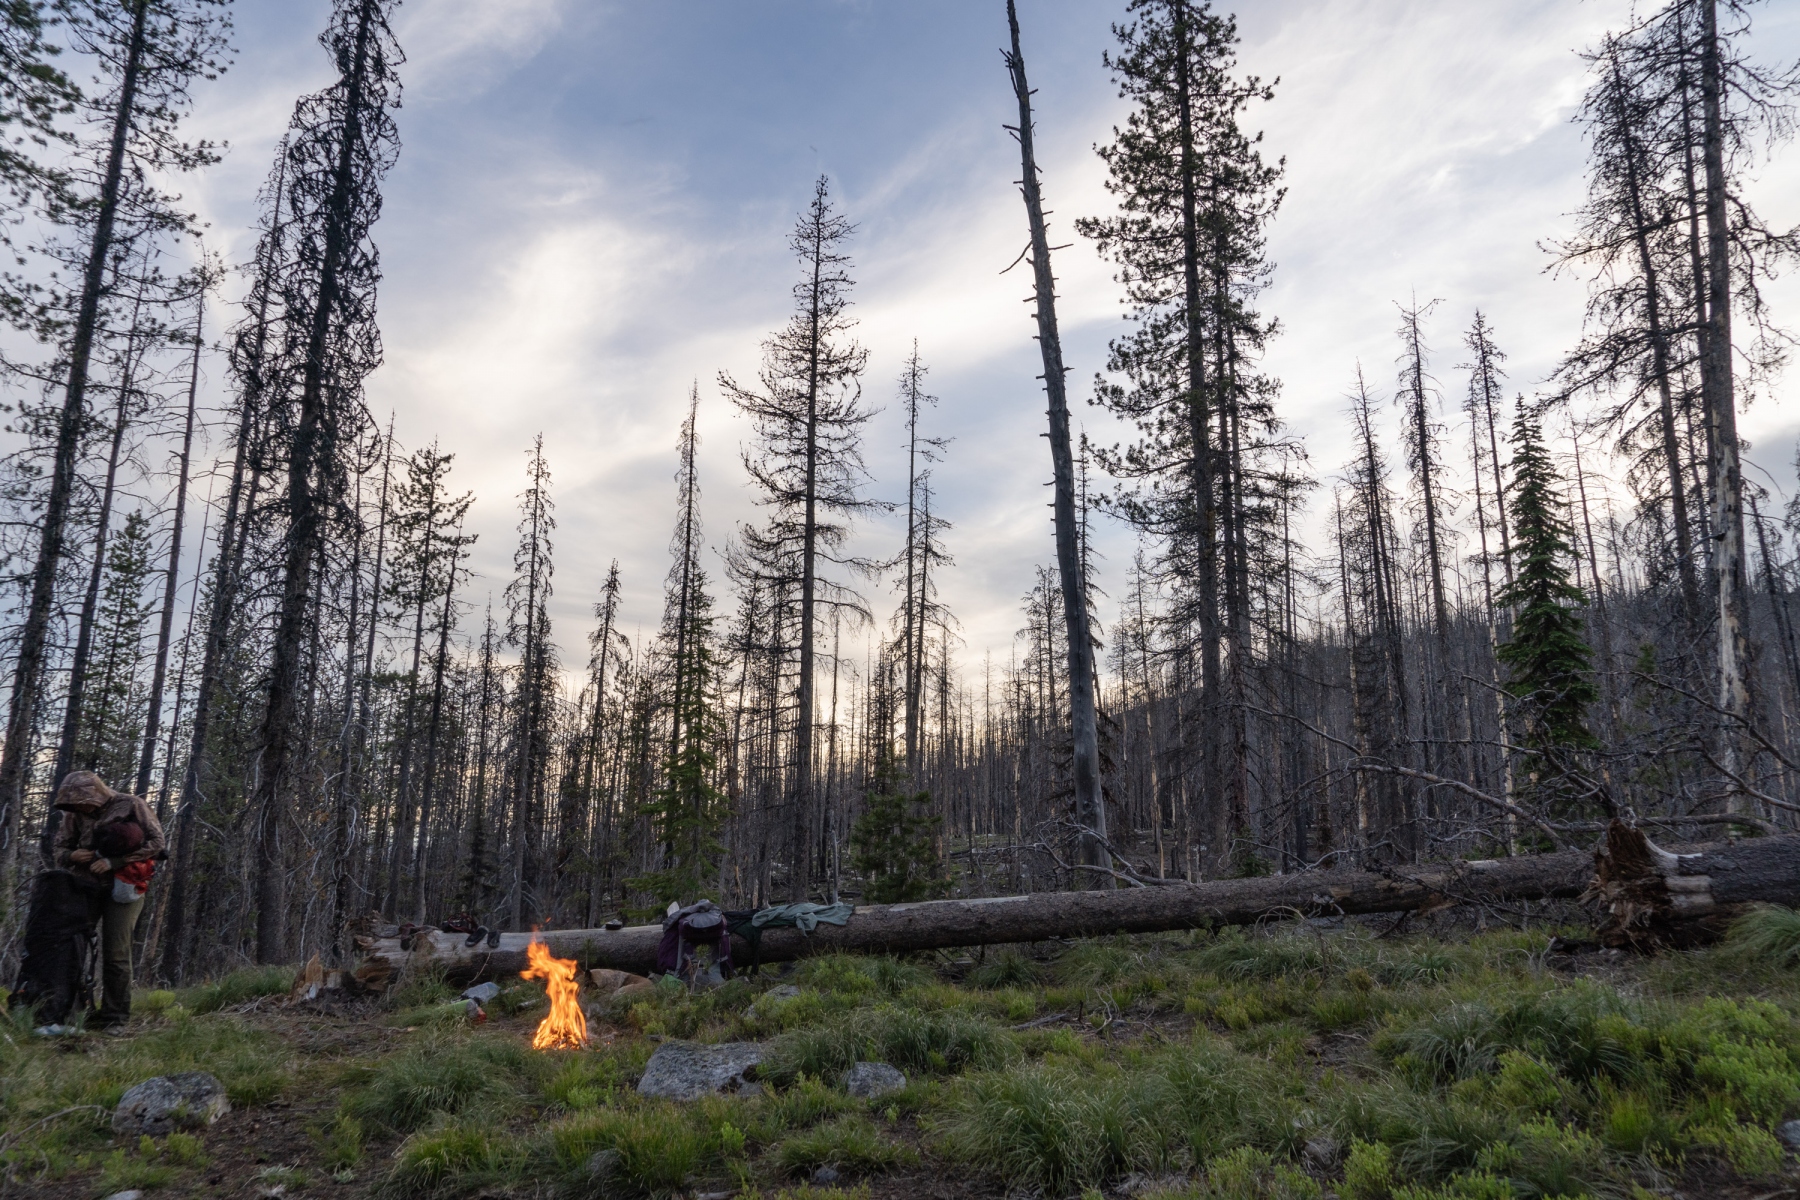
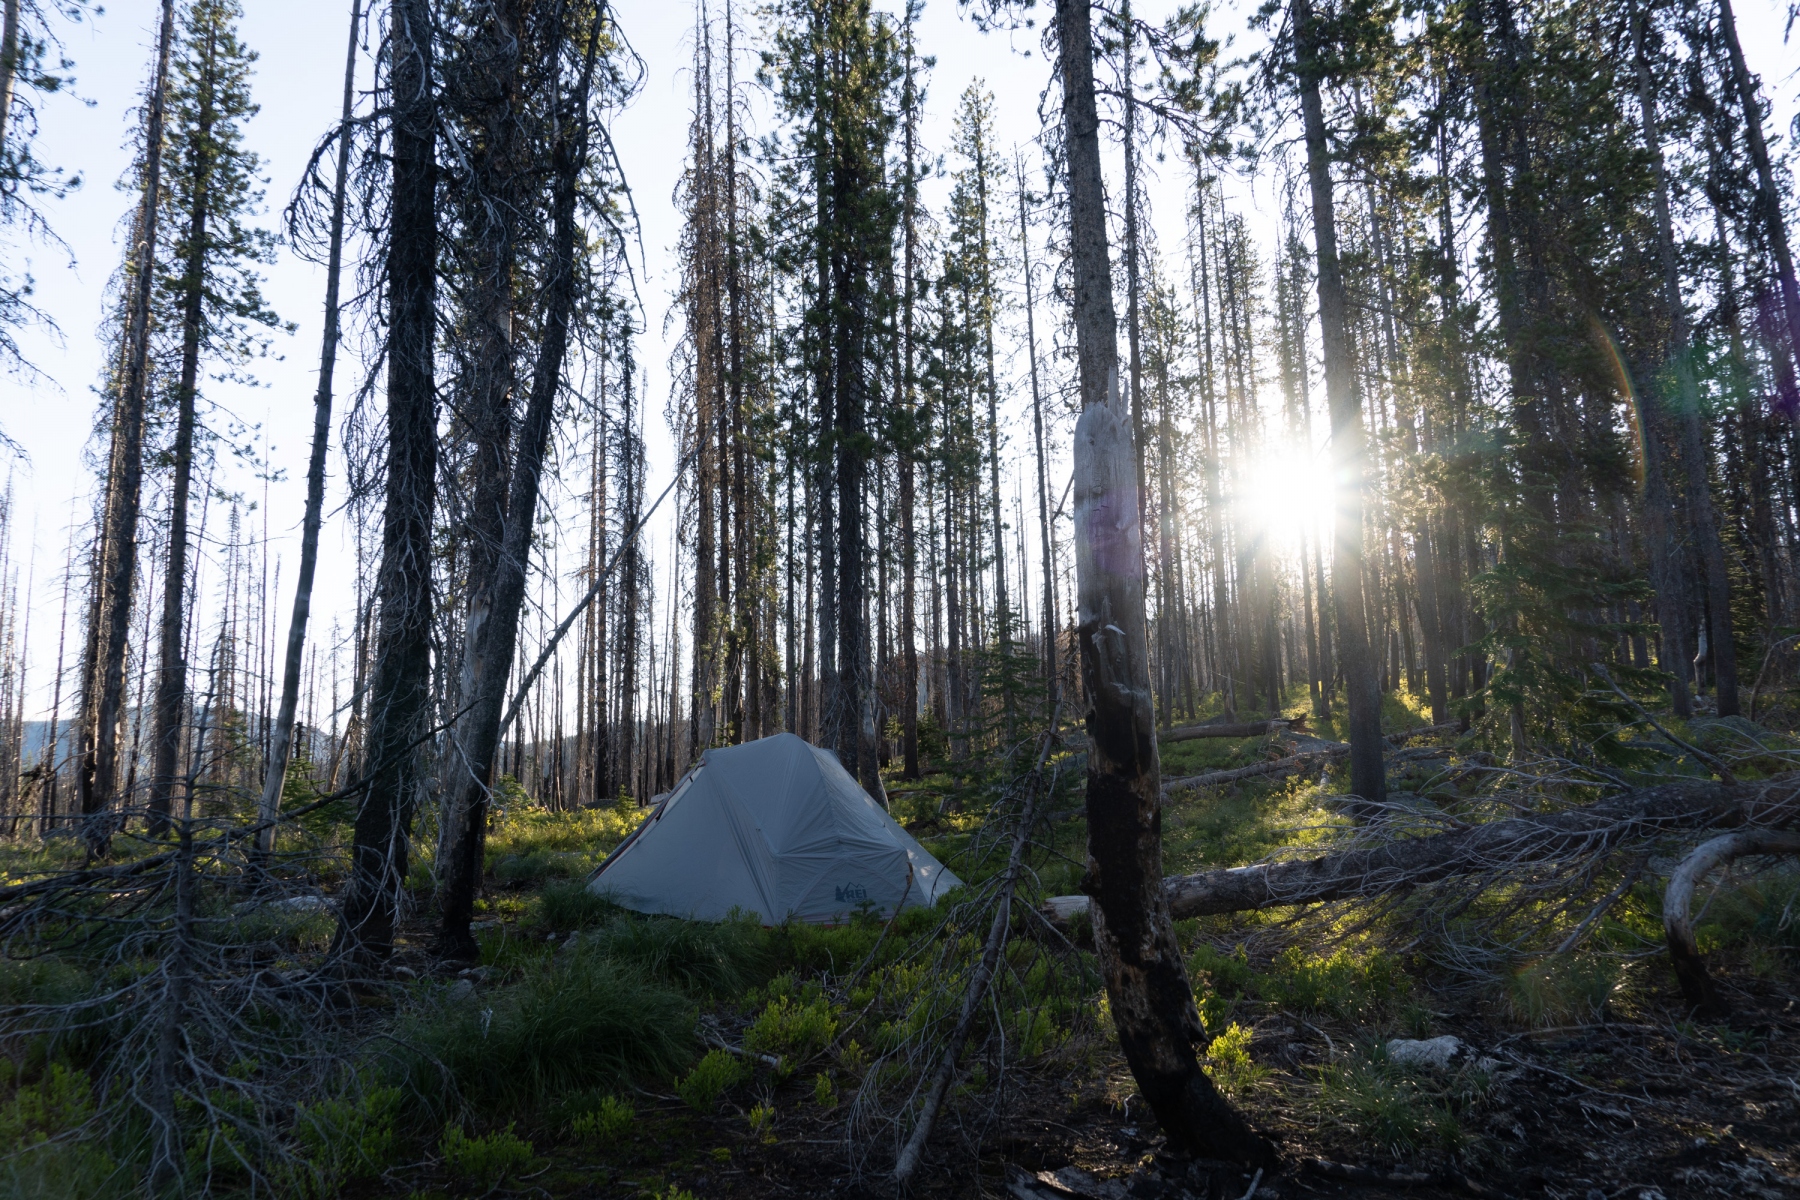
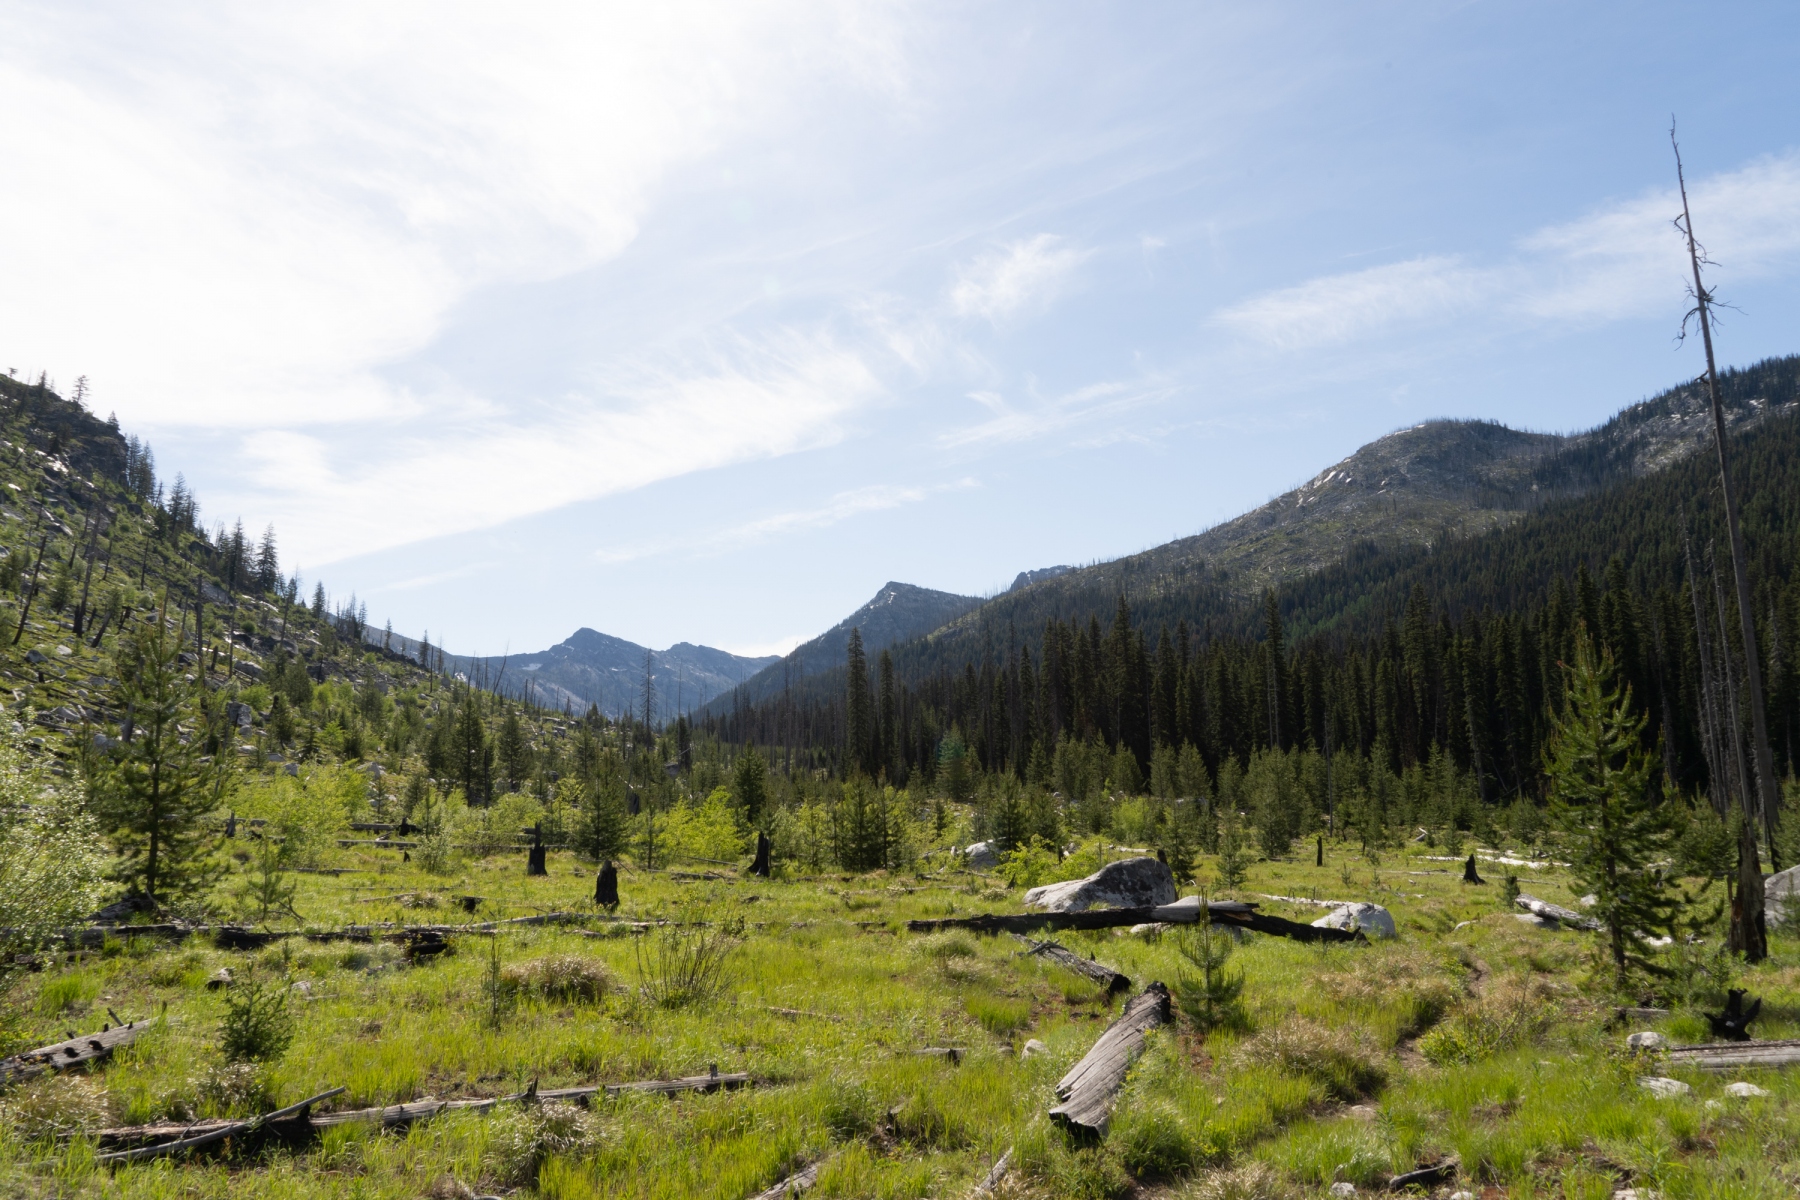
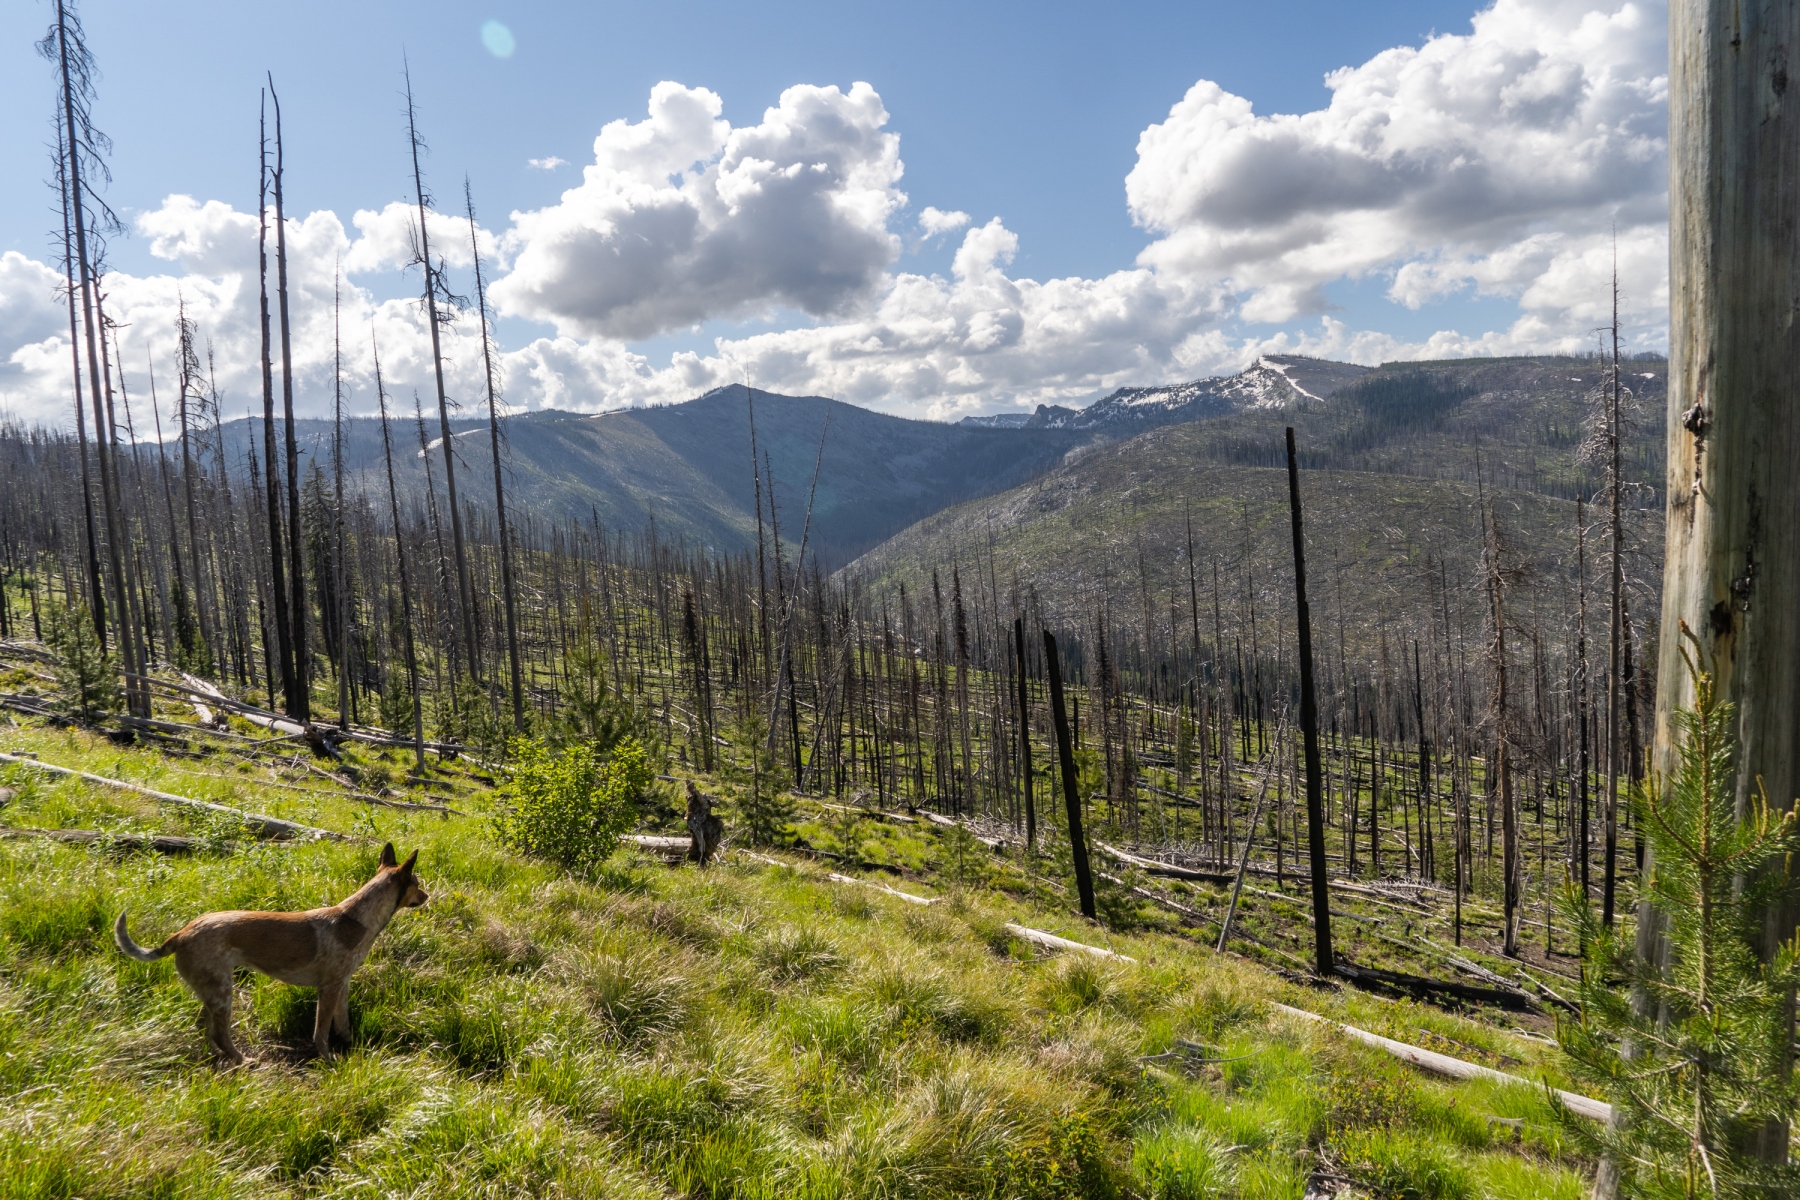
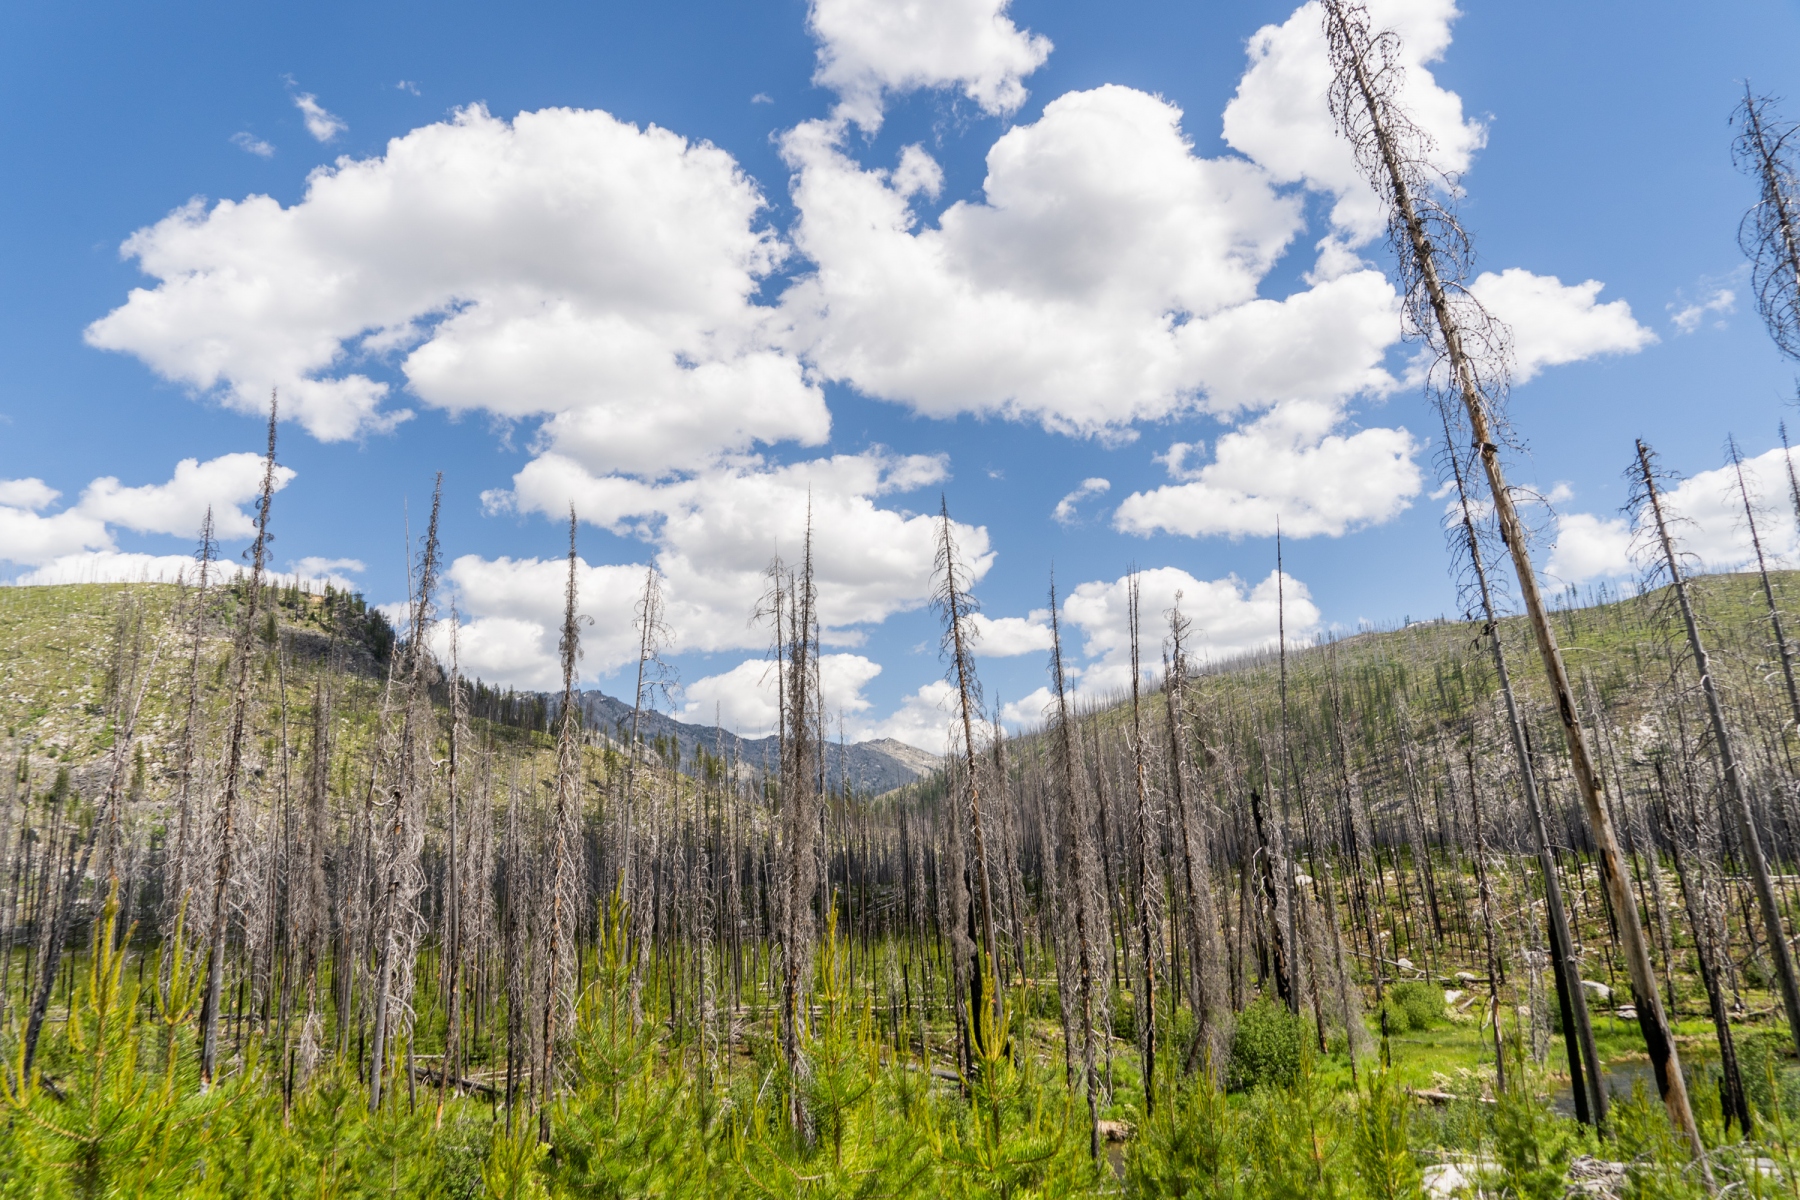
The Selway Bitterroot wilderness is a huge and very remote wilderness area. You'll find plenty of solitude out here as well as a challenging hike. It's so remote that most of the trails are in poor condition, and they will be hard to follow at times. Much of this route has been burned at one time or another. You'll get to see just about every stage of regeneration that the forests go through once they have burned. Unfortunately, the fires have destroyed many sections of the trail, and navigation can be very tricky in these areas. There may be a lot of type 2 fun on this hike. It'll be hard and frustrating at times, but this is a real adventurous backpacking trip. You'll be on your own and way out there.
We hiked it in mid-June which turned out to be too early. There was still a lot of snow to deal with, which forced us to re-route a couple of times to avoid the high elevation areas. There was a lot of snowmelt, too. Most of the trails were flooded, and we had wet feet for the entire hike. Some of the river fords were very intense too. I'll explain the route we took in the day-by-day descriptions, but I'll also explain the ideal route, which is what the map shows.
Difficulty Rating: Hard
Stats
Getting There
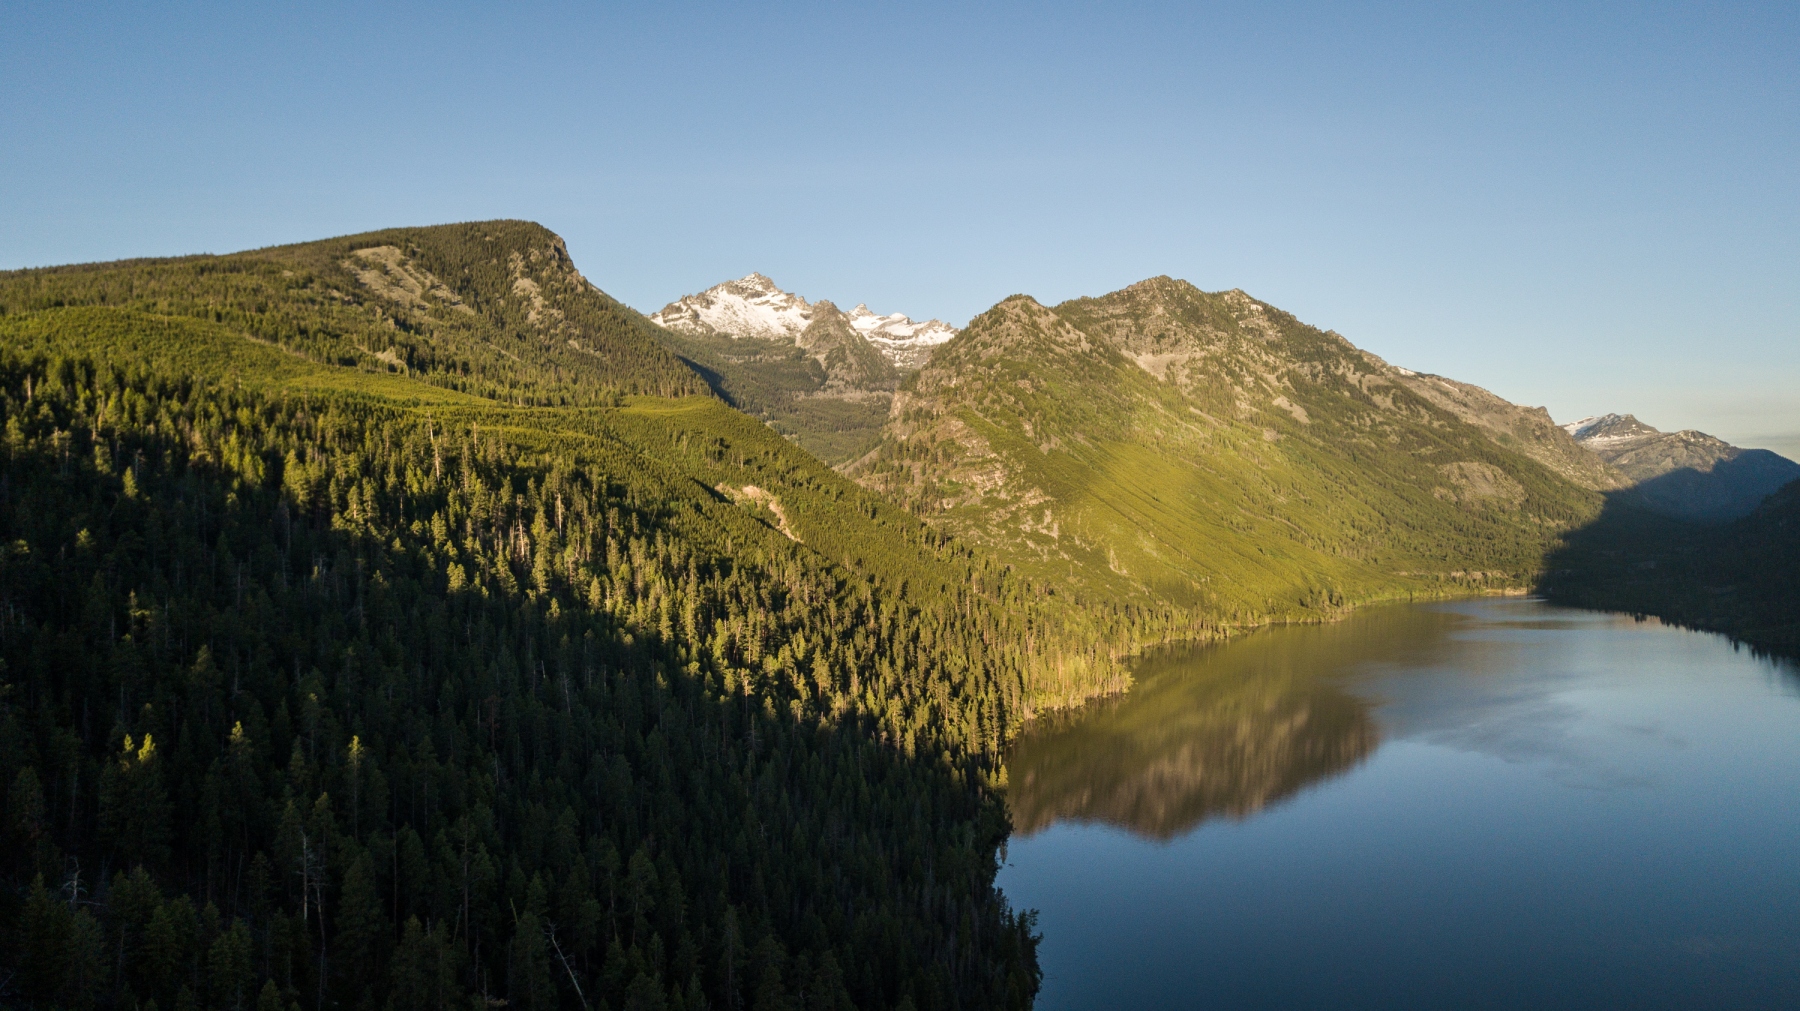
Both ends of the route are at popular trailheads, and any car should make it to them. It doesn't matter which way you go, but we started at the south end and went north, so that's how we'll explain it. We dropped a car off at the Big Creek Trailhead then went to Lake Como. Lake Como is a very popular area. There's a swimming beach and the campground there will likely be full. If you want to camp at the lake before beginning the hike, there are some free National Forest campsites up on the hill on the south side of the lake. Just follow the Lake Como road as it switchbacks up the hill. You can also start the hike from the south side of the lake, which is what we did. We quickly found out that the more southern of the two trails on this side of the lake doesn't exist, though. So if you are starting on the south side of Lake Como, we'd suggest starting on the trail that goes right along the lake.
The Route
Day 1: 13.5 miles
Summary: Long and gradual climb up the valley to Bell Lake.
We followed a nice trail around Lake Como to the west end. At this end, there is a very cool waterfall where the Rock Creek flows into the lake. This is a good place to hang out or set up camp. Then it's a long and relatively uneventful hike up the valley to Elk Lake. Another great place to camp and there are a few campsites to choose from. From Elk Lake, the trail is less traveled, and it may be a little overgrown and harder to follow as you make your way up to the pass just before Bell Lake. Bell Lake is a good place to camp, too, although there aren't as many options to choose from for campsites. We found a nice spot on the peninsula on the east side of the lake.

Day 2: 10.8 miles
Summary: Allow plenty of time for bushwhacking and scree walking in the morning, low mileage but high difficulty day.
We took a different route than what the map shows. We'll explain our route first, then explain why the map shows a different route.
We planned on continuing west on the Paradise Creek trail 522, but there's a burn area west of Bell Lake destroyed. We were able to pick it up very intermittently between Bell Lake and Paradise Creek. After crossing Paradise Creek, the burn area ends, but so does all hope of following the trail. The forest is thick, and it looks like the trail hasn't been maintained in well over a decade. Our pace slowed down to about half a mile an hour in the frustrating brush. We decided to give up on trying to follow the trail and shortcutted up over the ridge to the north. That involved about a 1,500-foot climb up the talus-covered slope then a 1,600-foot descent down the other side to meet up with the Spruce Creek trail 559. The talus was loose and dangerous in places; progress was slow and somewhat stressful. That adventure took so long we could only make it to Spruce Lake by dark.
To avoid that whole situation, we made the route go over the ridge directly from the pass by Bell Lake. There will still be some off-trail scree walking involved, and you should allow plenty of time to pick your way through the loose rock. It should be much faster and less frustrating than what we had to do, though. You're already on the pass so, there is much less elevation gain to do. From the Bell Lake pass, head directly north, picking the best route you can find up the mountain. Keep in mind that you will be going right (east) once you reach the ridge. Once on top of the ridge, follow it east for about .7 miles. When you reach a big incline in the ridge, leave it and go north (downhill). There should be a section of scree that is not forested that you can follow to the north and northwest. Follow this scree until you are just below the unnamed lakes. You may never actually see the lakes because the hill in front of you will obscure them. There, it will become grassier, and you can follow the natural drainage all the way downhill to the west and northwest. Keep going about 1 mile until you intersect with the Spruce Creek Trail 559 after crossing Spruce Creek.
Now that the hard part is over you'll be on the trail the rest of the time. Spruce Creek Trail will take you past Spruce Lake, a good place to camp, then over a pass. It continues to take you to the Bear Creek Pass Campground, an established National Forest Campground that is not free. Then you will have some road walking to do on forest road 429. At the fork, turn left to take Twin Lakes Road 5605. When you arrive at Lower Twin Lake there's another National Forest Campground, called Shumaker Campground. To camp for free, continue up the road to Upper Twin Lake. It's a little more secluded and you can find a great place to camp.
Day 3: 13.5 miles
Summary: Climbing over two passes in between long forested valley walks.
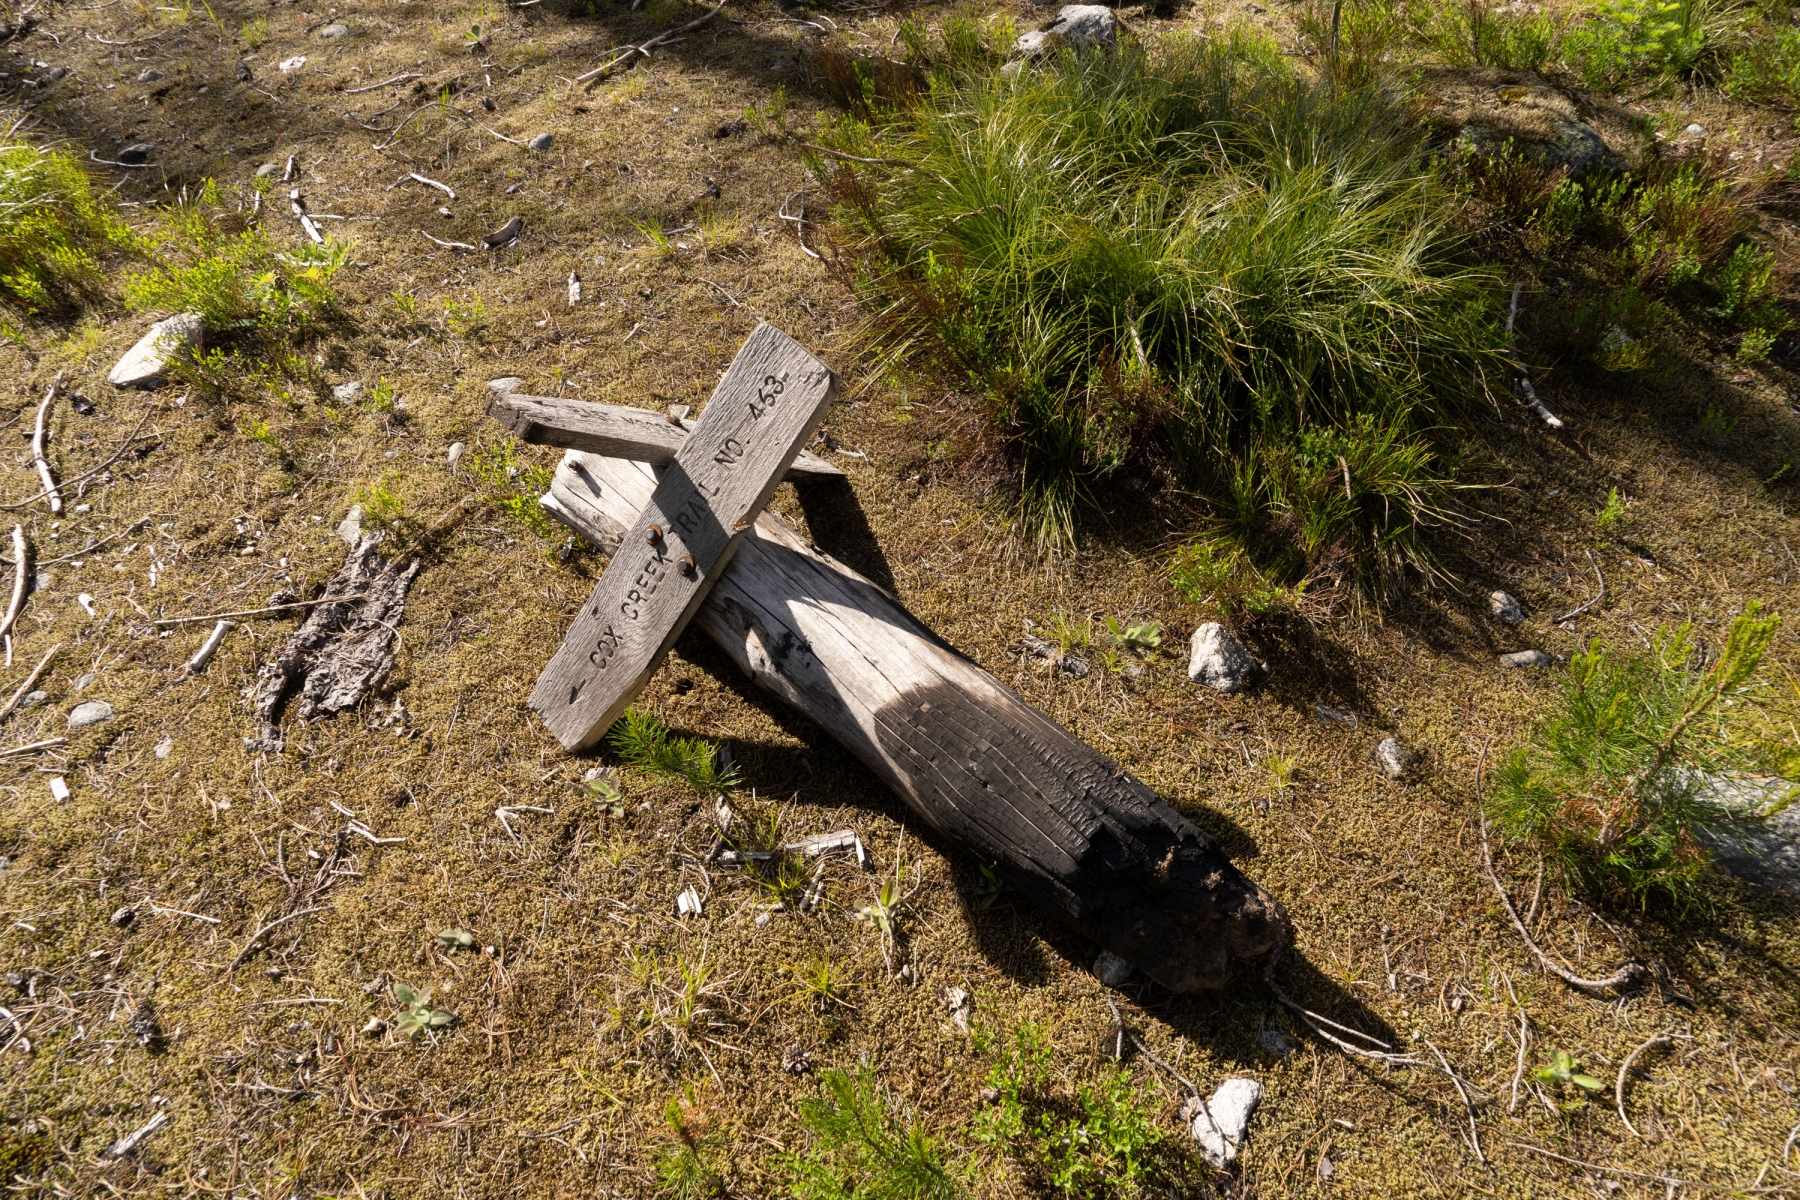
From Upper Twin Lake, you will be climbing up to Wahoo Pass right away. There are some pretty nice views up here. Then it's a long and gradual descent into the valley following Wahoo Creek on the Lost Horse Trail. There are some nice campsites on the lower elevations of the Lost Horse trail. At the junction with the Cox Creek/Big Creek trail 463, you have a choice to make. You can stay on the Lost Horse trail and go up to Wahoo Peak for some exposed ridge hiking, or you can stay low and take the Cox Creek Trail.
We had originally planned on going up to Wahoo Peak. There would be amazing views up there, but there was too much snow when we hiked it in mid-June so, we opted for the lower route on the Cox Creek Trail. We'll explain the Wahoo Peak route as an alternate, but we haven't hiked it and it's untested.
To take the low route on the Cox Creek, trail 463 will be similar hiking to what you have been doing on the Lost Horse Trail. The trail will take you up an unnamed pass where an old burn area begins. From here, the trail becomes hard to follow, as the burn has destroyed most of the tread. If you lose it, continue down the natural drainage. Eventually, you'll see a natural dip in the ridgeline to your right (east), where the Chute Creek trail comes in from the east. We won't be going this way, but it's a good natural landmark to get your bearings; when you see this dip in the ridge, head west away from it to climb up to Battle Lake to camp. You may find the Battle Creek Crossing trail 462, but that has been damaged by the fire too. Battle Lake is a good place to camp, and it's on a shelf below the 7,548' peak to your southwest. The Battle Creek Crossing trail won't take you to the lake so, if you are on it, you'll have to head south and uphill (when that 7,548' peak is directly to your south).
(Alternate Route - Wahoo Peak) If the conditions are right and you feel like doing some extra climbing, Wahoo Peak and the ridge hike will offer some incredible views. We didn't go this way so, this route is untested, and it looks like parts of it were affected by the fire.
From Lost Horse Trail, do not take the Cox Creek/Big Creek trail 463. Stay on Lost Horse Trail. You'll reach the junction with Battle Ridge trail 432. Take that up to Wahoo Peak. It looks like this area near the peak may have been burned too. Be aware that the trail may be hard to follow. Once upon Wahoo Peak, you'll be following the ridge to the northeast on the Battle Ridge trail 432. Even if the trail is hard to follow on the ridge, the ridge itself will be an obvious path to follow. A couple of miles before the junction with the Battle Creek Crossing trail 462, another burn area will appear. It looks like the trail will be hard to follow in here if it's still there at all. Continue north and northwest along the ridge. Once you have gone as far north as you can without descending into the trees, you're near the junction with the Battle Creek Crossing trail. Follow it down into the valley where the Battle Creek flows. The valley has been spared by the fire so, the trail should still be visible there. Head east on the Battle Creek Trail until you are just north of Battle Lake. You won't see the lake since it is above you, but the trees will thin out since you'll be back in the burn area. At this point, leave the trail to go south and uphill to Battle Lake for a good place to camp.

Day 4: 14.3 miles
Summary: Some more overgrown trails in a burn area. A couple of big climbs. A nice alpine lake camp at Frog Lake.
From Battle Lake, meet up with the Battle Creek Crossing trail and head east to meet the Cox Creek/Big Creek trail 463. There you'll enter a part of the forest that was spared by the fire, and you'll see how nice the trail used to be; before much of this valley burned. That won't last very long, though, and you'll enter the burn area again in a couple of miles. Be patient as you go through the burn area, and be careful not to go too far if you can't see the tread. Retrace your steps if you have gone a while without seeing the trail; it's worth it to stay on the trail here. Even if you have to retrace your steps a few times, that'll be faster than just pushing through the brush and debris.
Eventually, you'll see a valley in front of you, where the trail will descend to Moose Creek. There is a ton of overgrown brush on this descent that'll be frustrating to push through. Same as before, take your time to stay on the trail because that will be much faster than just bushwhacking down a steep hill. Moose Creek is a decent-sized river, at least in mid-June when we hiked it, and the ford was thigh deep. Once across the river, take the Little Dead Elk Pass #2 trail right back up the opposite side of the valley. You'll be following the Dead Elk Creek for a while; then the trail abruptly turns north and switchbacks straight up the mountainside to an unnamed pass. There's a spring just on the other side of the pass, that makes for a good place to camp.
Now the trail is finally in good shape again, and you should have no problem getting to Big Sand Lake. Follow the Little Dead Elk Trail to the junction with Big Sand Lake and take a right (east) to get to the lake; on the west side of the lake, there is a little side trail leading to a really nice campsite. Keep going past Big Sand Lake to the junction, with the Frog Peak trail 906. Then You'll have a big climb up to another unnamed pass. Wrap around to the east end of the valley, climb again up to Frog Lake. We didn't go this way, so this route is untested. It can't be any worse than the route we took to Hidden Lake. We're recommending the Frog Peak trail. It will definitely have much better views too.
We had planned on taking the Frog Peak trail, but again there was too much snow so, we had to stay in lower elevations. Instead, we took the Hidden Creek trail 9, which isn't a trail at all. The north side of this valley has been burned too, and the trail is completely gone. We spent half a day fighting through the brush and hundreds of downed trees to get to Hidden Lake. It was really rough, and we wouldn't recommend that route for anyone. We camped at Hidden Lake, then met up with the Hidden Peak trail the next morning.
Day 5: 15.7 miles
Summary: From the alpine environment to the low river valley and the alpine environment, again at Packbox Pass.
Please keep in mind that we didn't go this way. From Frog Lake to Hidden Peak, the trail is untested. There are some more burn areas up here, but they can't be any worse than the alternative route we took to Hidden Lake. From Frog Lake, you'll head up to Frog Peak on the ridgeline. If you lose the trail due to the burn area, continue along the highest ridge to the north and then northwest. The trail hovers about 100 feet below the ridge. Follow it below Hidden Peak, which has a side trail going up to the summit. Continue west along the more gradual ridge, which now has unburned forest to the north. Once you enter the unburned forest on the gradual ridge, you should be able to pick up the Hidden Peak trail 10. That will take you to the pass and the junction with Big Flat Hidden Ridge trail 71. Take that trail north. There is an unburned forest here, and the trail will be nice and easy to follow but don't get used to it.
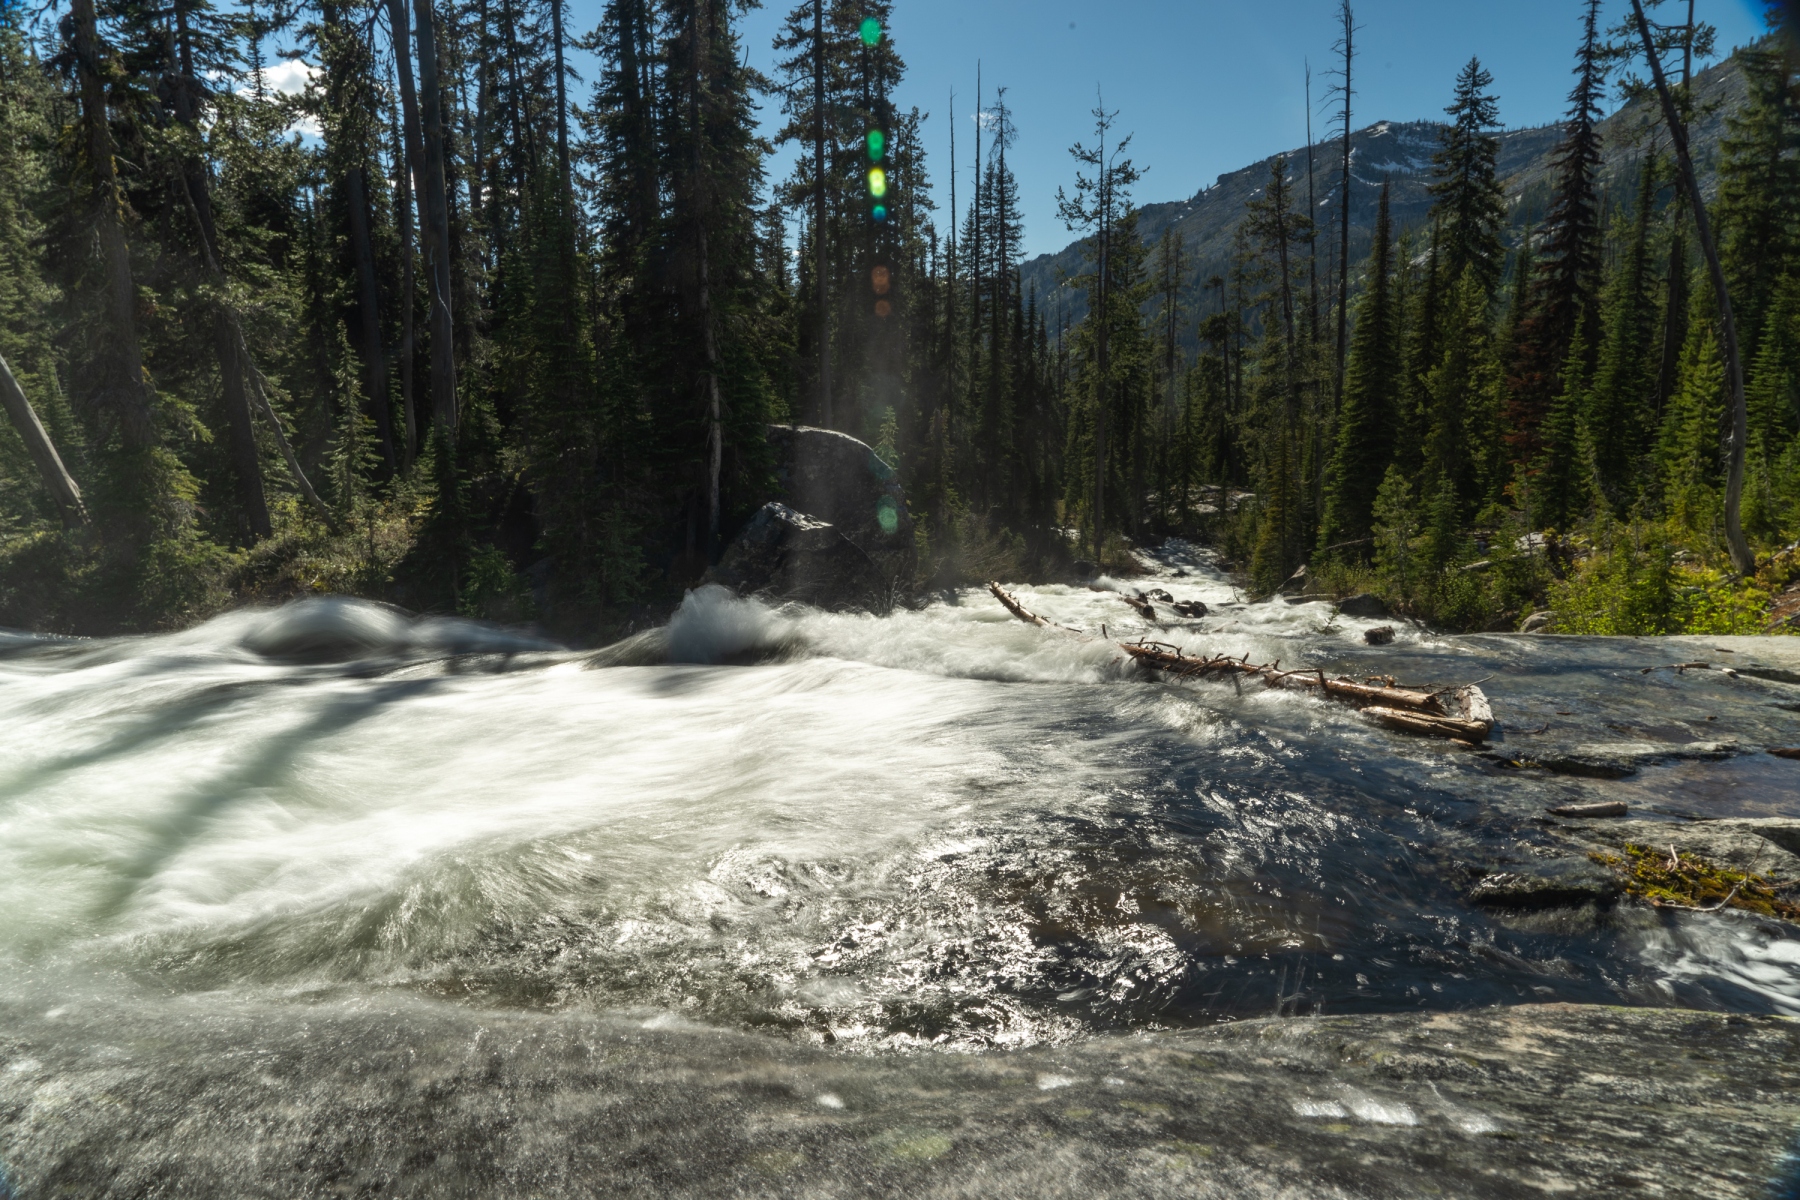
There is a long gradual descent down to Big Flat Creek, and that's where the burn area starts again. Just like before, take your time to follow the faint traces of trail when they are visible in the dirt. It'll be slow and tedious, but probably better than just bushwhacking downhill. Once at the bottom of the descent, the forest and trail return. Then you'll have to cross the Big Flat Creek. This crossing was an intimidating river ford when we were here in mid-June. The water was over waist deep and very fast. If you're doing this hike at a more appropriate time of the year, like July or August, it probably won't be that bad, but still, prepare for a deeper river ford. Take your time to choose a safe place to cross.
Once across the river, you'll take the Colt Killed trail 50, and things will be much smoother for the rest of the trip. Much of the Colt Killed River valley has burned, too. For some reason, the trail was spared and is easy to follow. It's a long and gradually increasing climb all the way up to Packbox Pass from here. Be sure to fill up on water at the headwaters of Packbox Creek because you won't find any up on the pass. The pass is a great place to camp and watch the sunset and sunrise. If the weather is bad you can keep going to Big Creek Lake, where there are a bunch of nice campsites.


- «
- 1
- 2
- »
Day 6: 11.3 miles
Summary: Easy descent and hike along the Big Creek Lake then a nice forested walk to the trailhead.
From Packbox Pass, get up early to watch the sunrise. Then head down the pass to Big Creek Lake. The pass seems to be as far as 90% of the hikers who start at the Big Creek Trailhead go, as a result, you'll notice a vast improvement in trail quality compared to what you've been hiking on for the past few days. The hiking will feel effortless all the way back to the trailhead, it's all downhill too. Once you make it to the lake, the crowds will increase, and there will be a bunch of nice campsites by the water. Wrap around the lake and cross the Big Creek Dam, where you'll begin to enter the trees. Follow the Big Creek back to the trailhead in a really nice (unburned for once) forest.
Best time to hike
We hiked this route on June 20-26th, and that was too early. All the higher elevations of the route still had a lot of snow. The lower trails were flooded with snowmelt, and some of the river crossings were scary. We'd suggest hiking it between mid-July and early September.
What to bring
Even in the middle of summer, you can expect temperatures to drop into the 40's or lower at night. During the day, it may reach into the 90's. Navigation is especially tricky on this one because there are so many burn areas where the trail has been destroyed. Normally a paper map and compass would suffice, but on this route, We'd suggest having a .gpx track on your phone or another GPS device so you know exactly where you are.
- Clothes
- Backpacking Gear
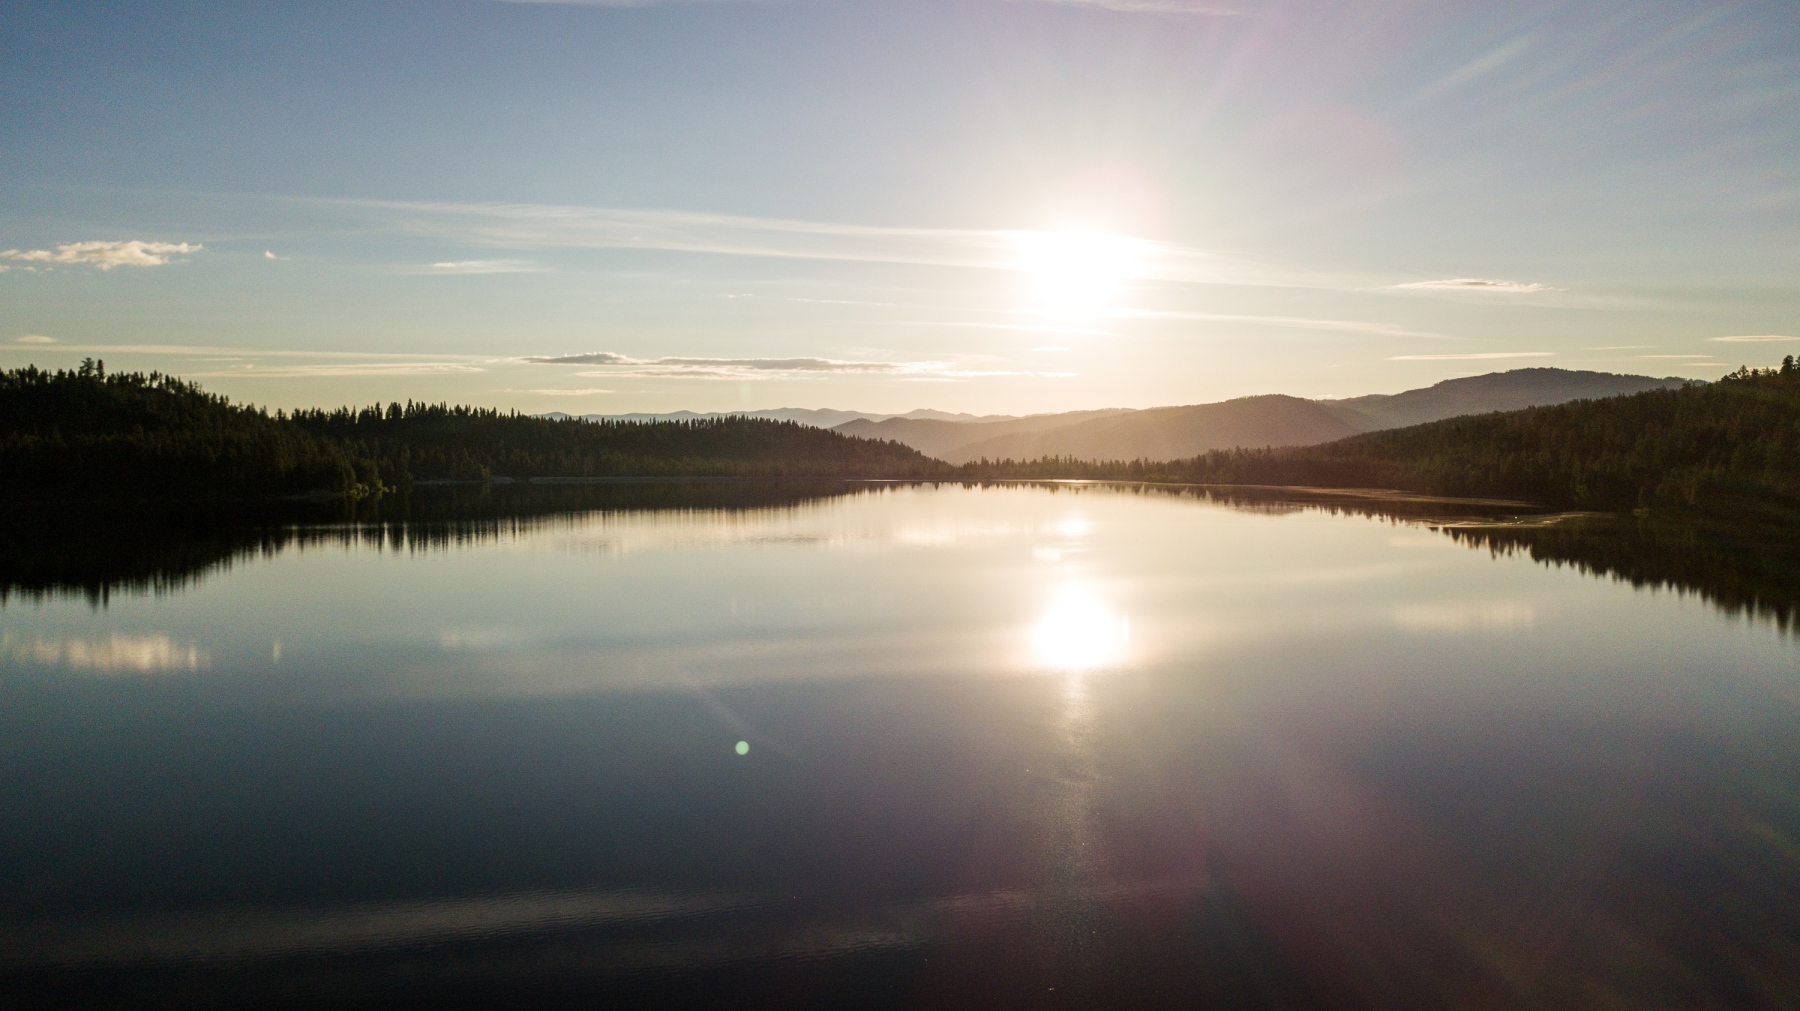
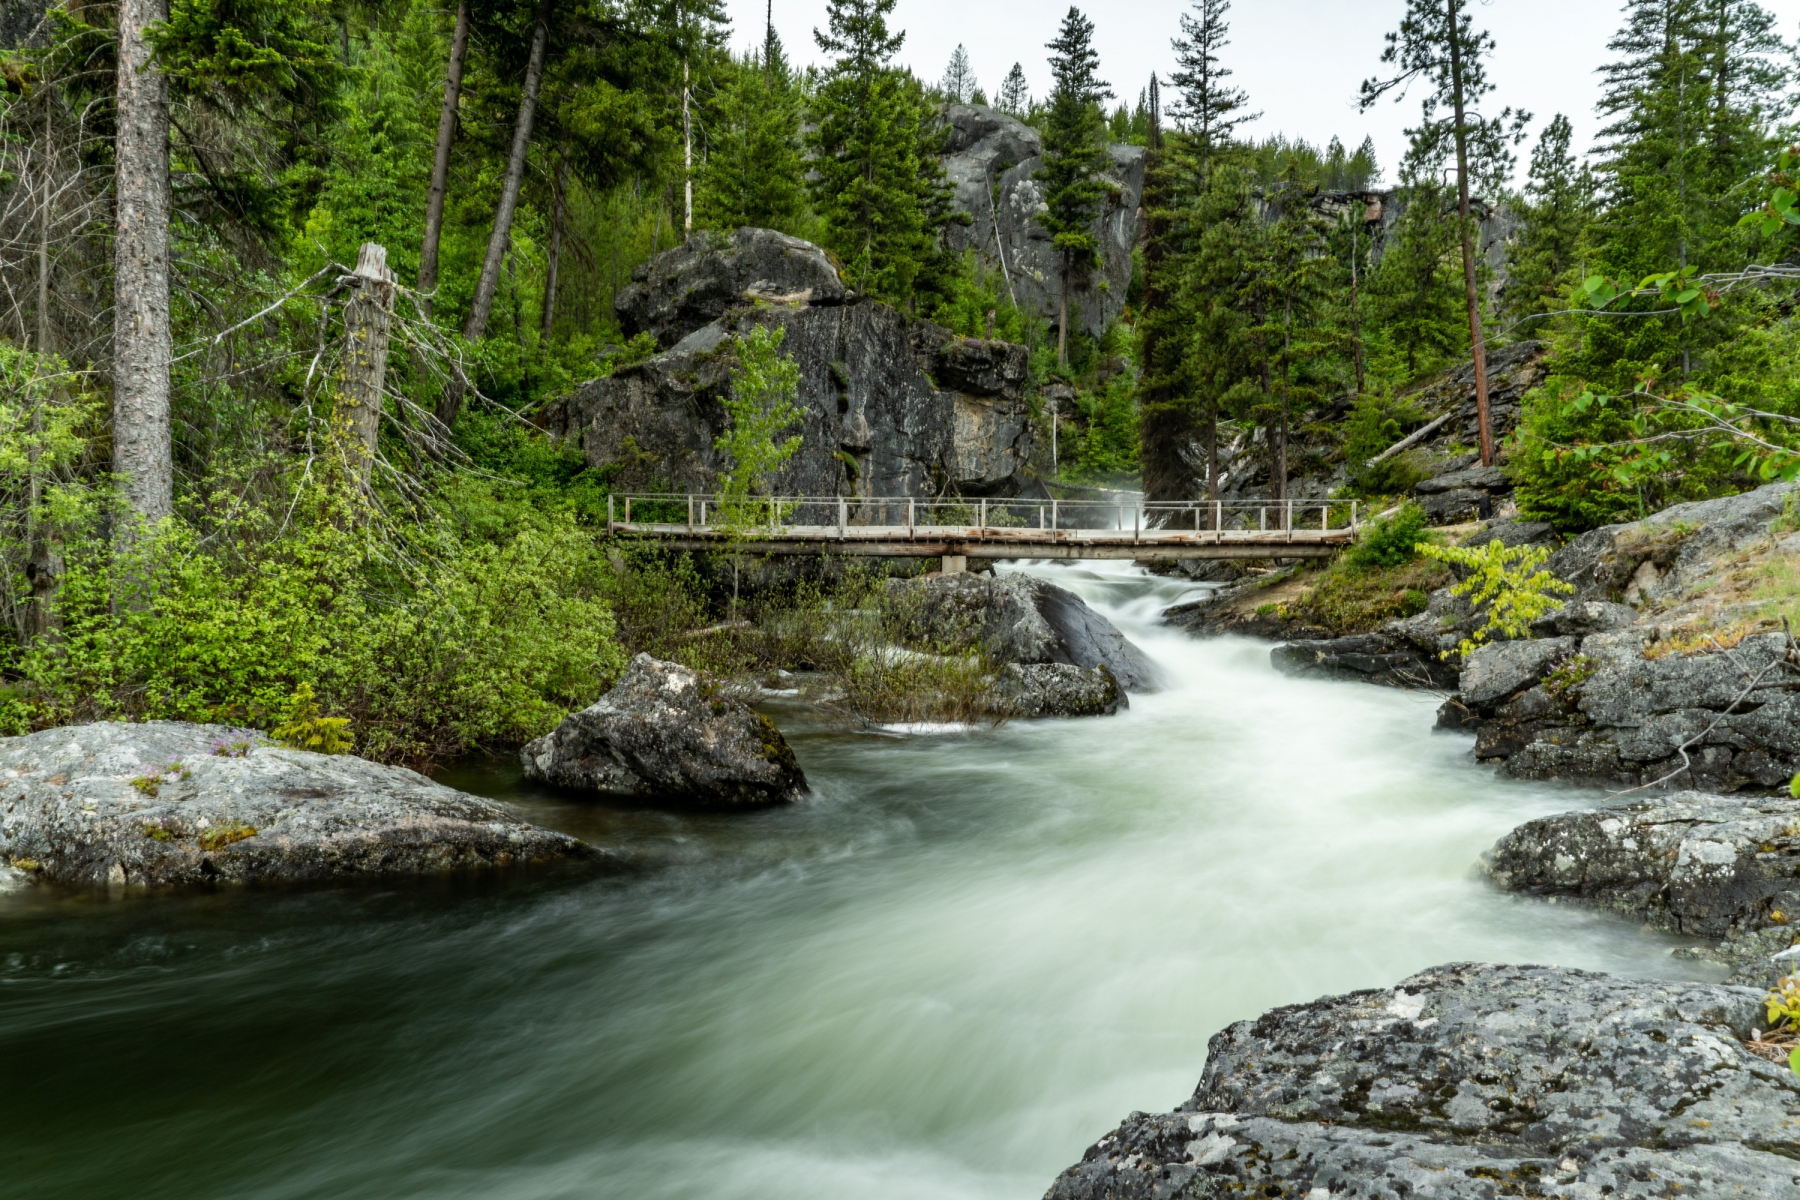
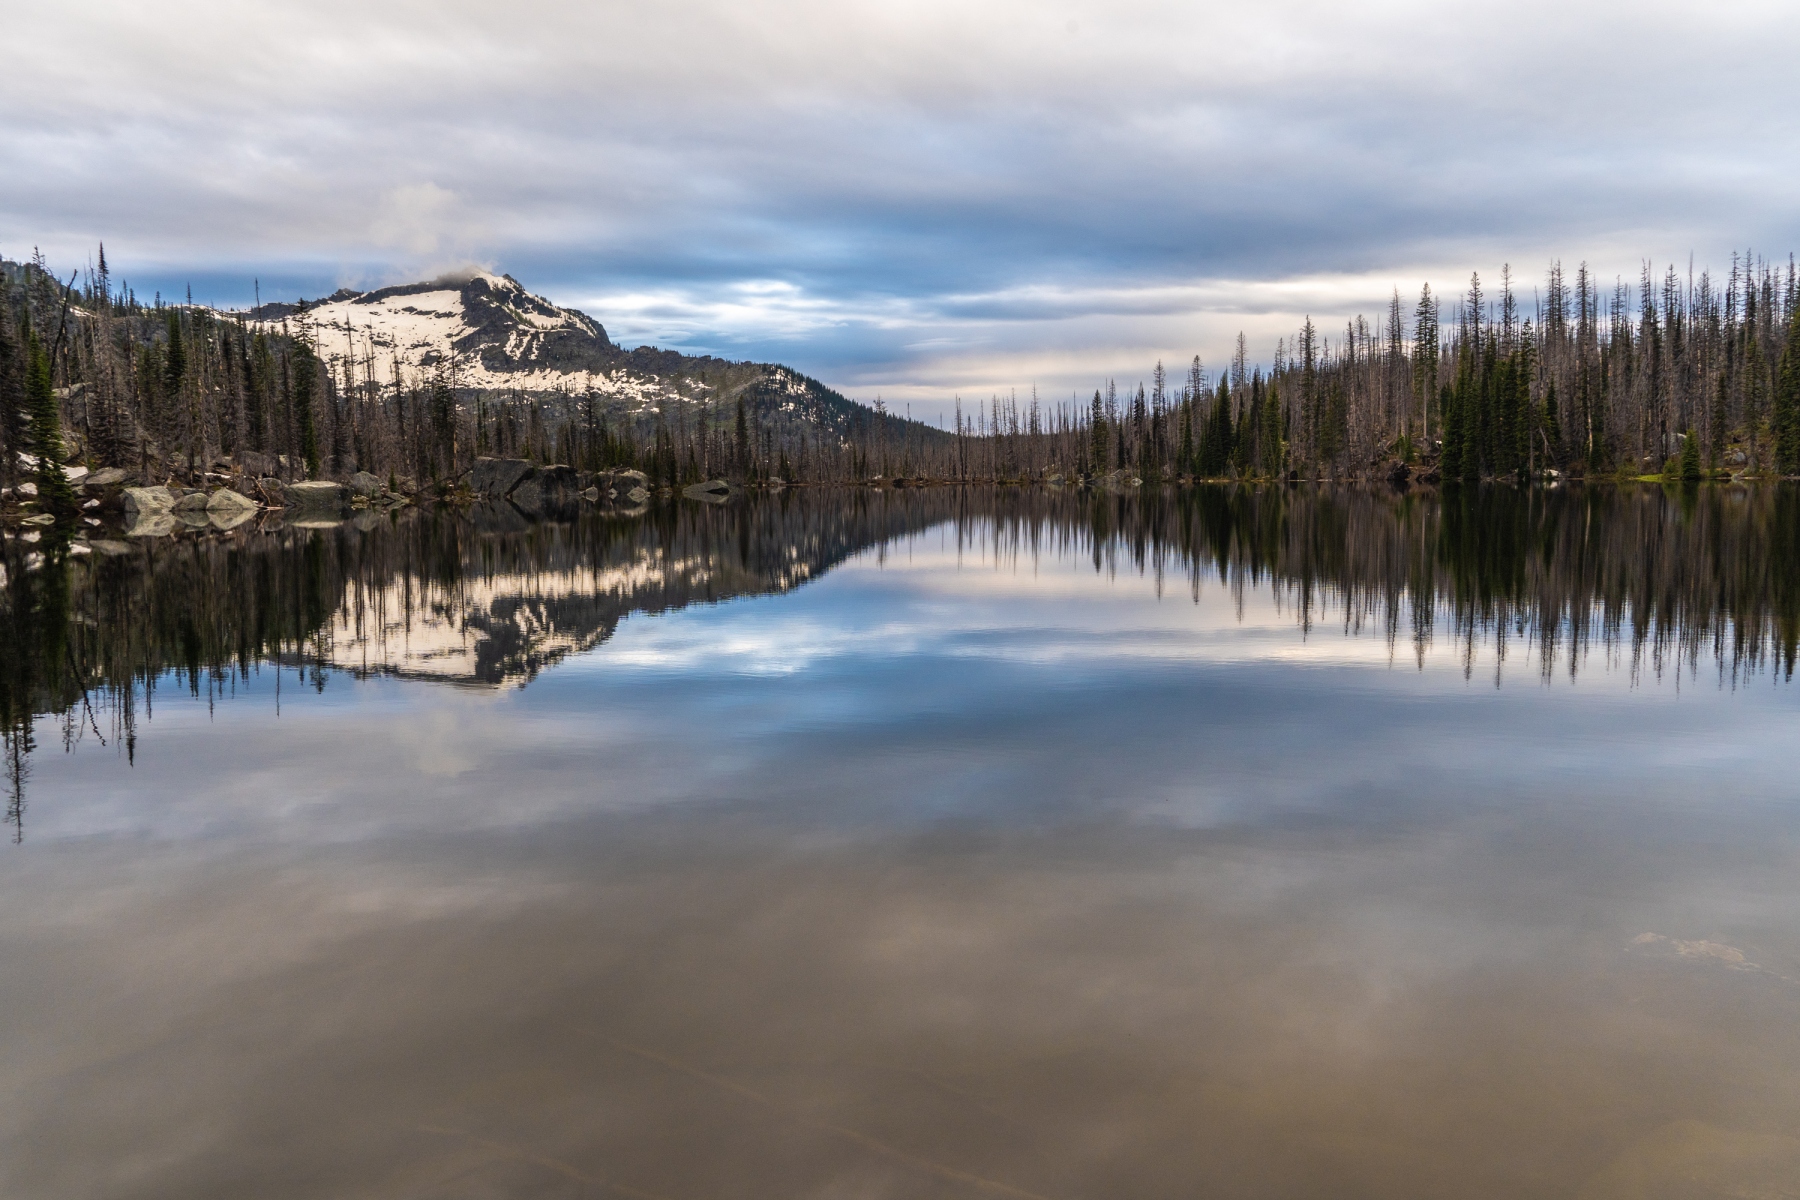
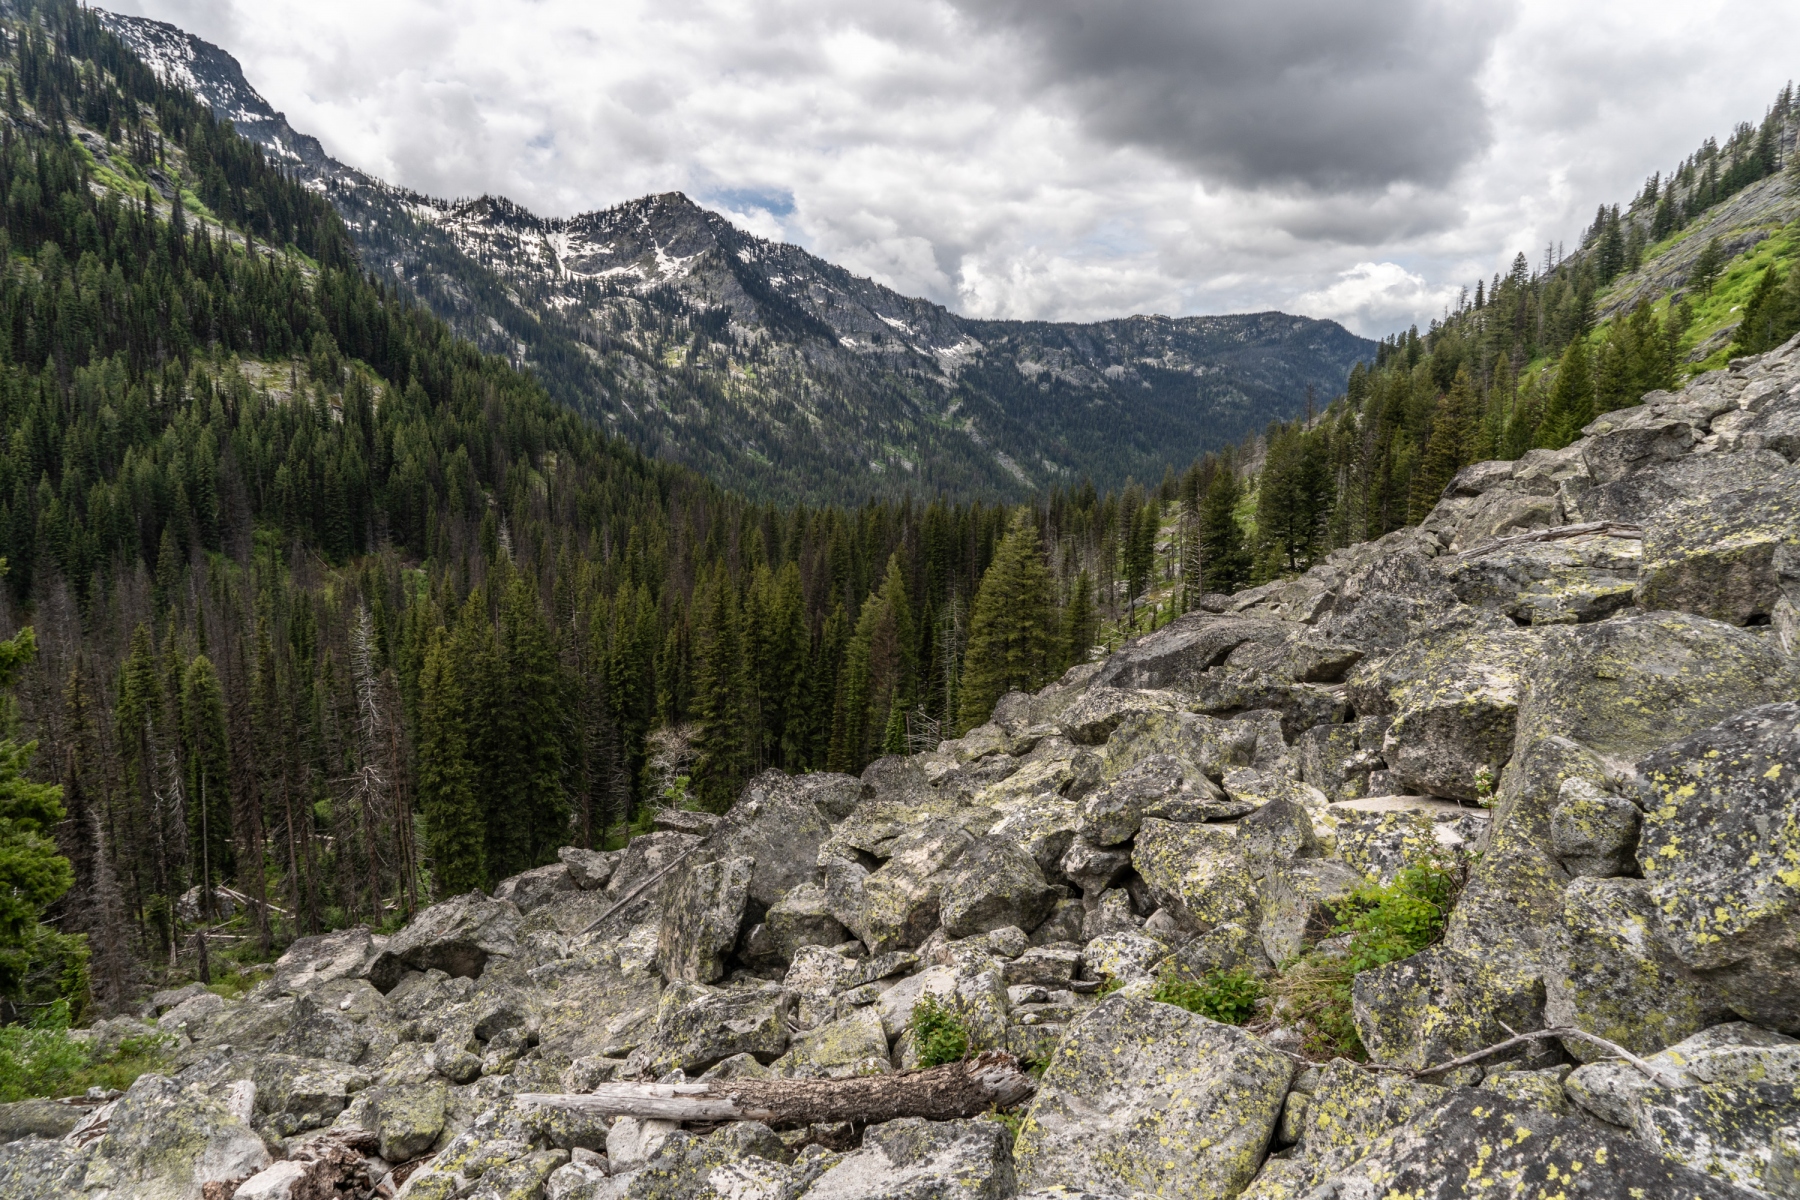
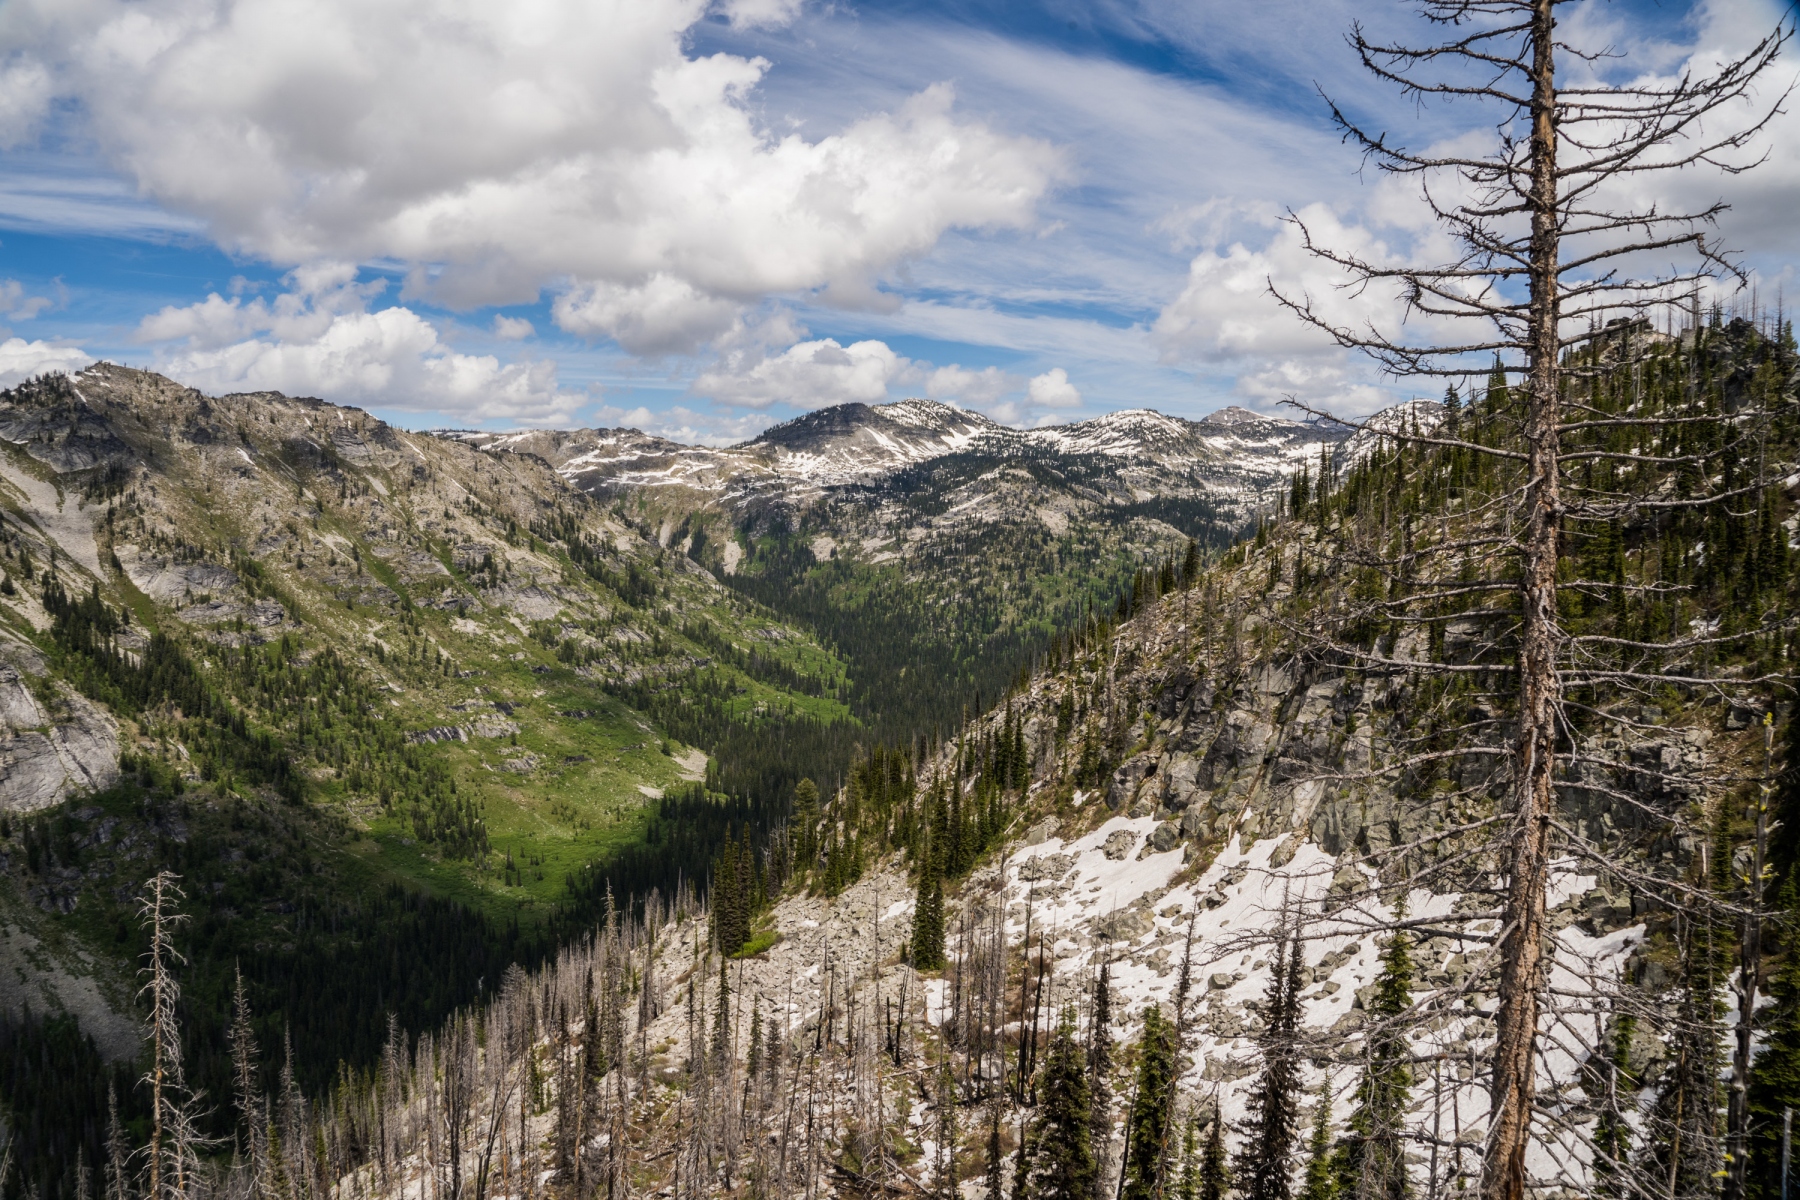
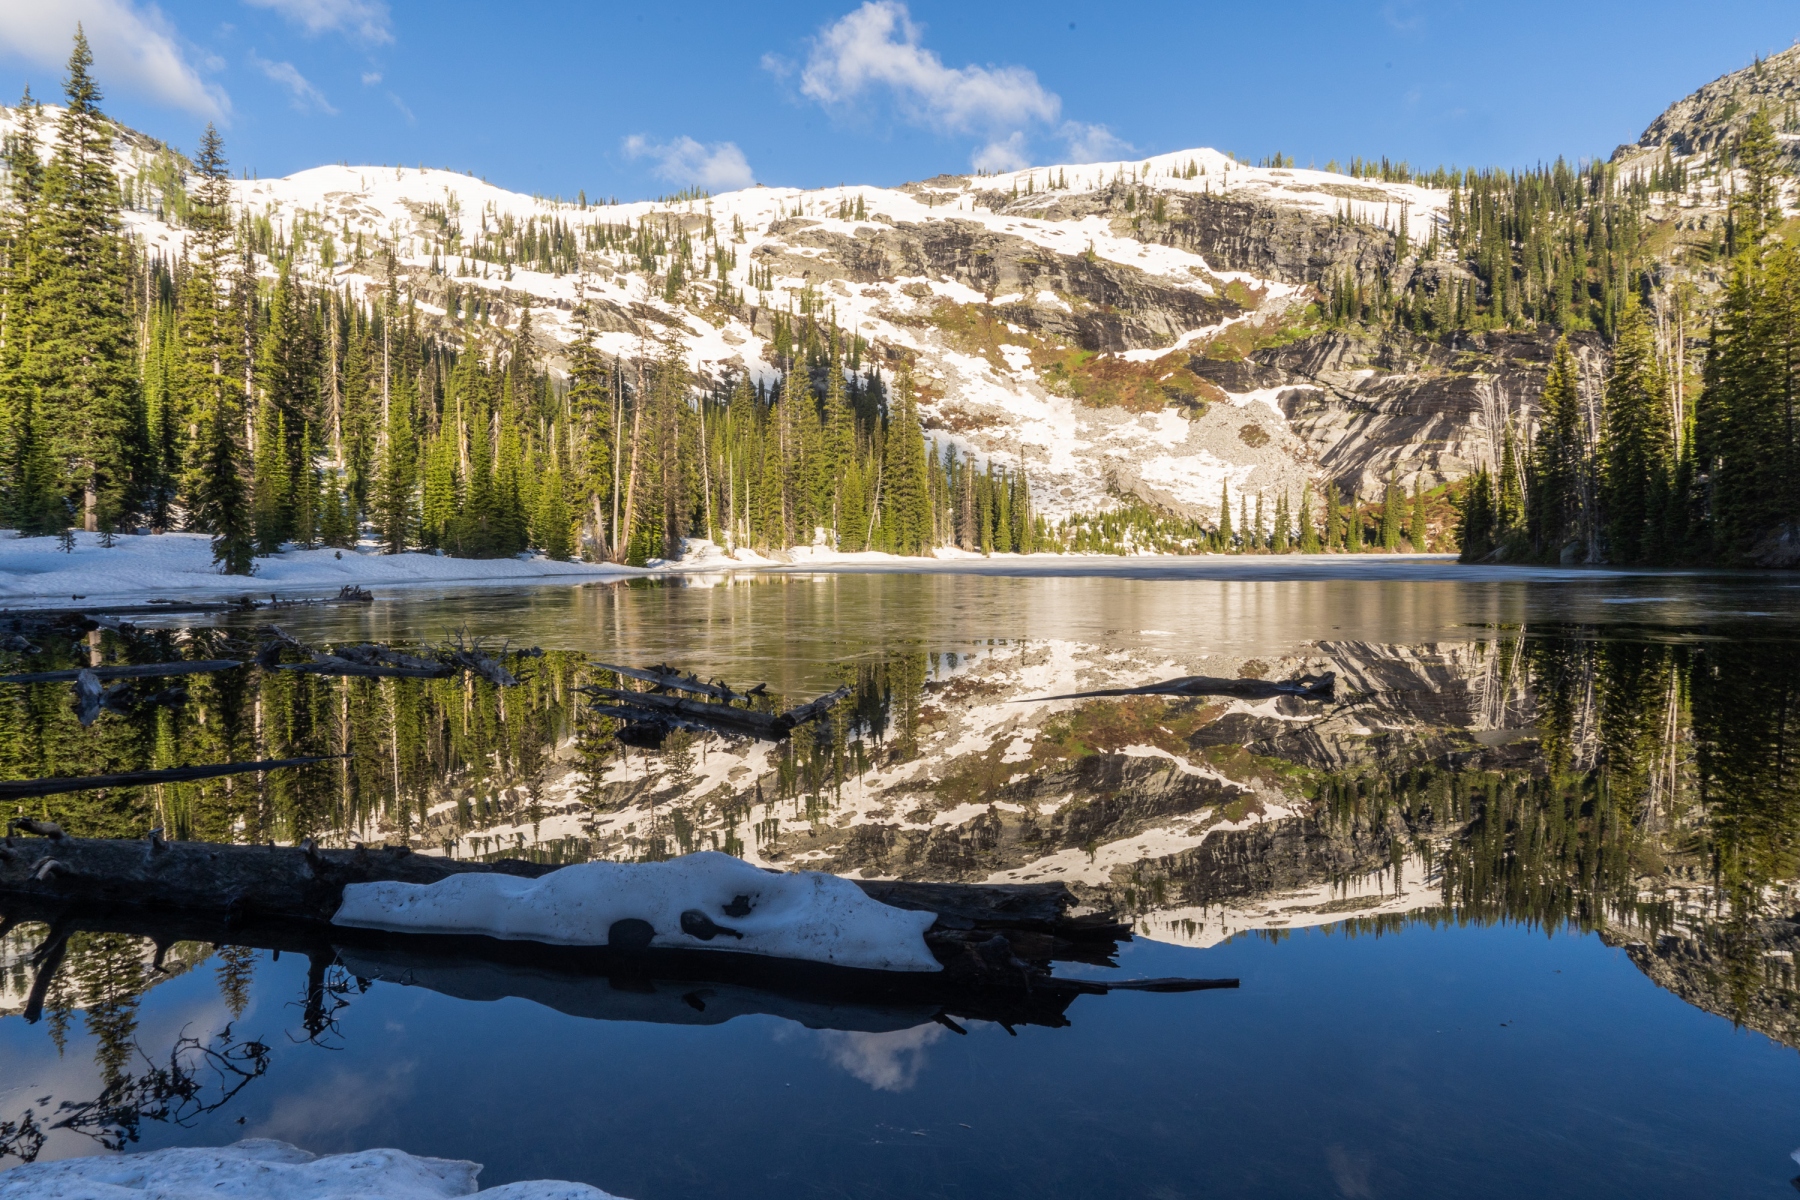
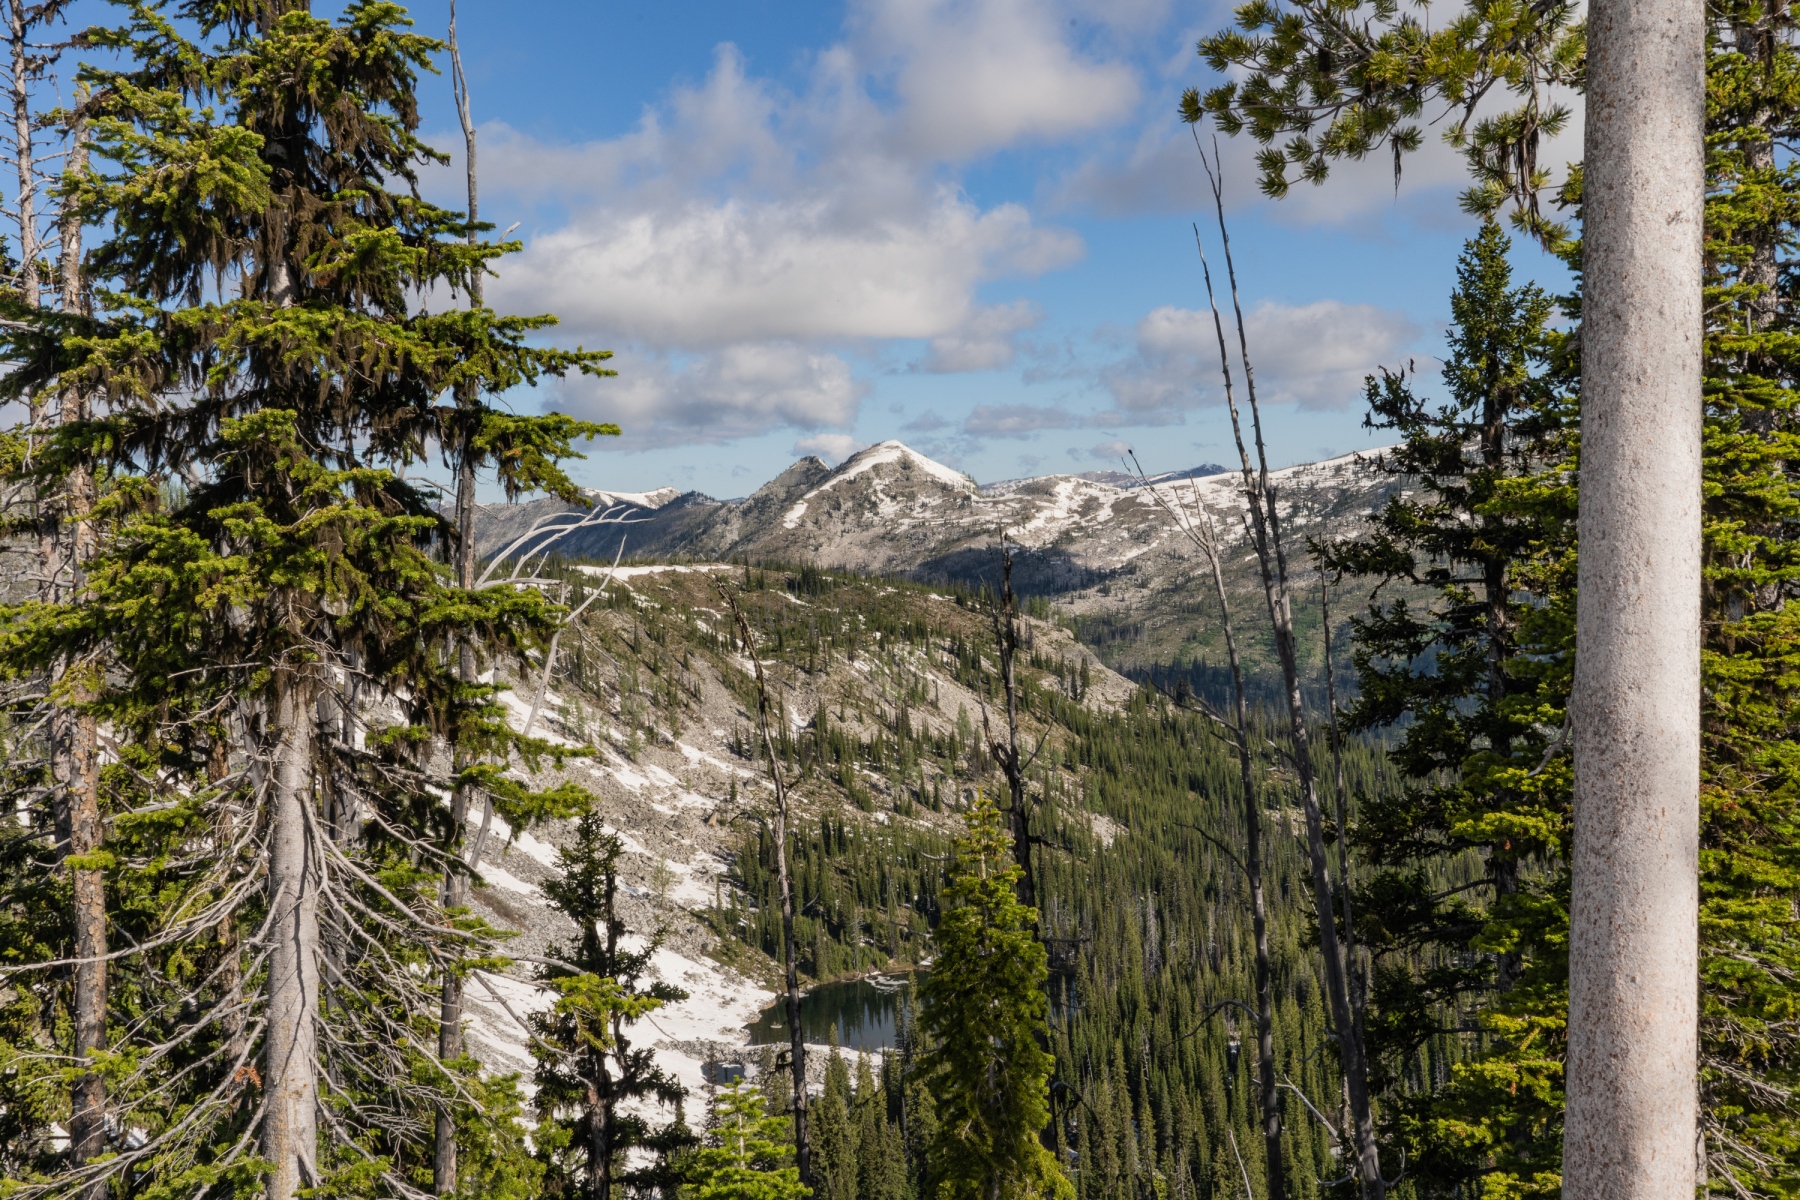
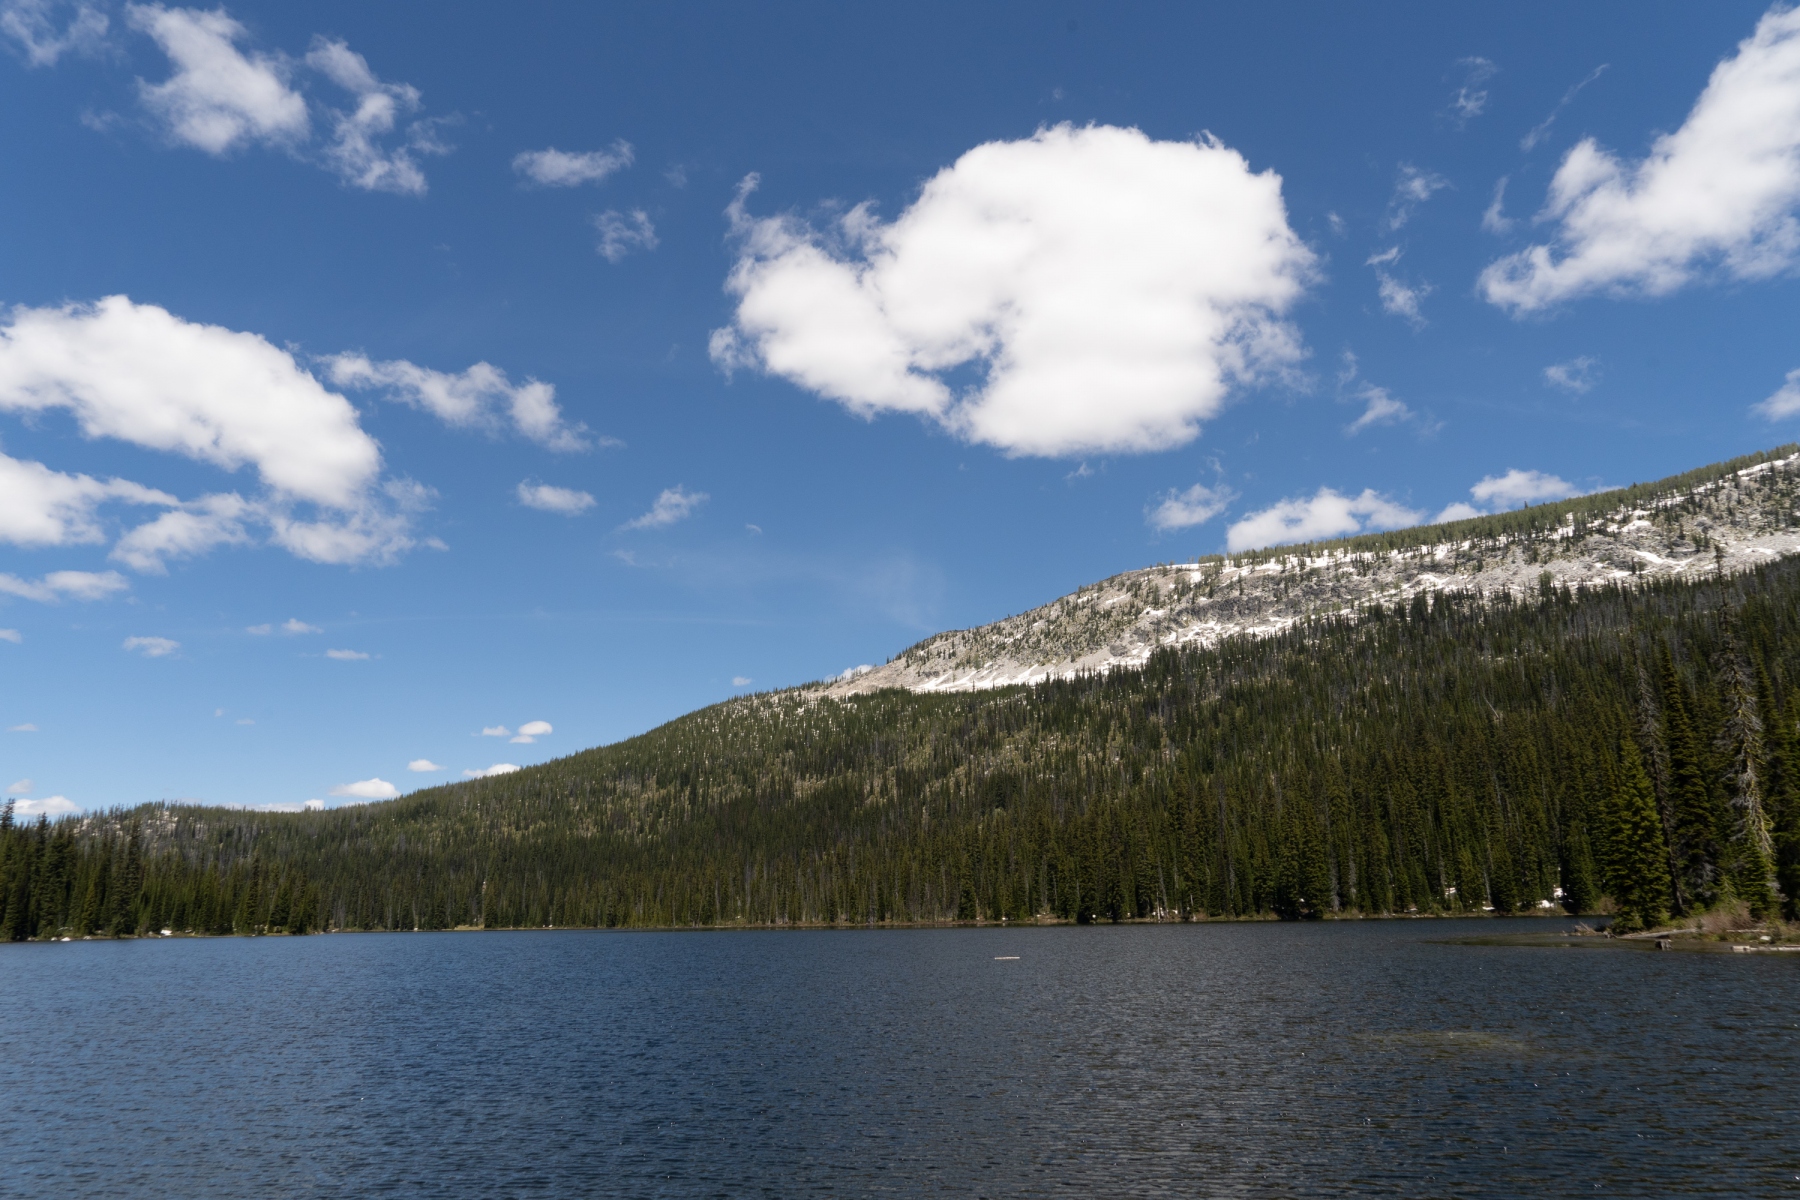
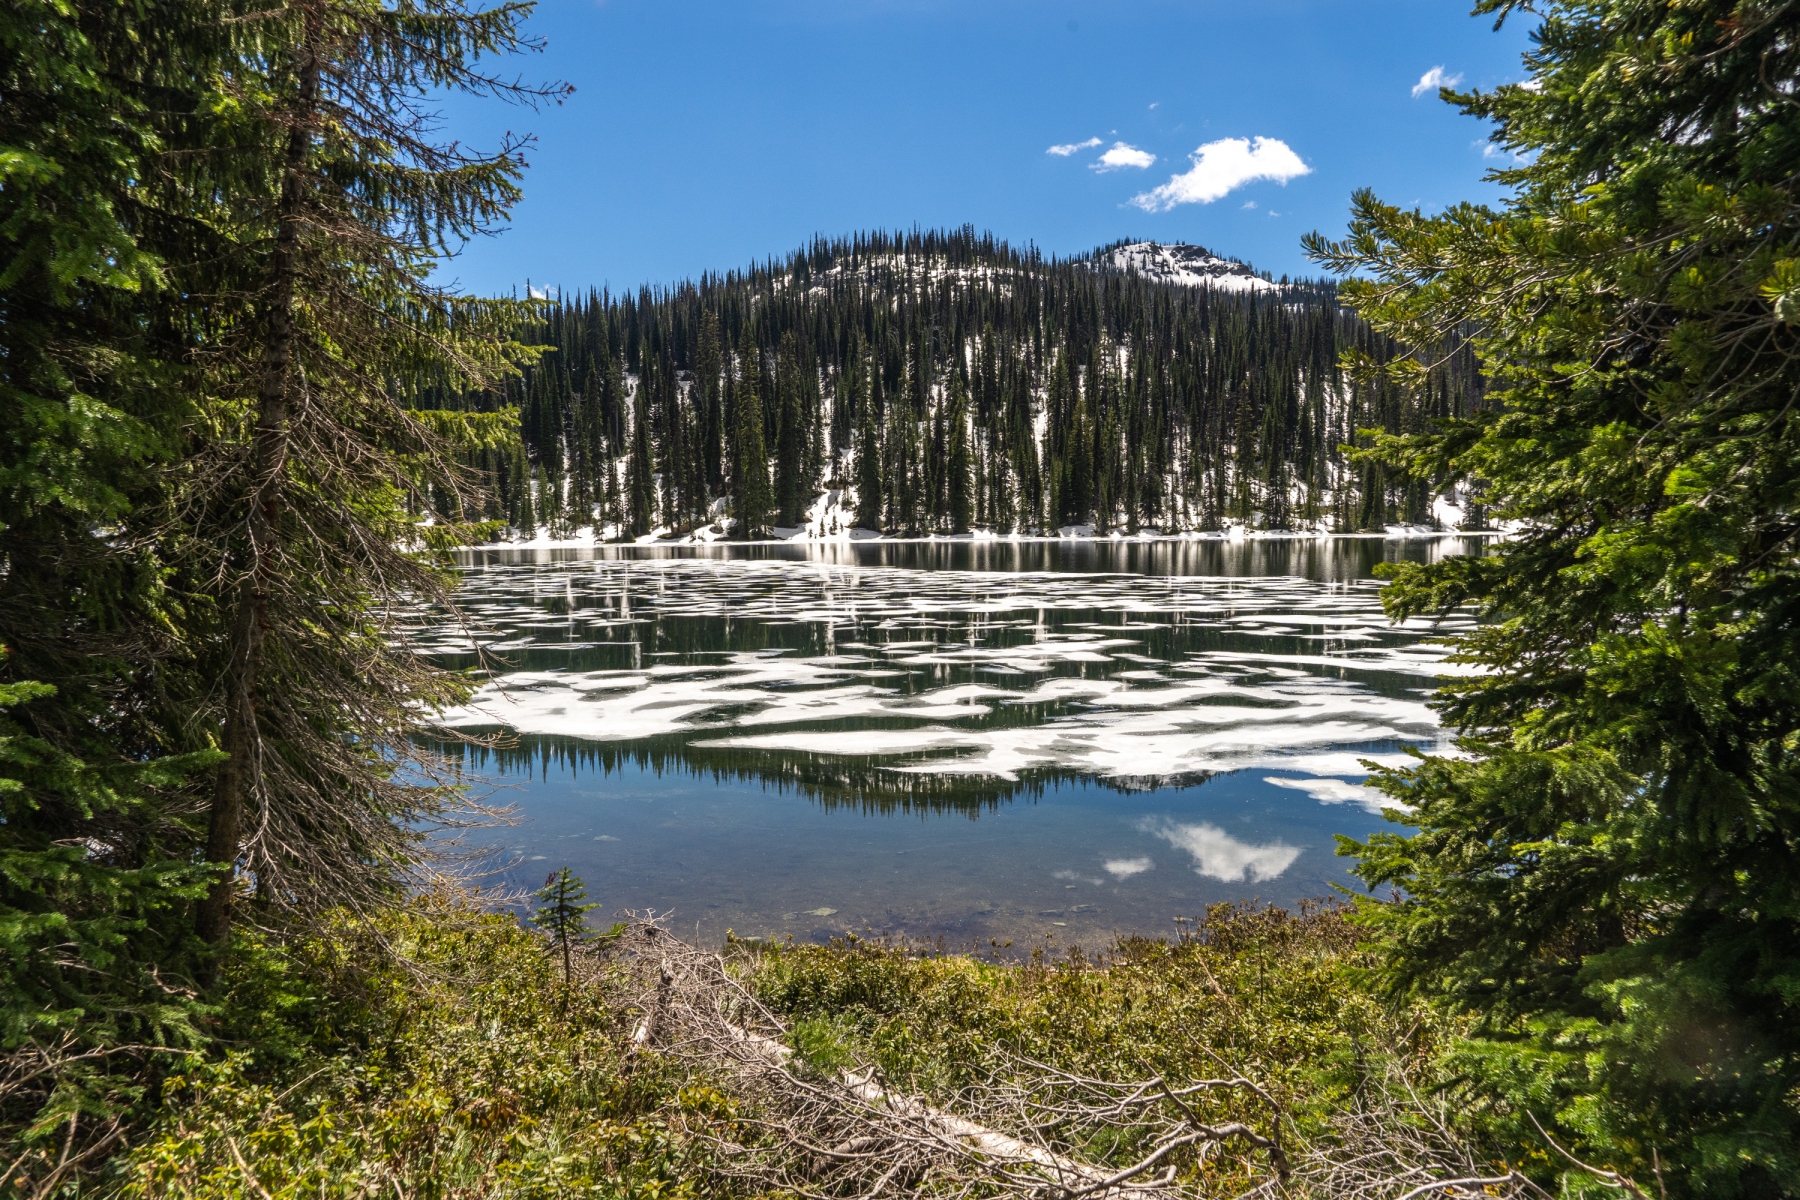
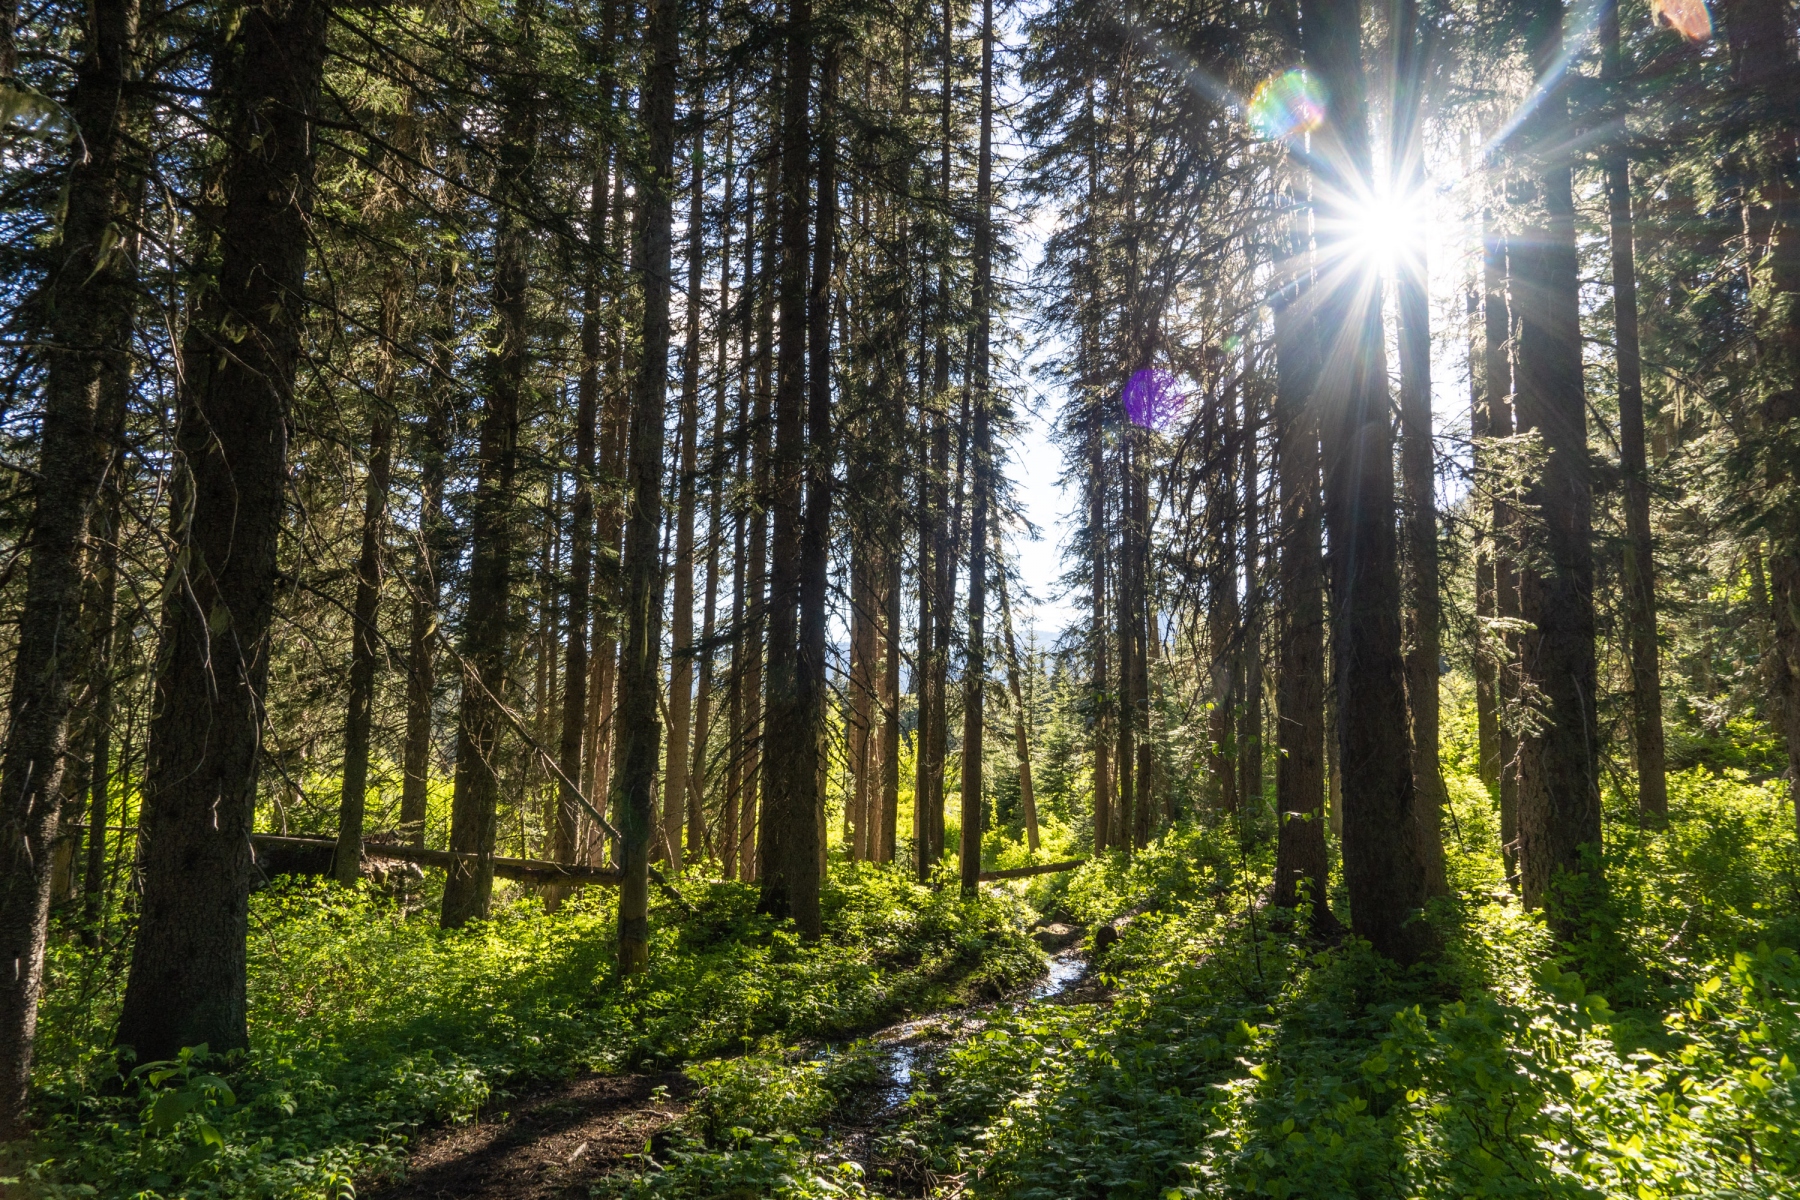
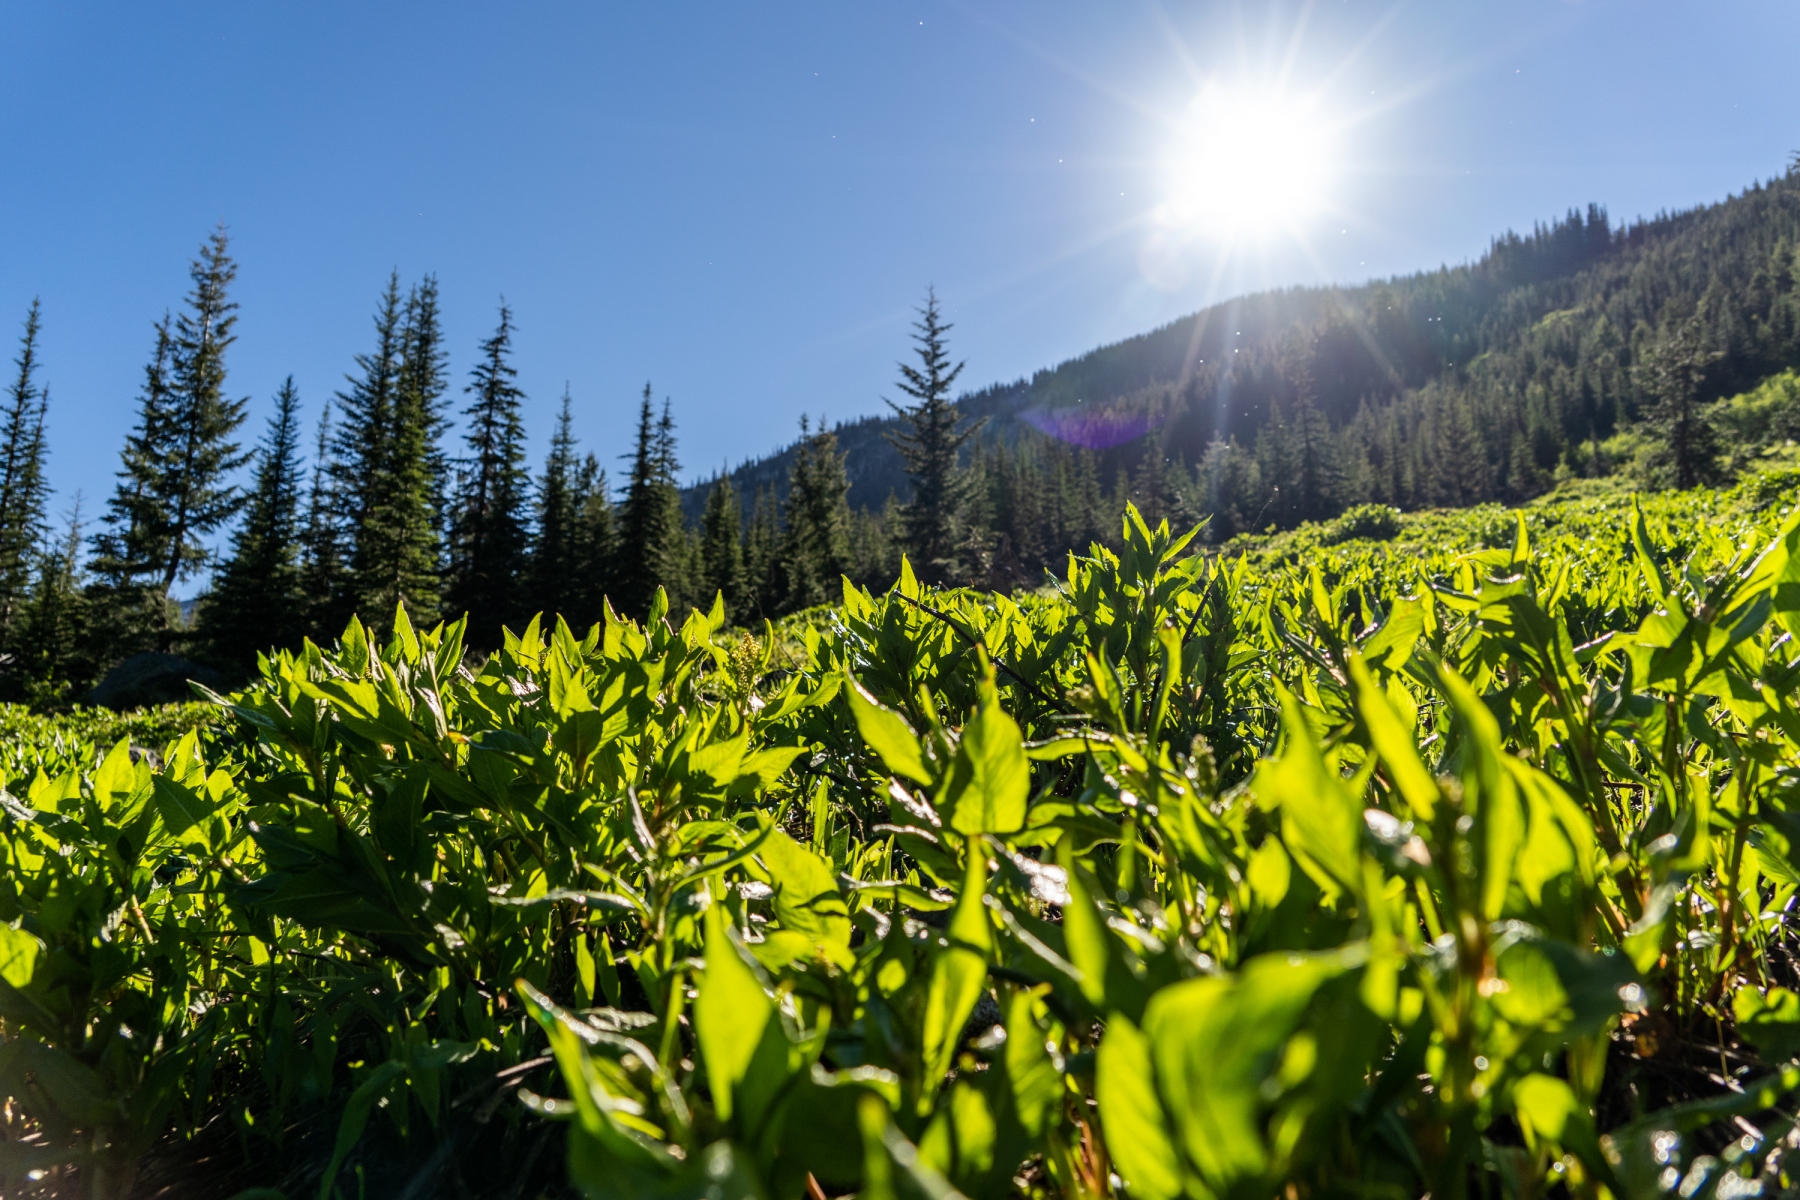
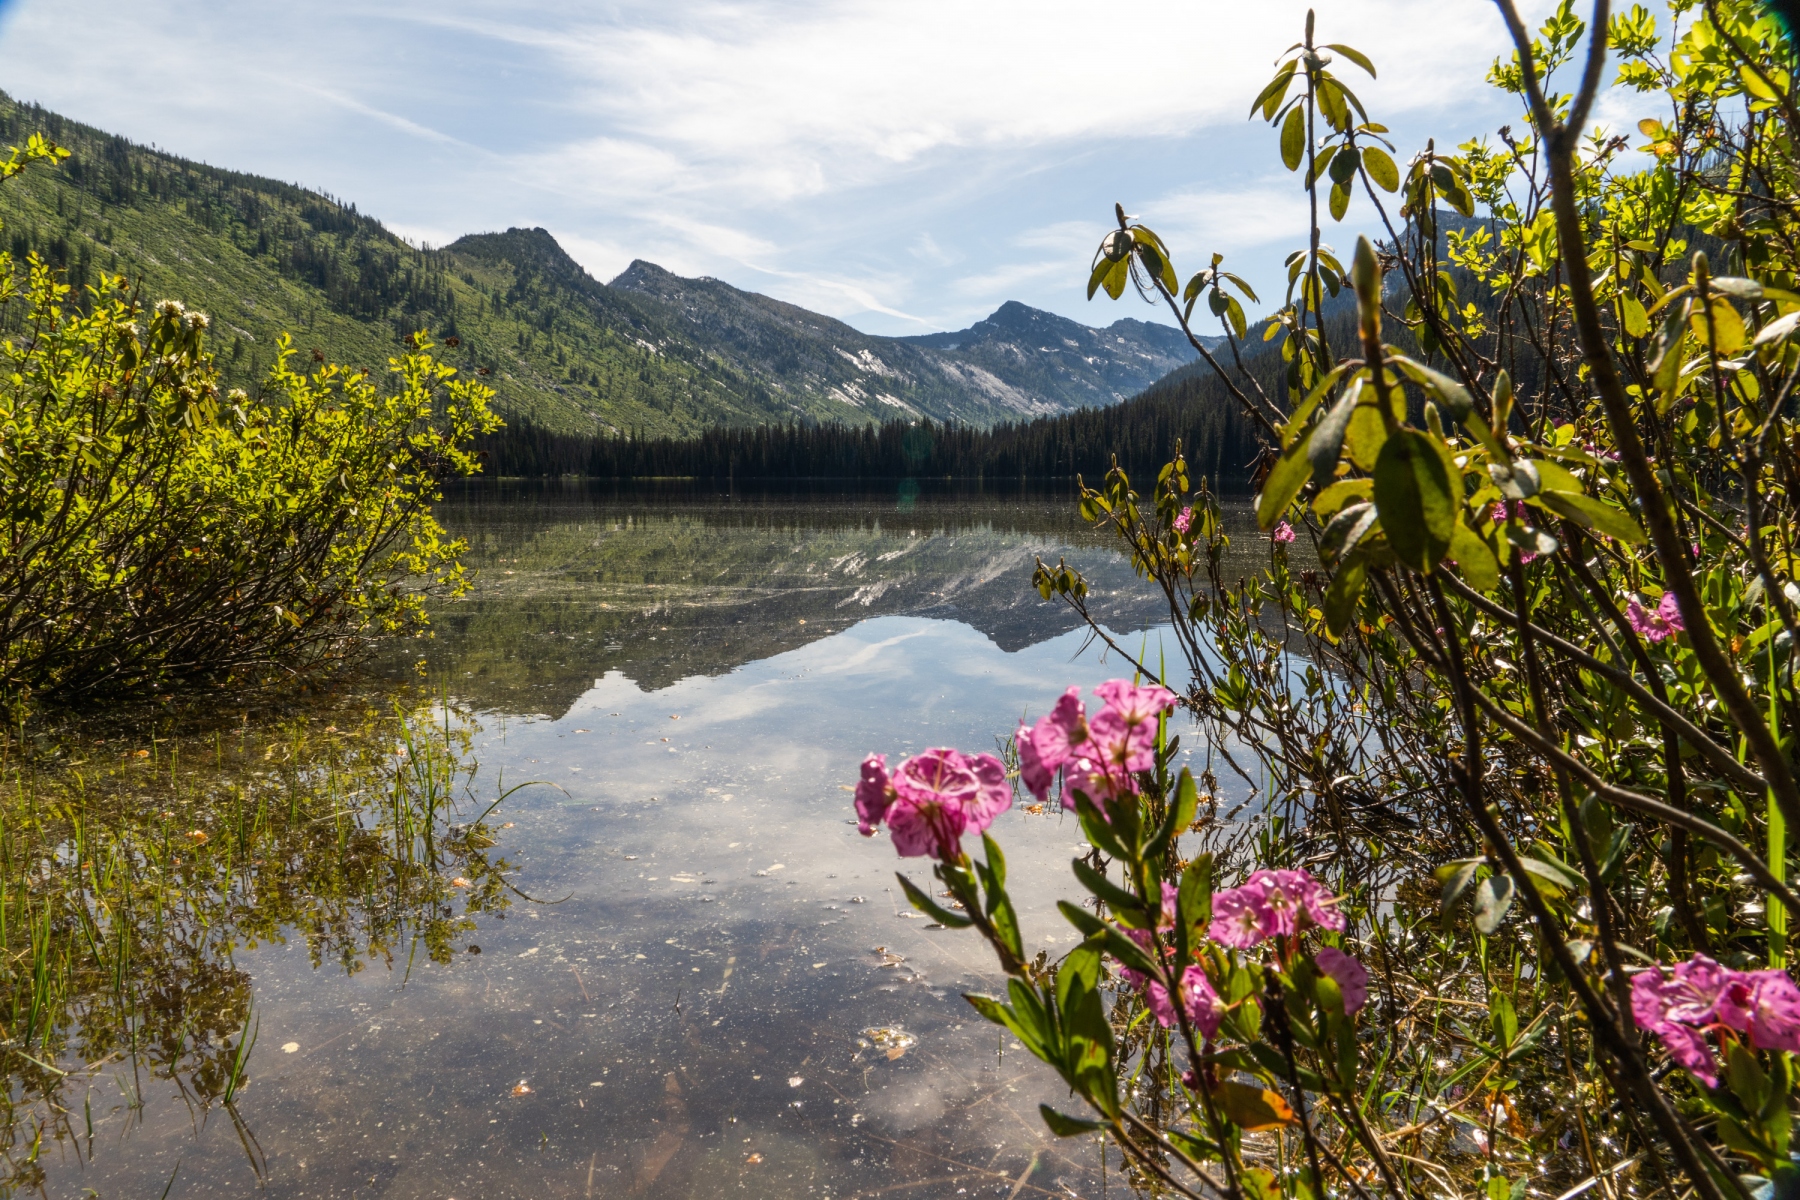
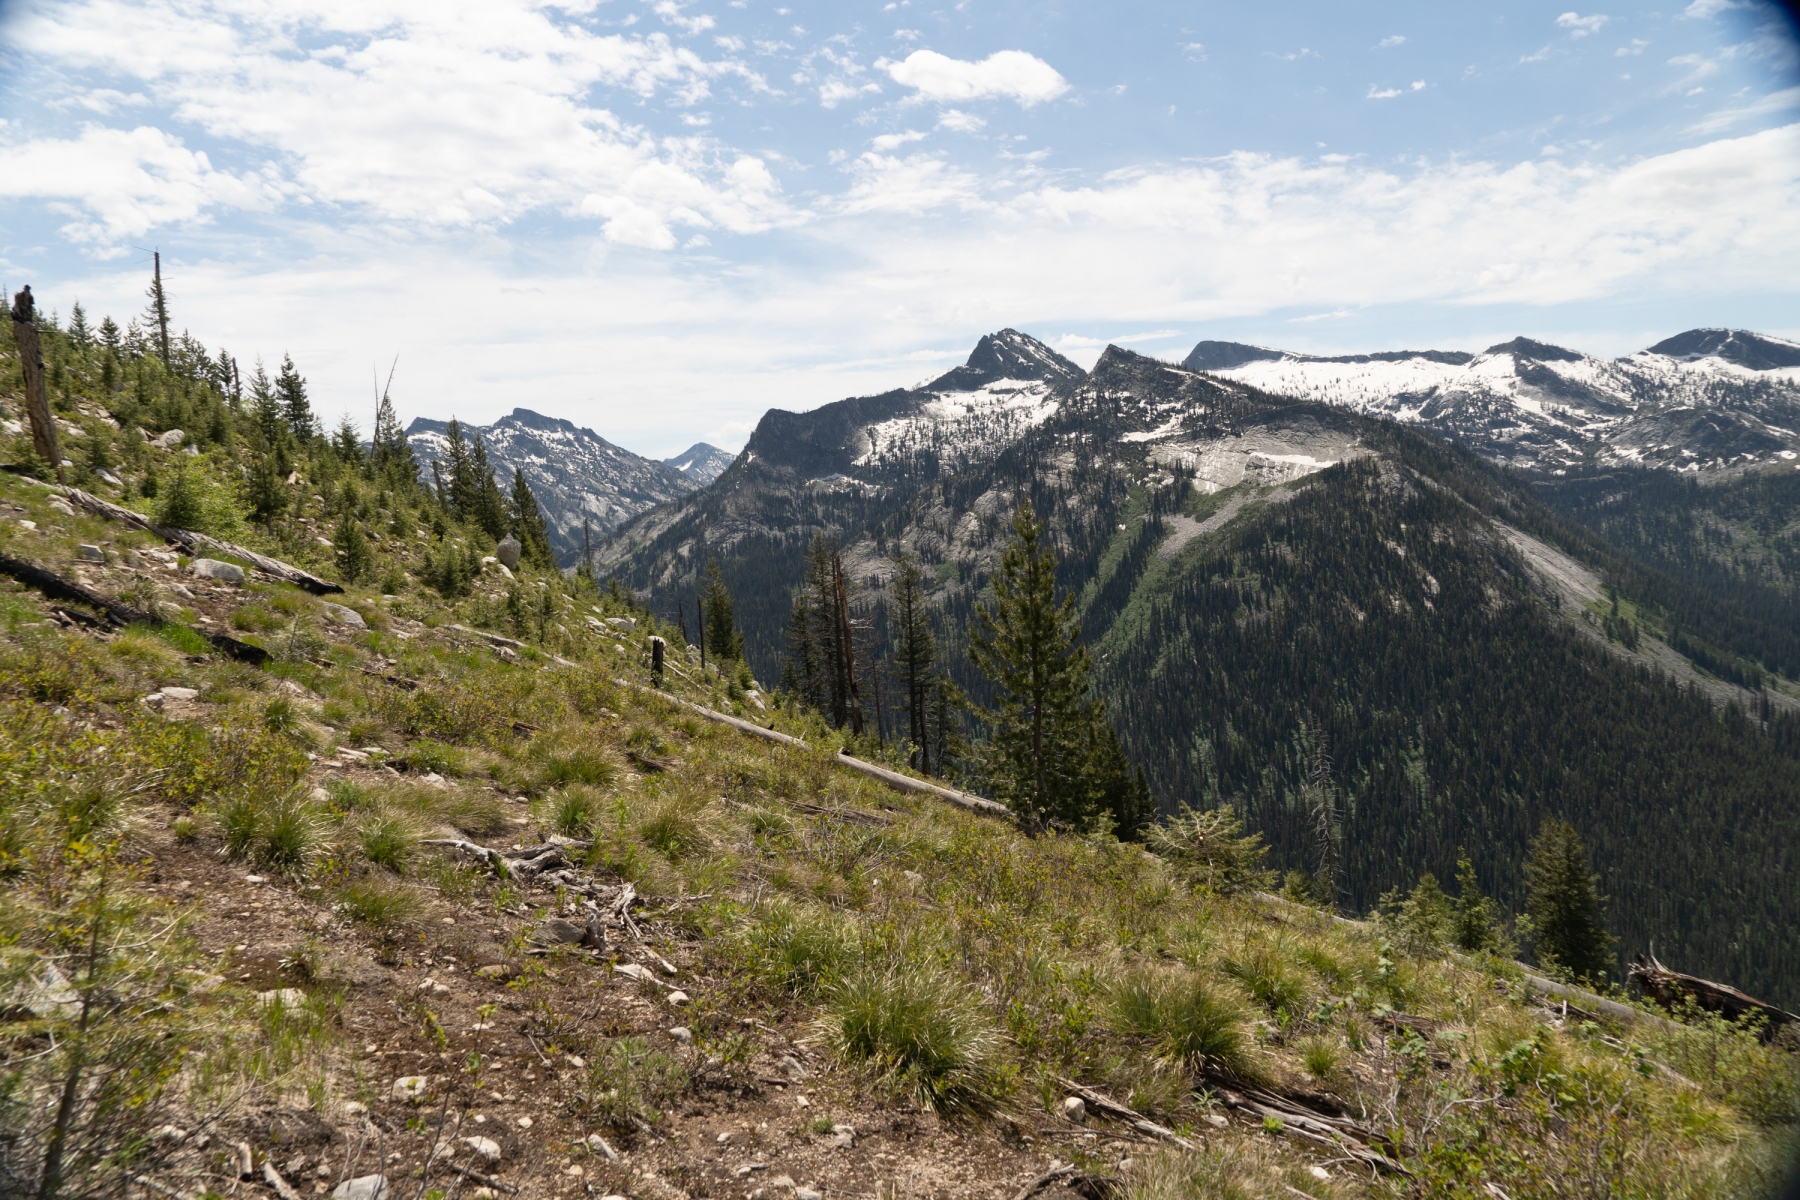
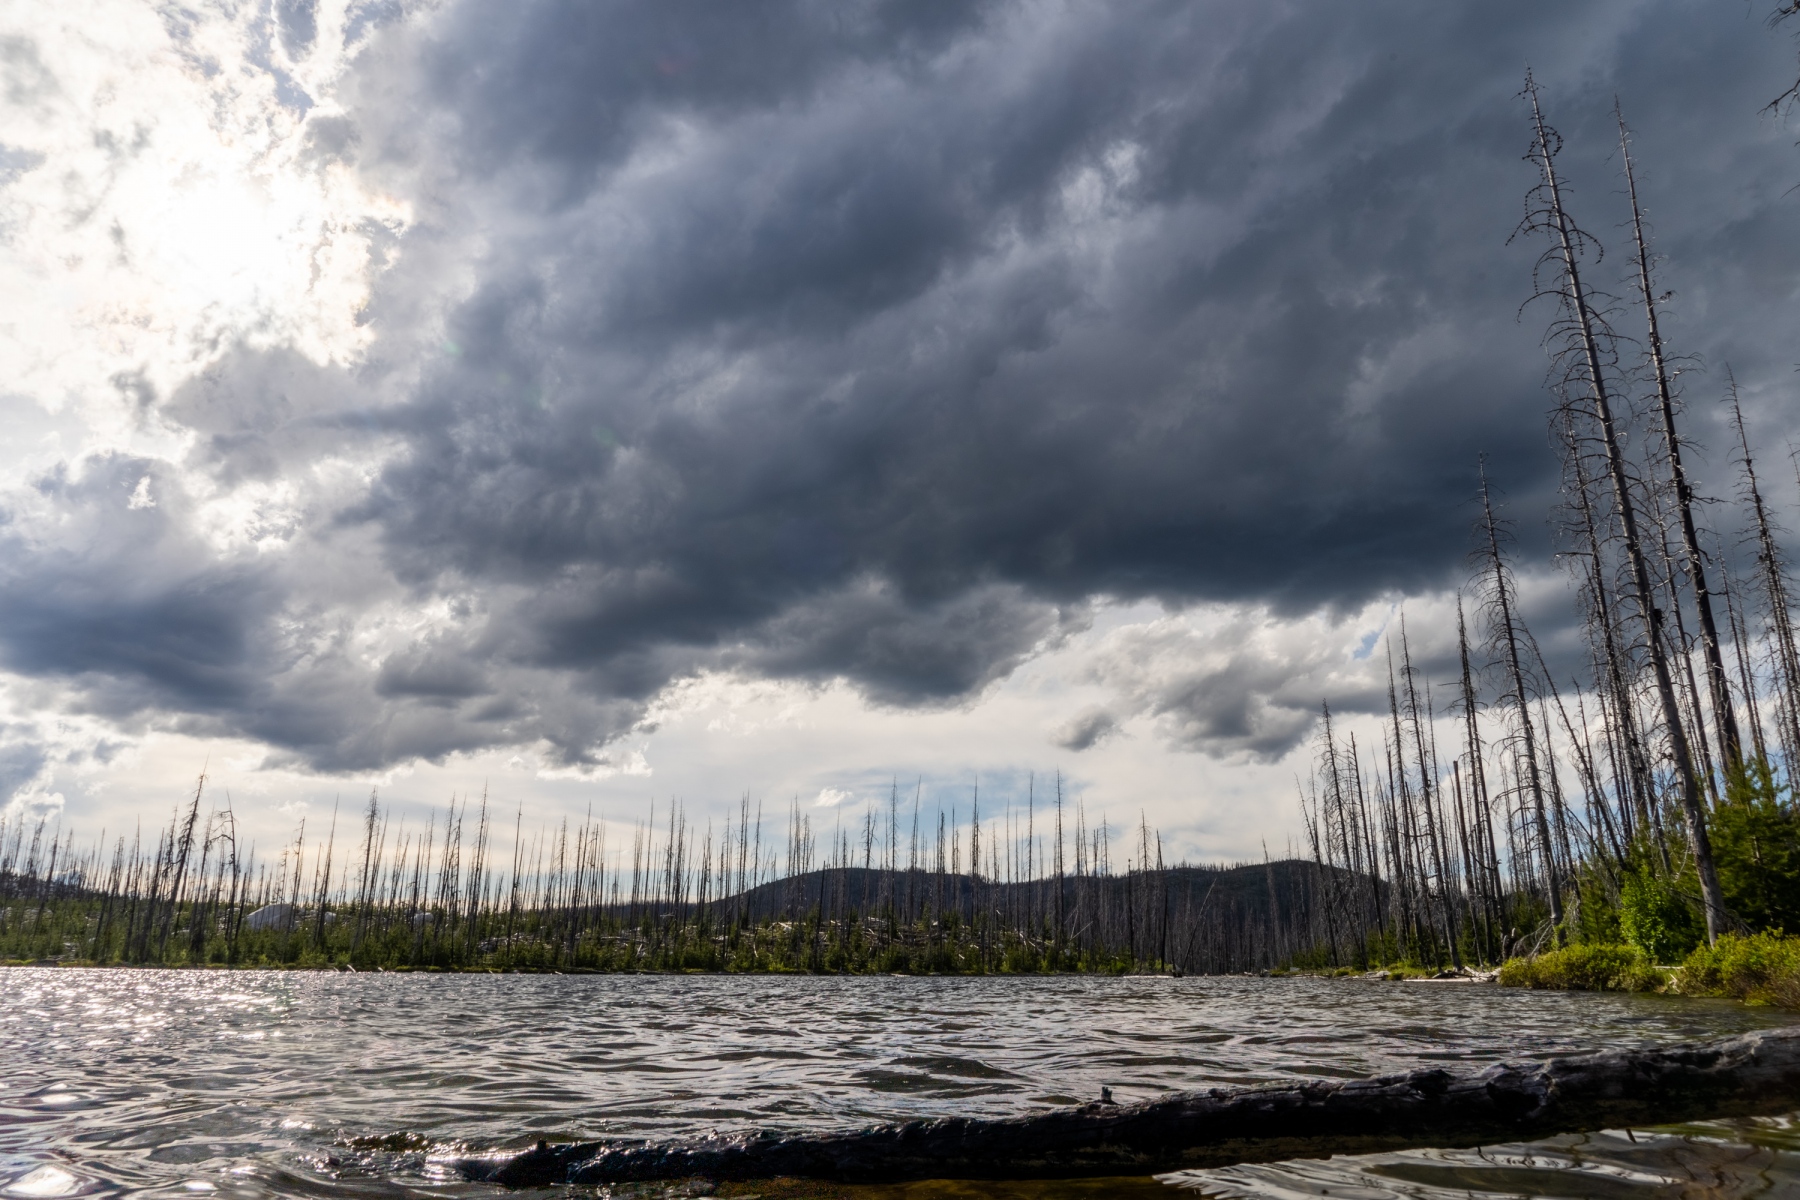
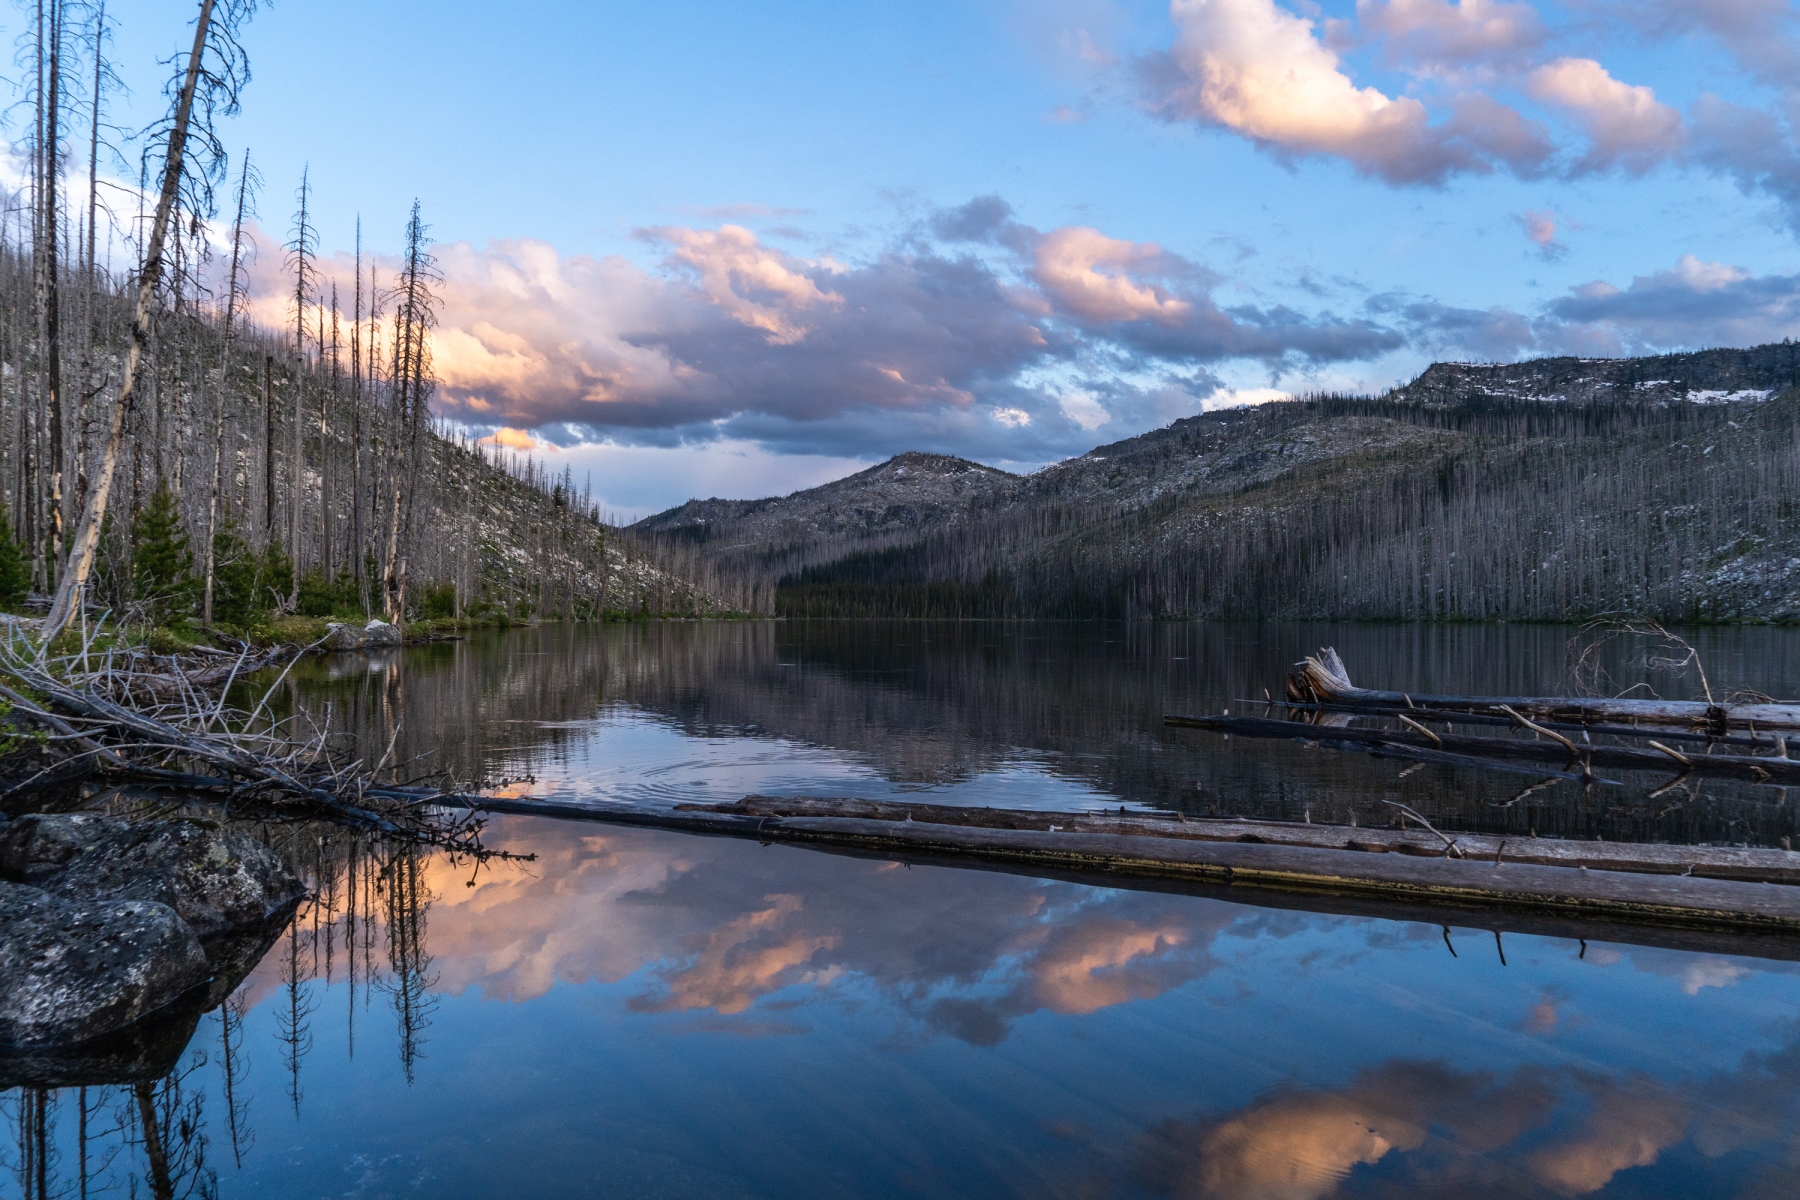
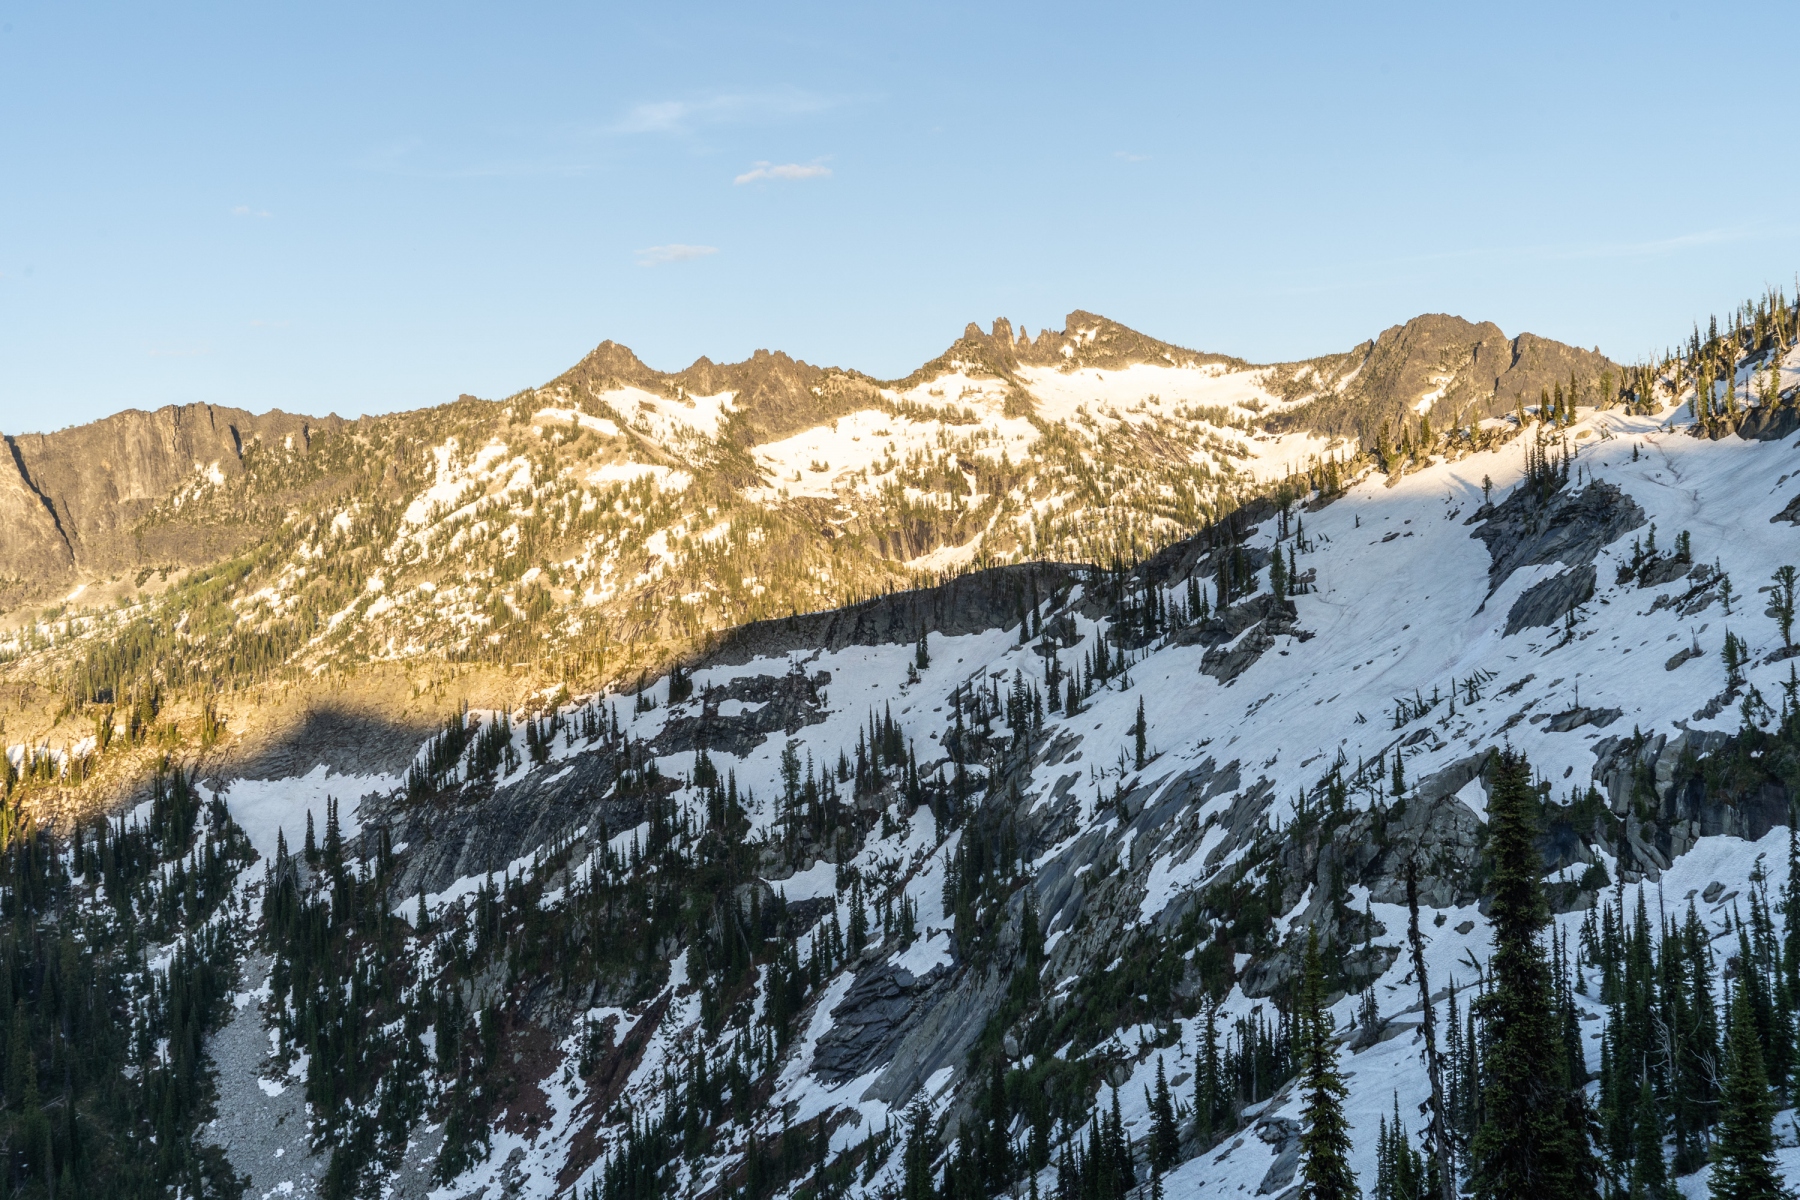
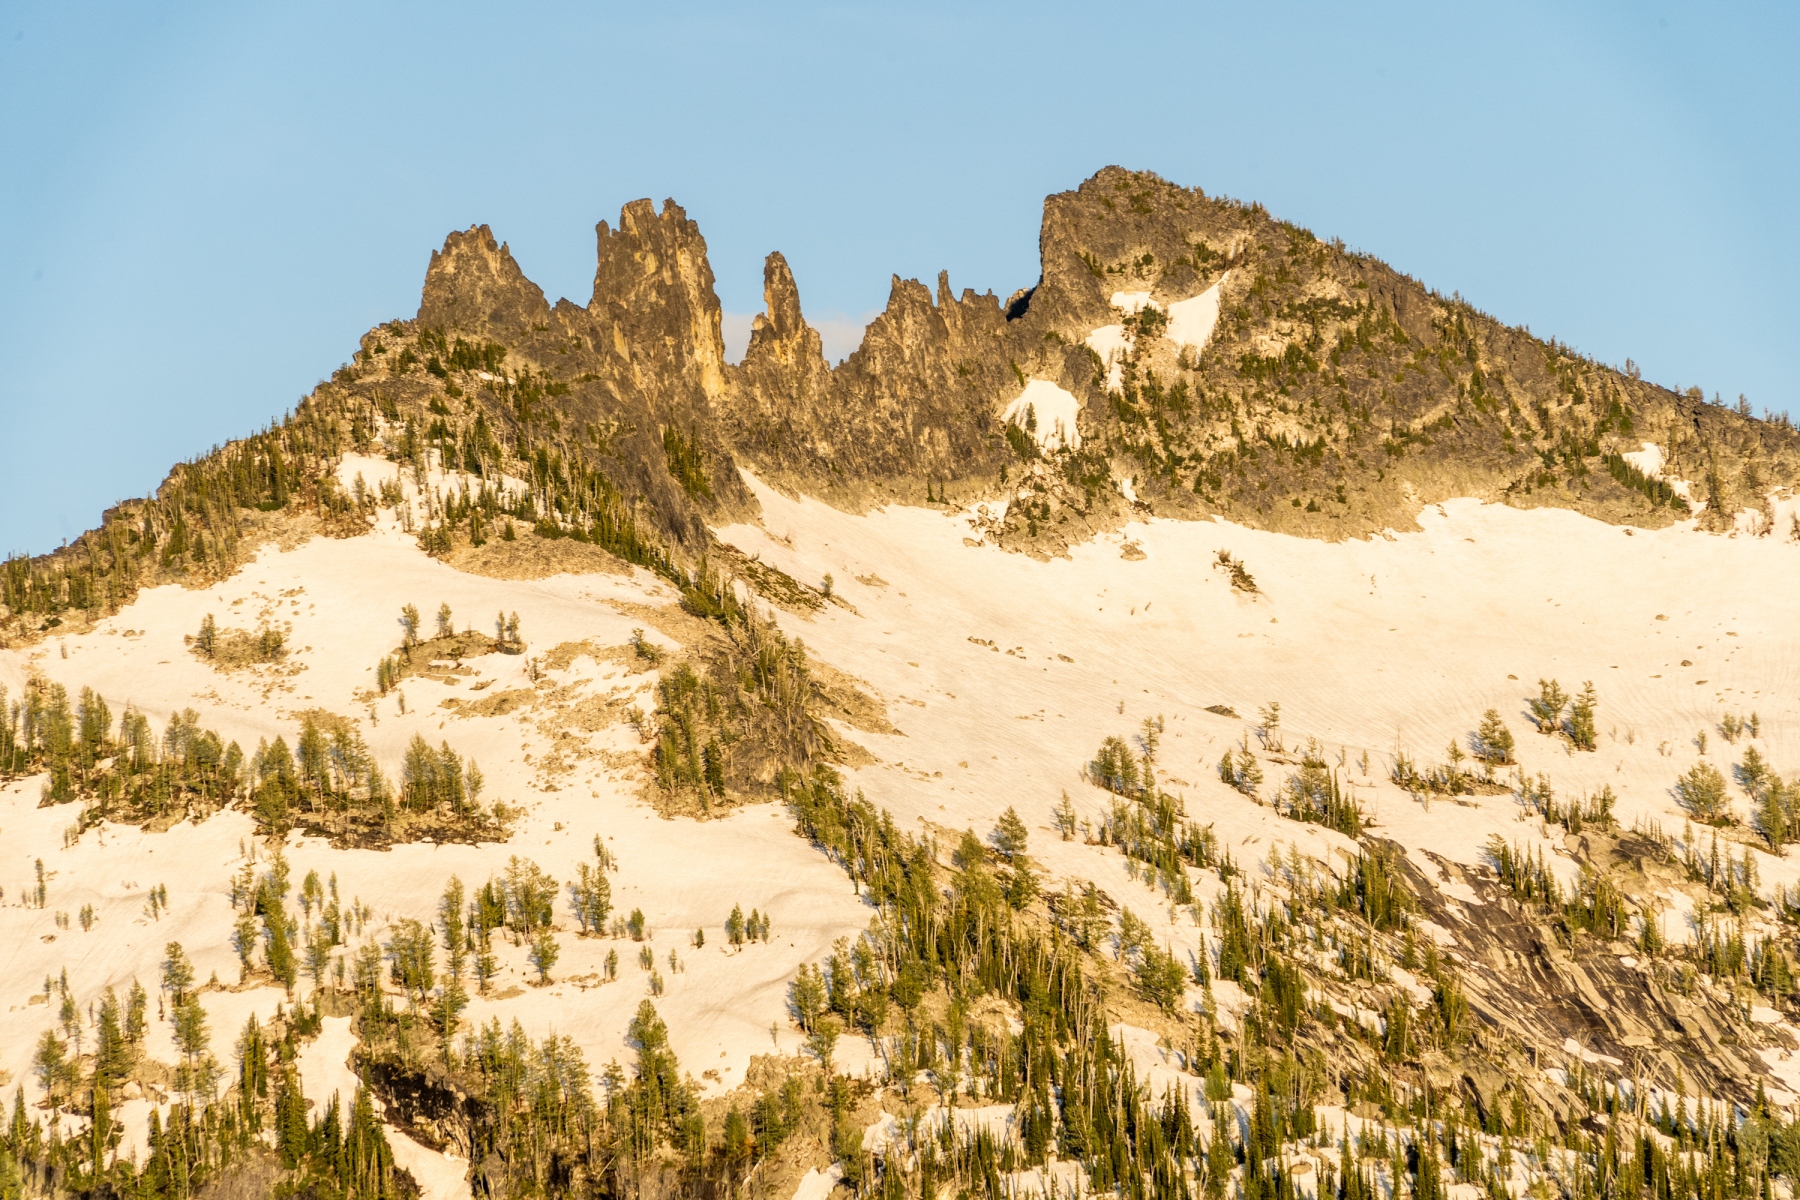
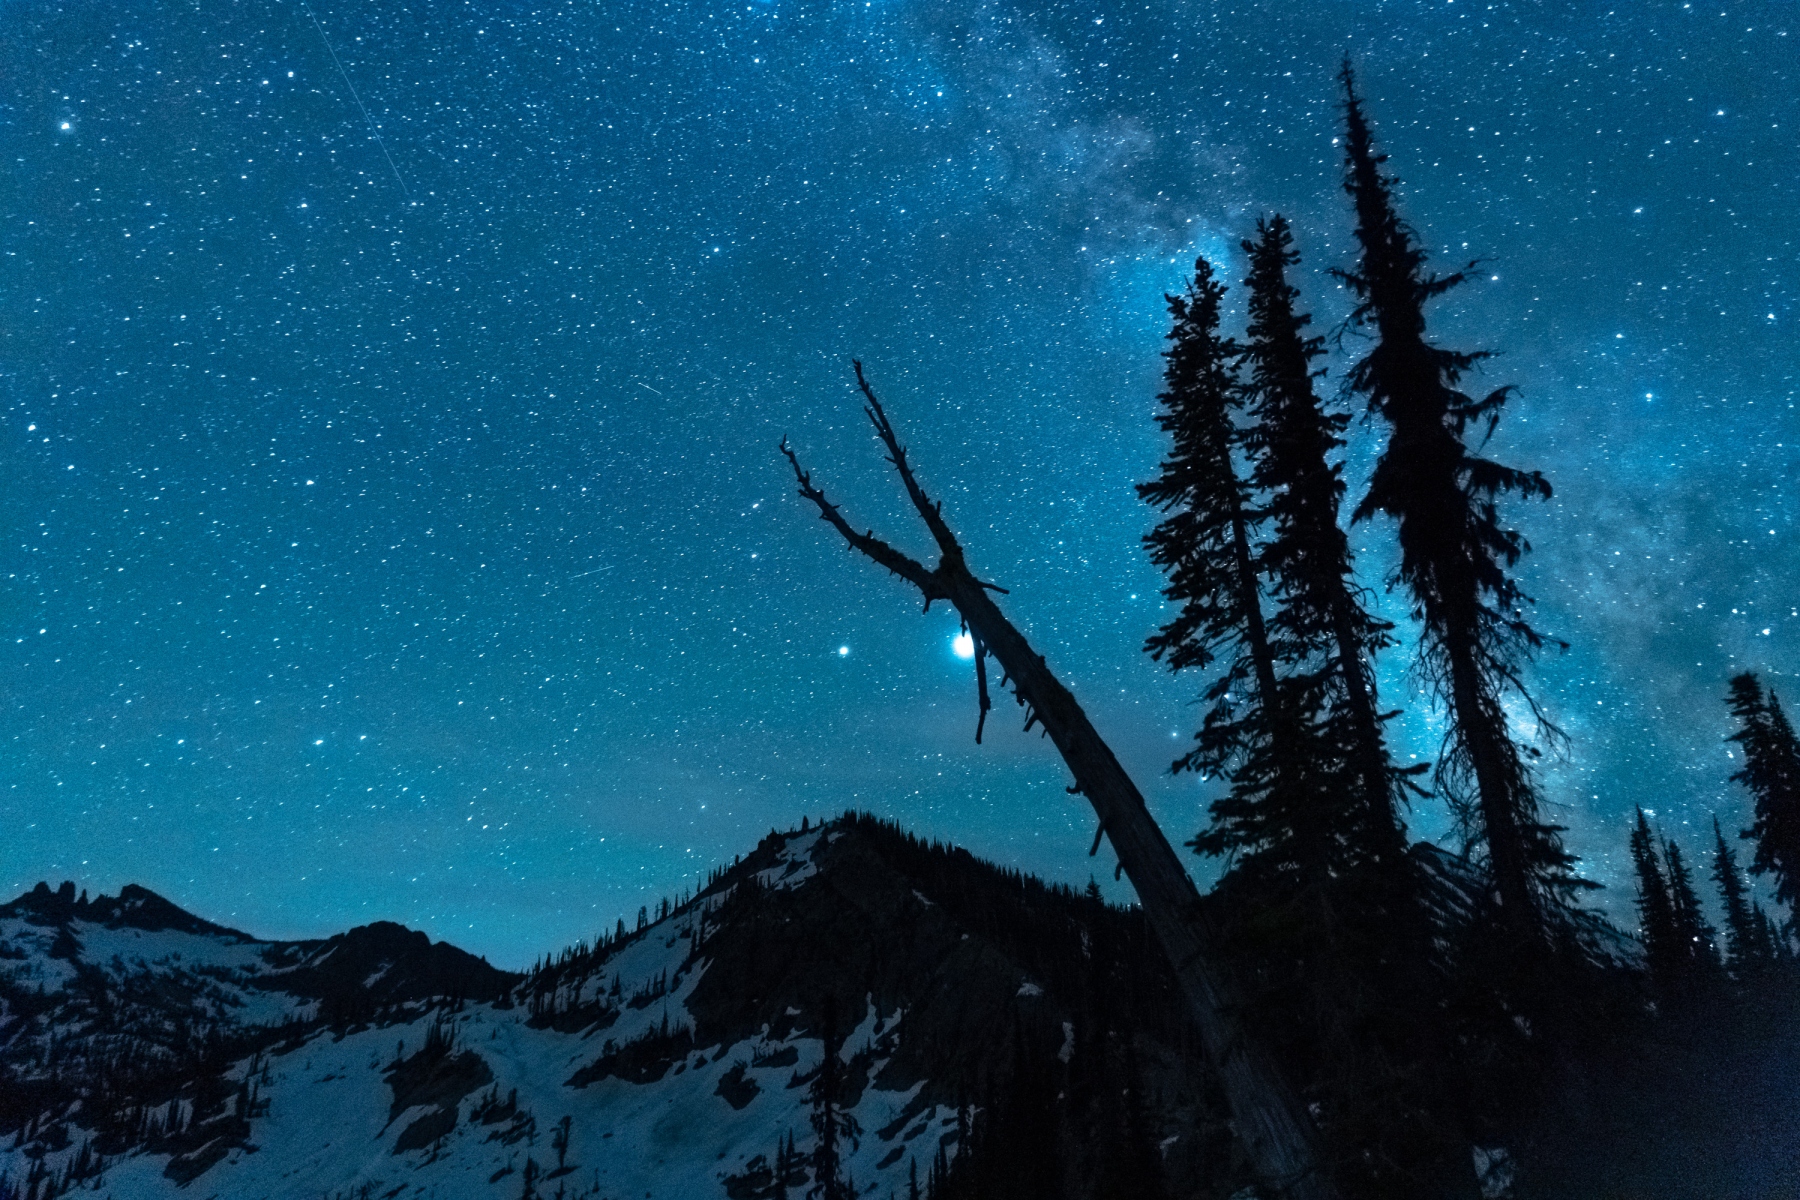
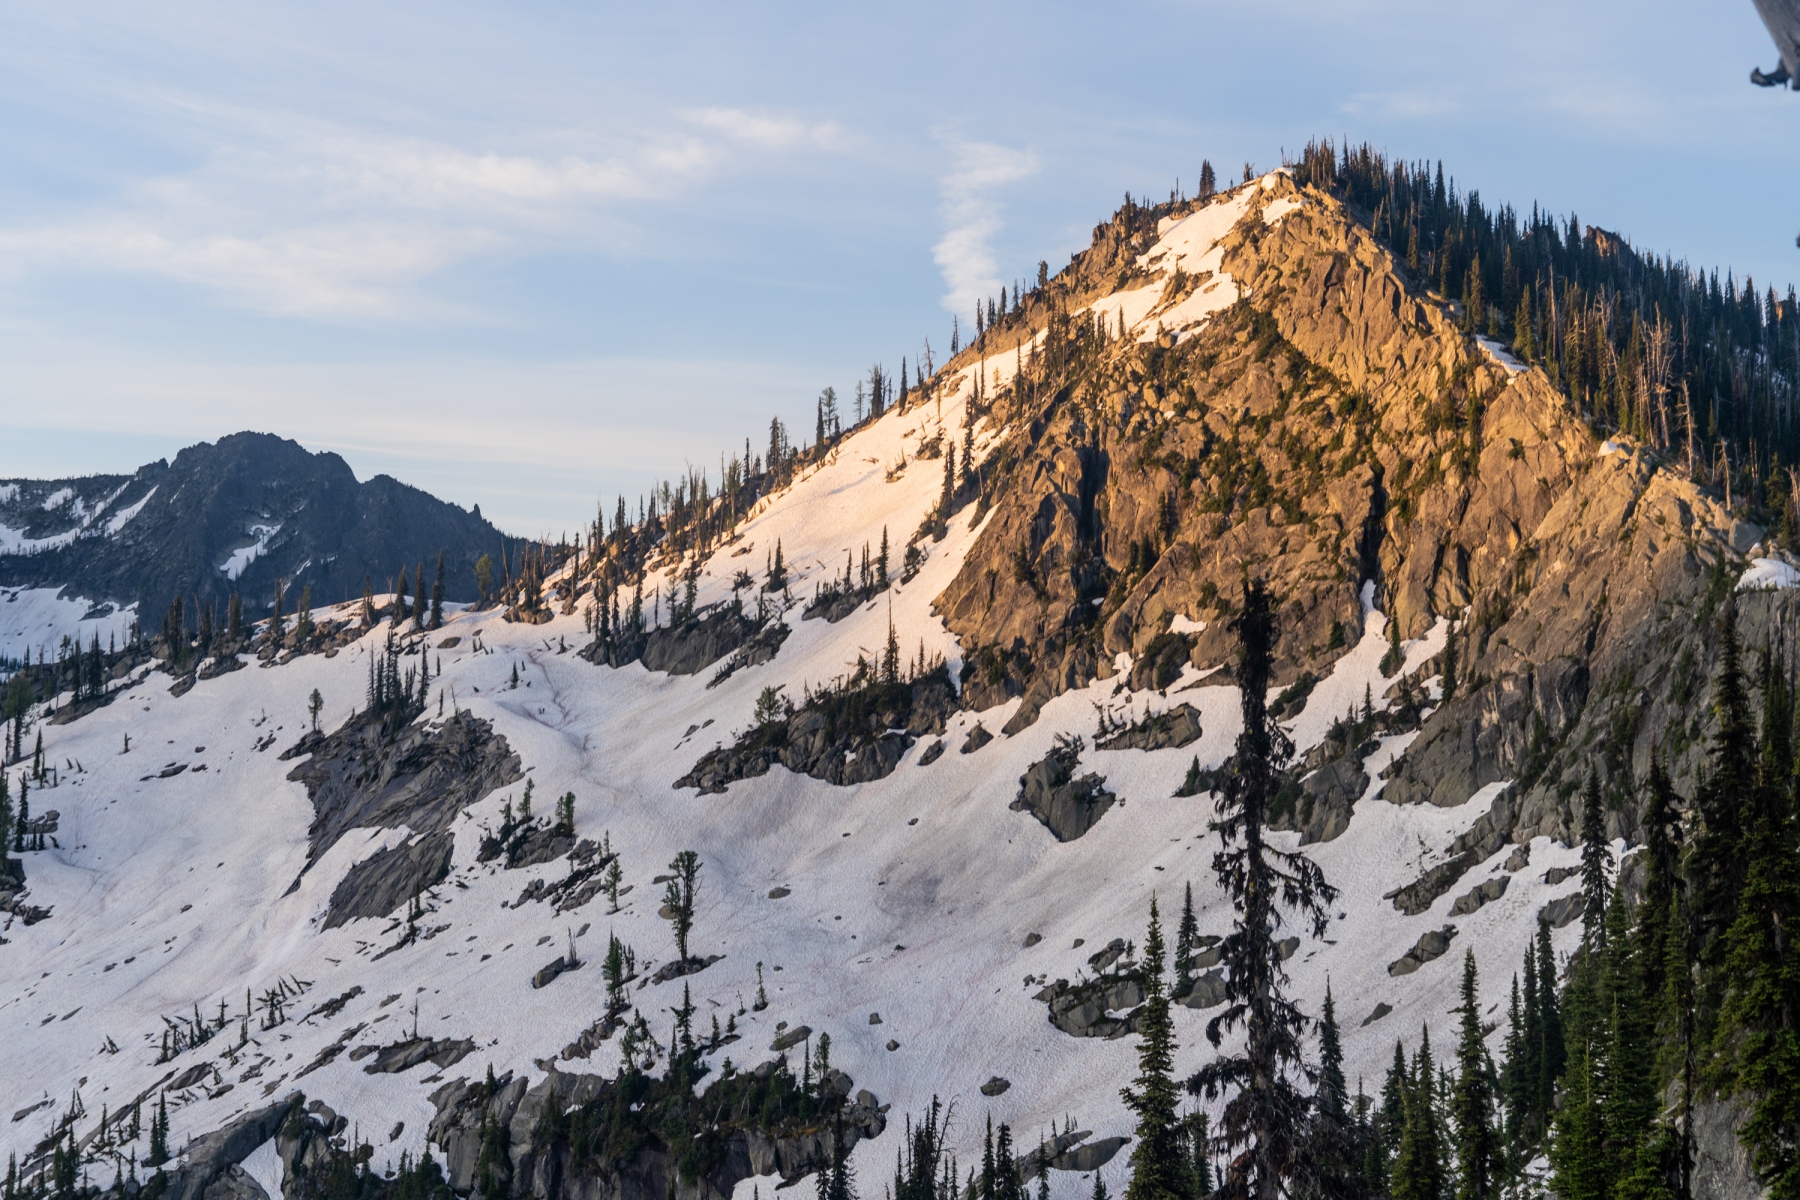
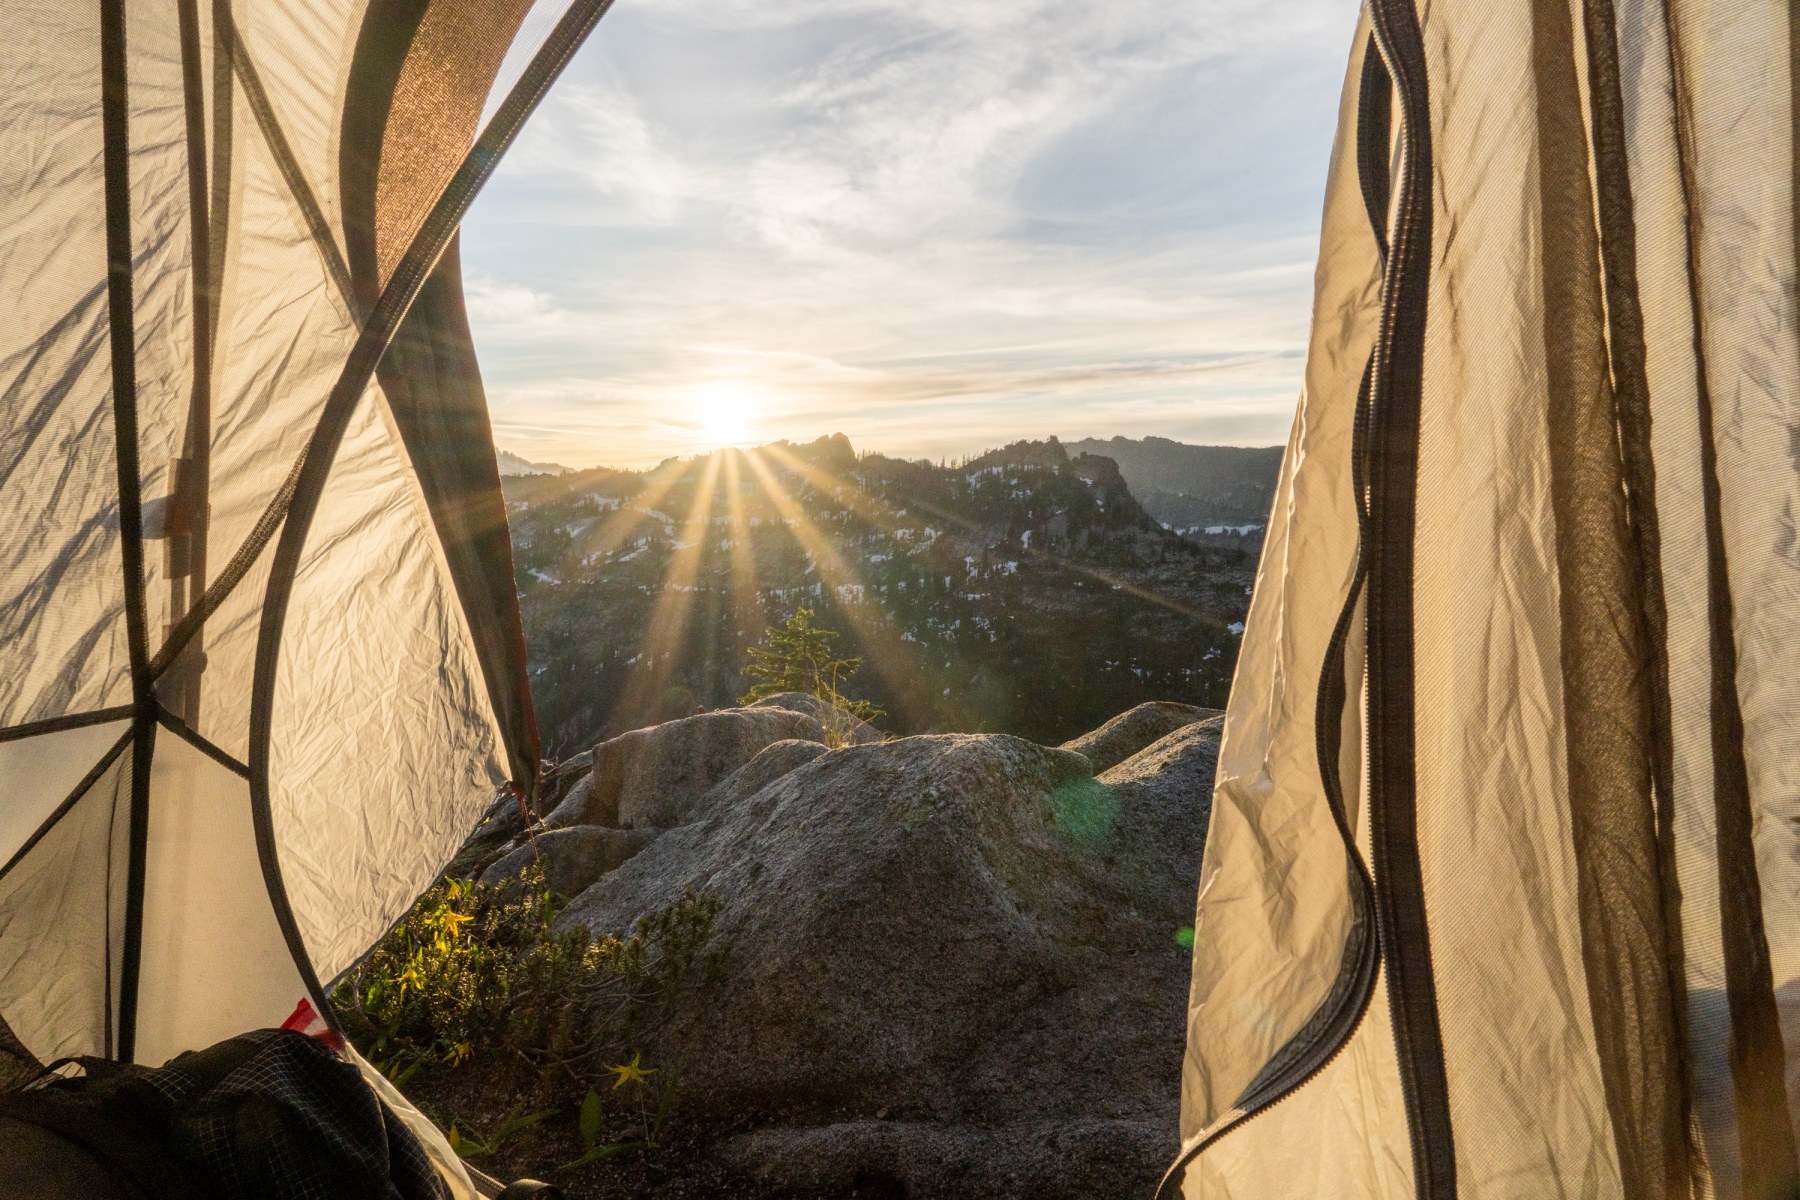
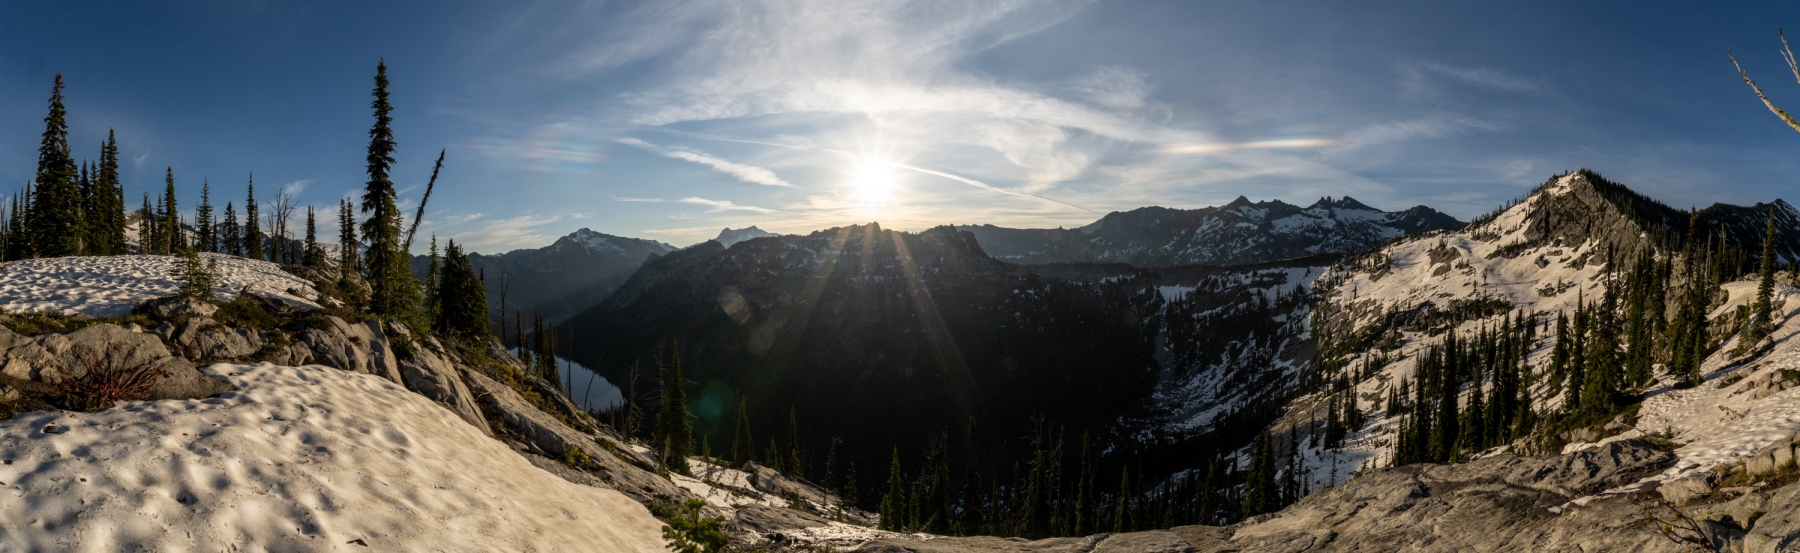
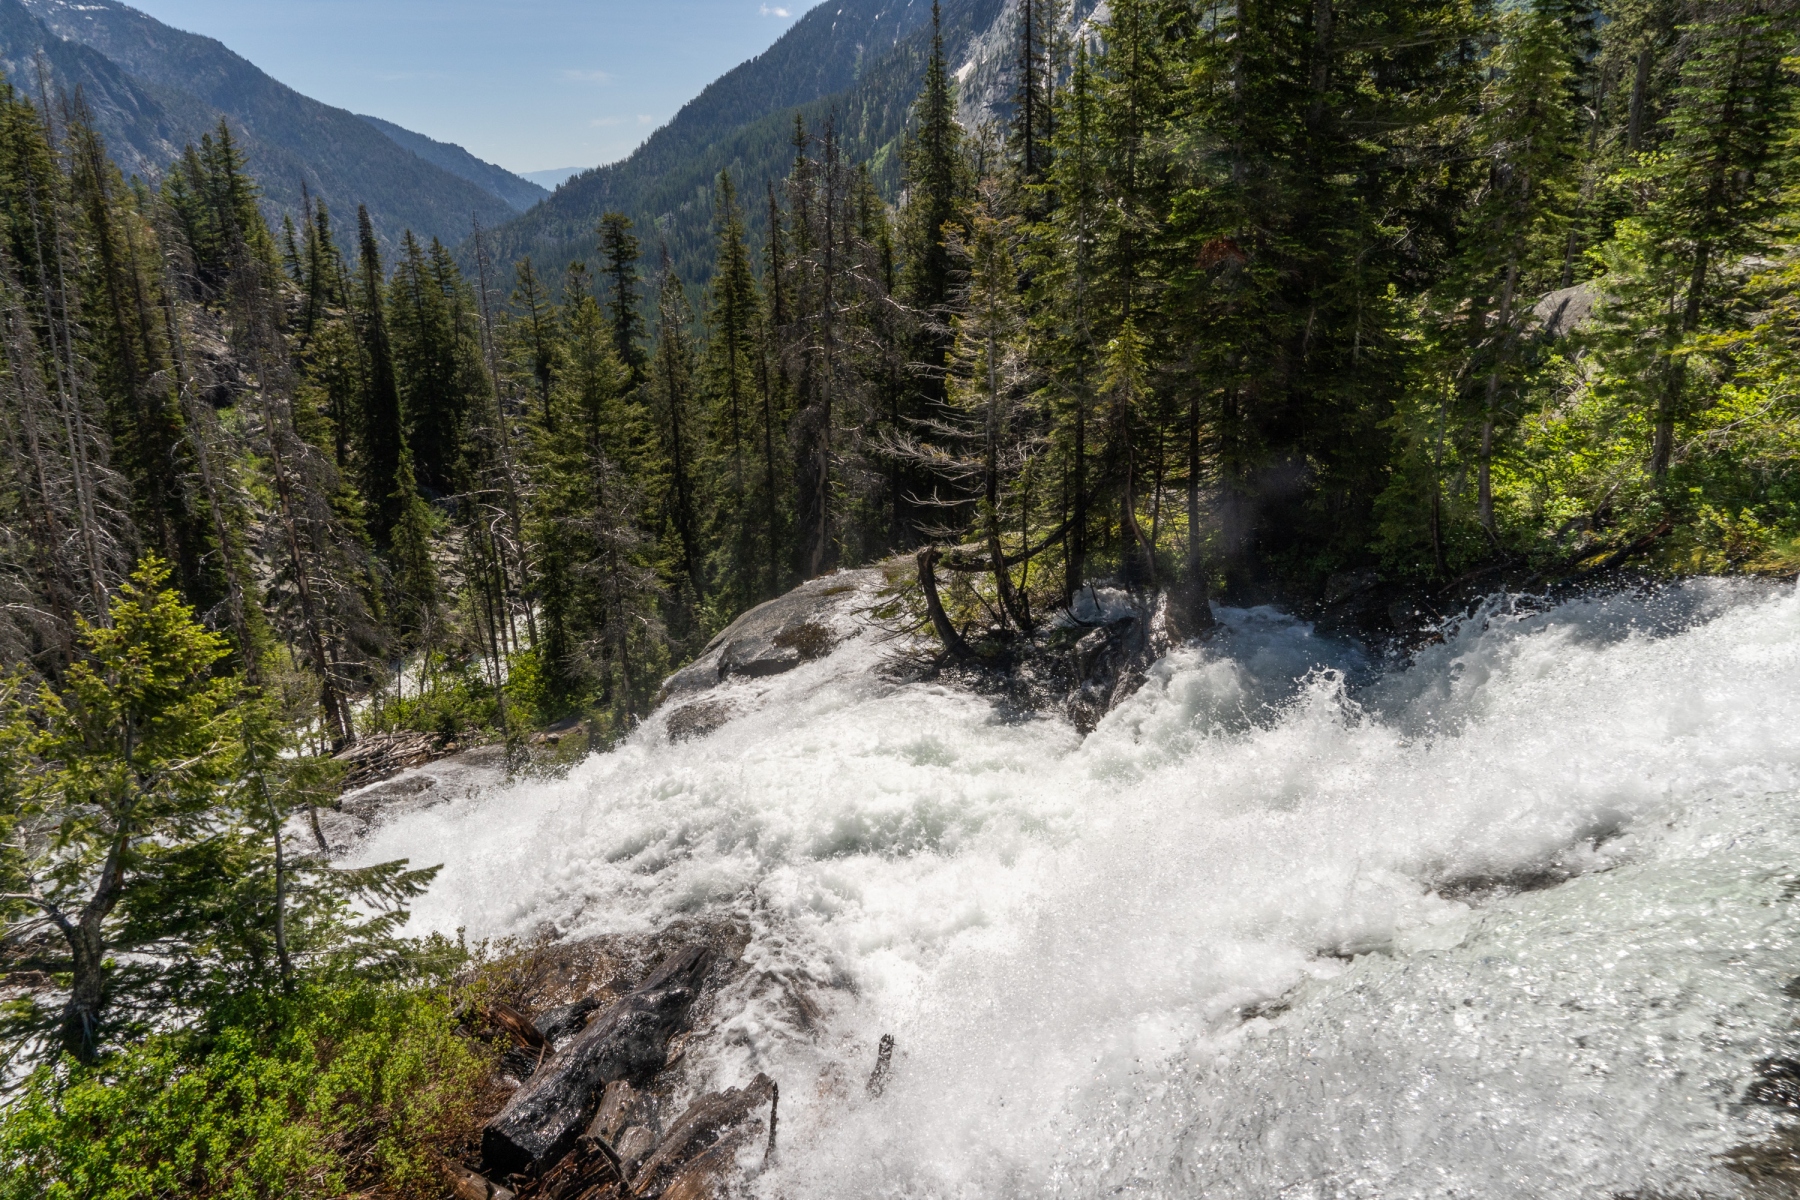
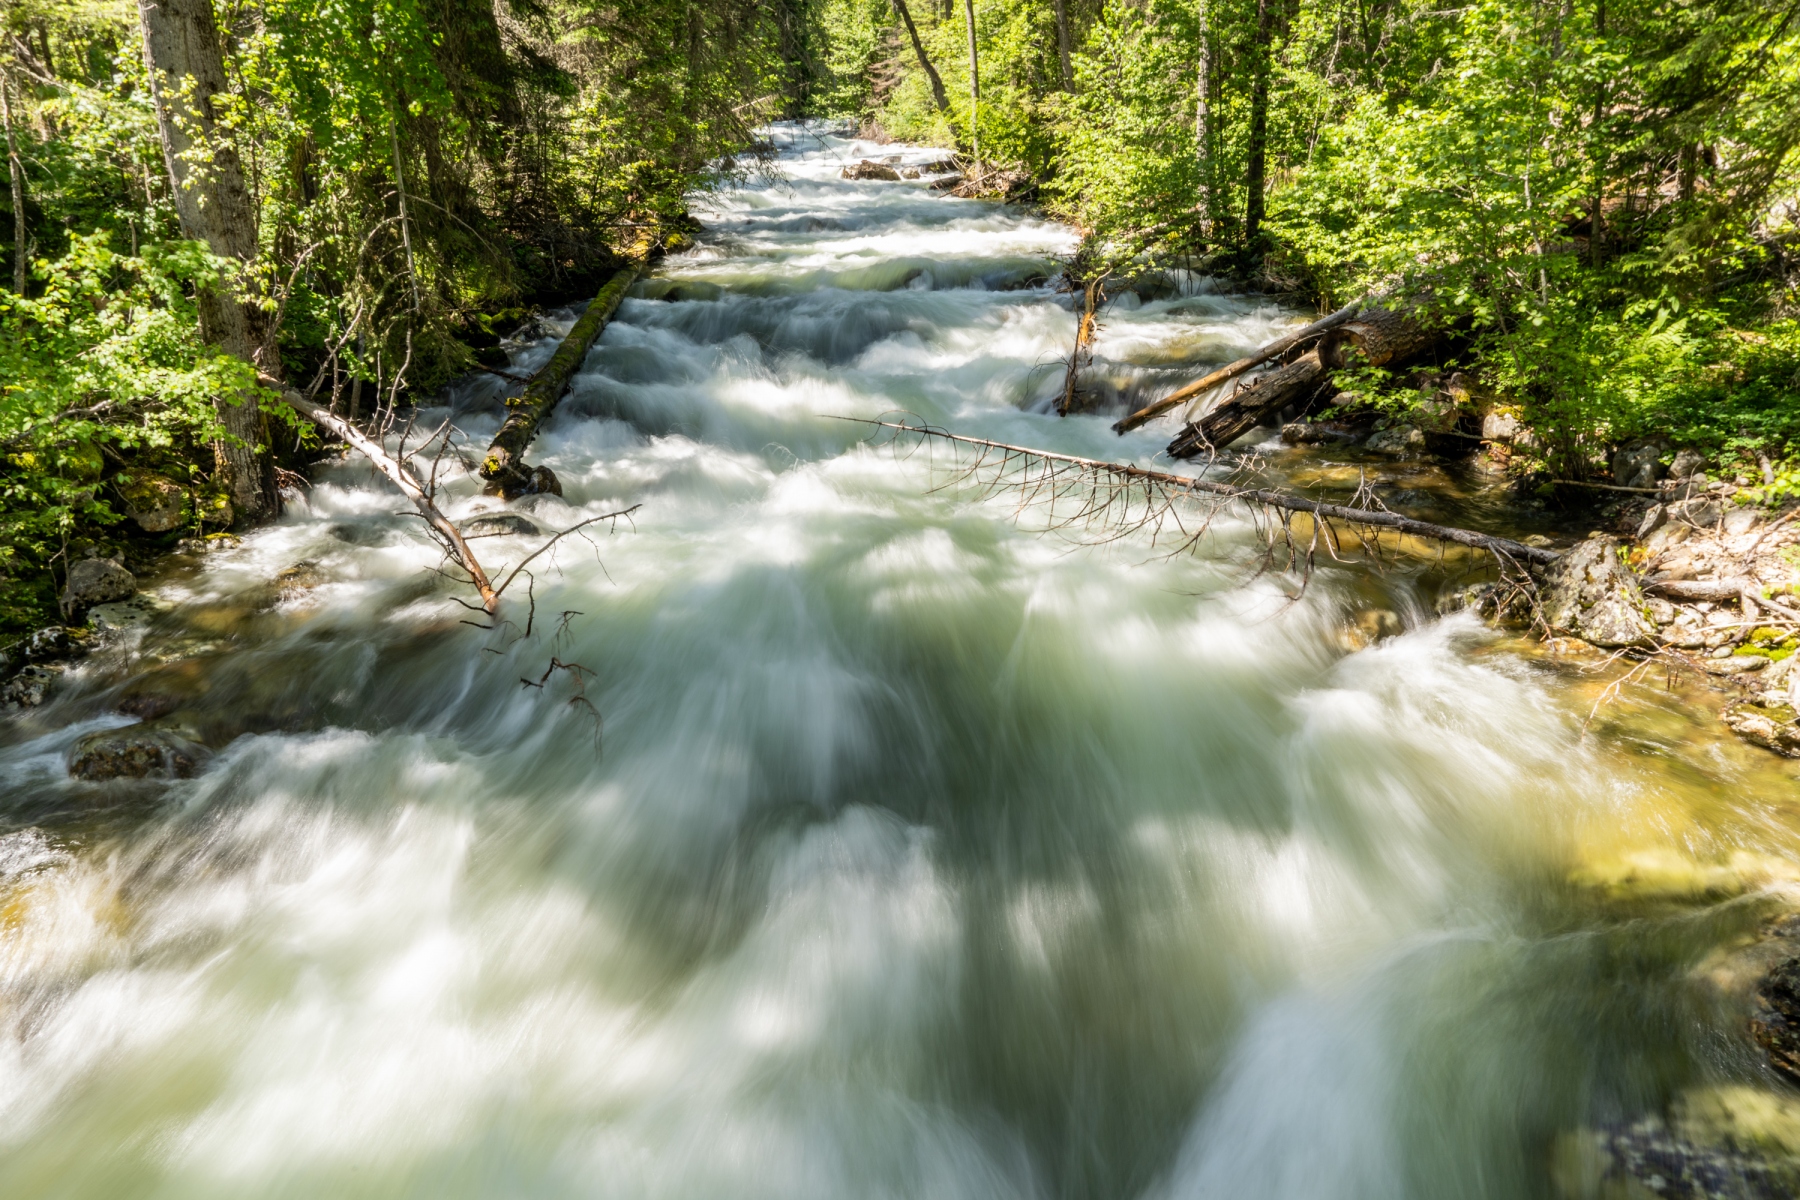
Scenery from the hike.