
Teton Crest Route
The Teton Crest Trail will take you through some of the best scenery in the Tetons, but it doesn't cover the entire range. This version of the Teton Crest Route includes the Teton Crest Trail plus an extension that will take you across the majority of the entire range. This is a true Teton Mountains traverse hike. It is mostly on a well-maintained trail, going through Grand Teton National Park, Jedediah Smith Wilderness, and Teton National Forest. There is one section of cross-country hiking to connect two trails, where you will summit Littles Peak and find commanding views of the entire Teton Range. You'll be in a high alpine environment for almost the entire hike with many alpine lakes, meadows, and passes. You'll find endless views every day, just hope the weather holds out!
Difficulty Rating: Medium
Stats
The route will take you through the Grand Teton National Park, but if you time it right you can camp outside of the park every night, so permits are not necessary.
Interactive Map
Getting There
Since this is an end-to-end hike, you will want to shuttle a car to the end of the trail or have someone pick you up at the end. We found it easiest to leave a car at the south end at the Teton Pass highway at the Phillips Bench Trailhead. After dropping that car off, we drove to the north end of the Hominy Peak trailhead. This trailhead is much more remote and requires a long drive down a few dirt roads. The Ashton-Flagg Ranch road is long and dusty but in good shape. Turning down Forest Road 264 is a little rougher with some potholes, but any car should be able to make it. Going from Phillips Bench Trailhead to Hominy Peak Trailhead, google maps tried to take us down a very rough road where we had to turn around. I'd suggest you take this route instead; it will be faster.
The Route (southbound)
Day 1: 6 miles
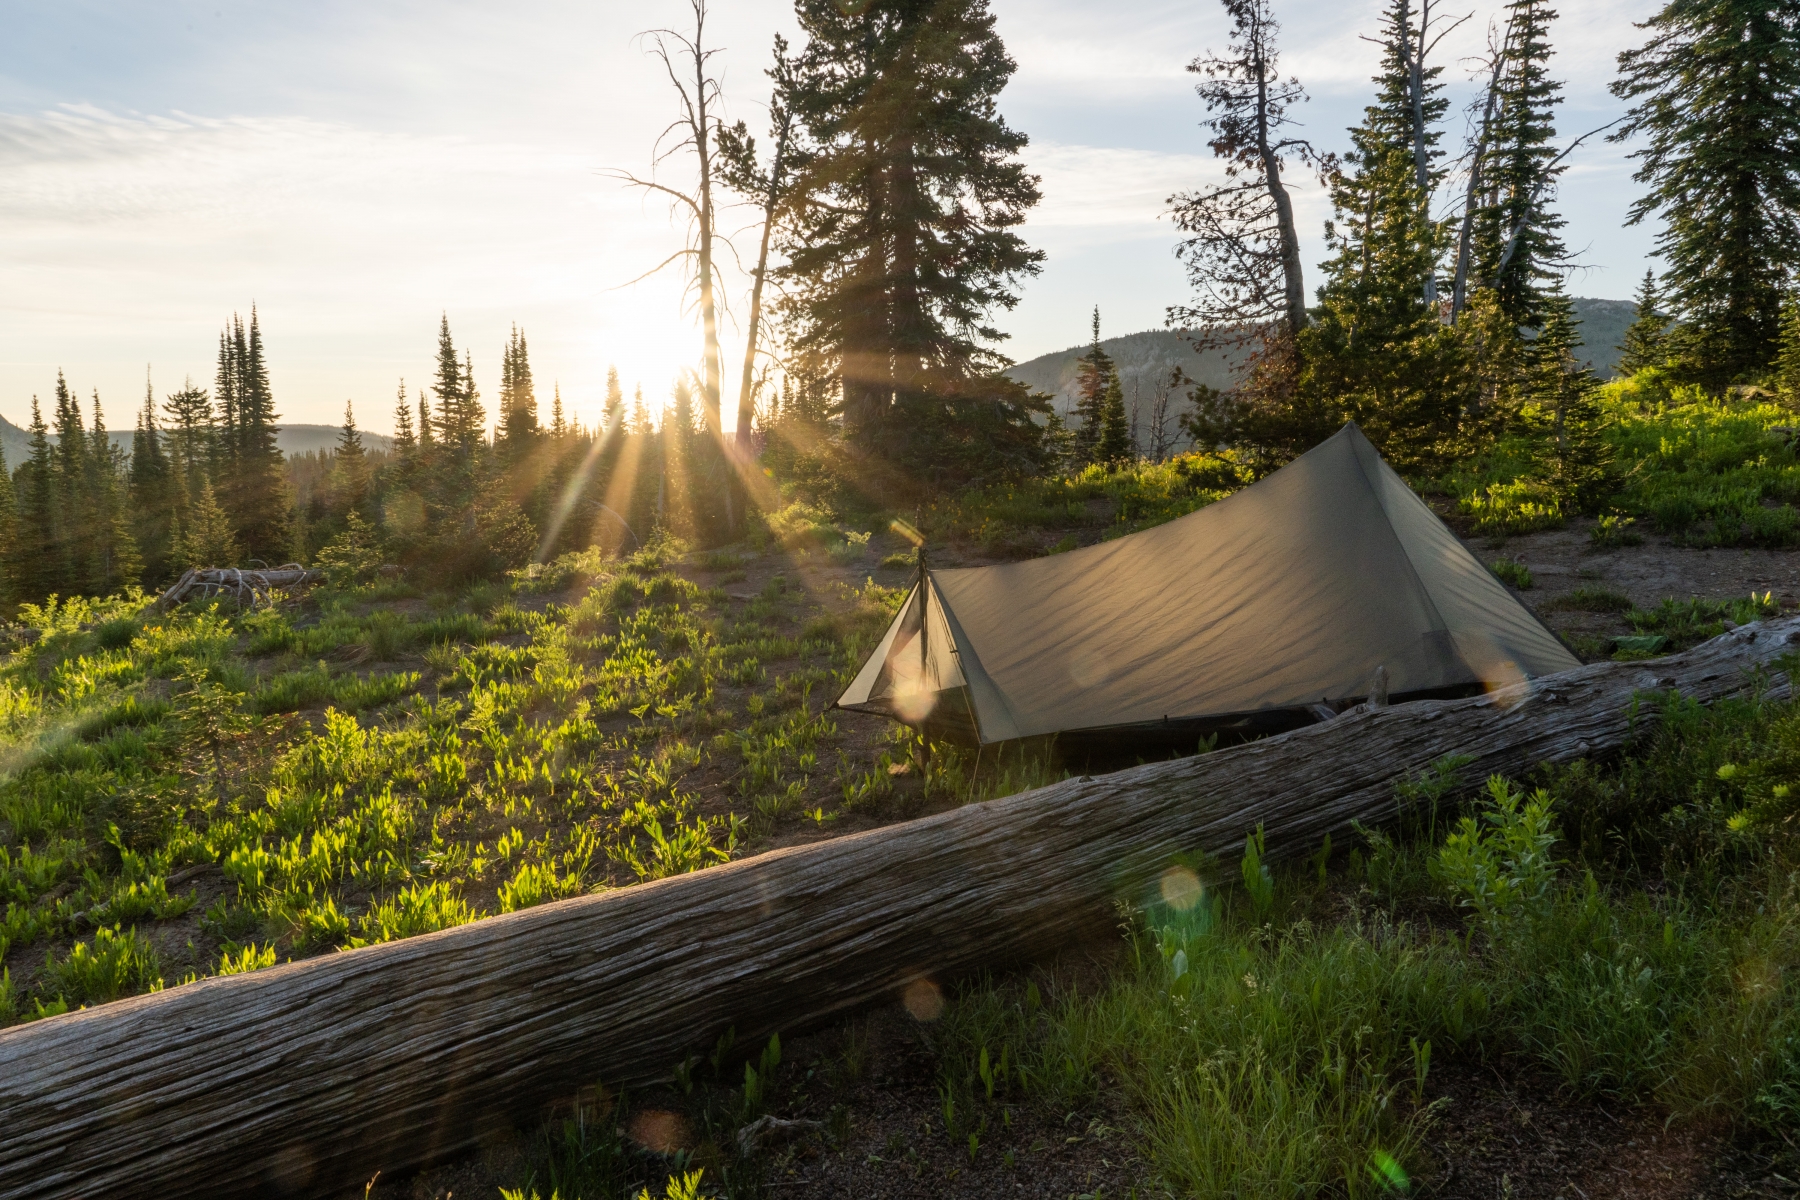
Summary: After driving and shuttling cars all day, we got an afternoon start and only planned on doing a few miles. It would be a relatively mellow climb up to our campsite by some ponds.
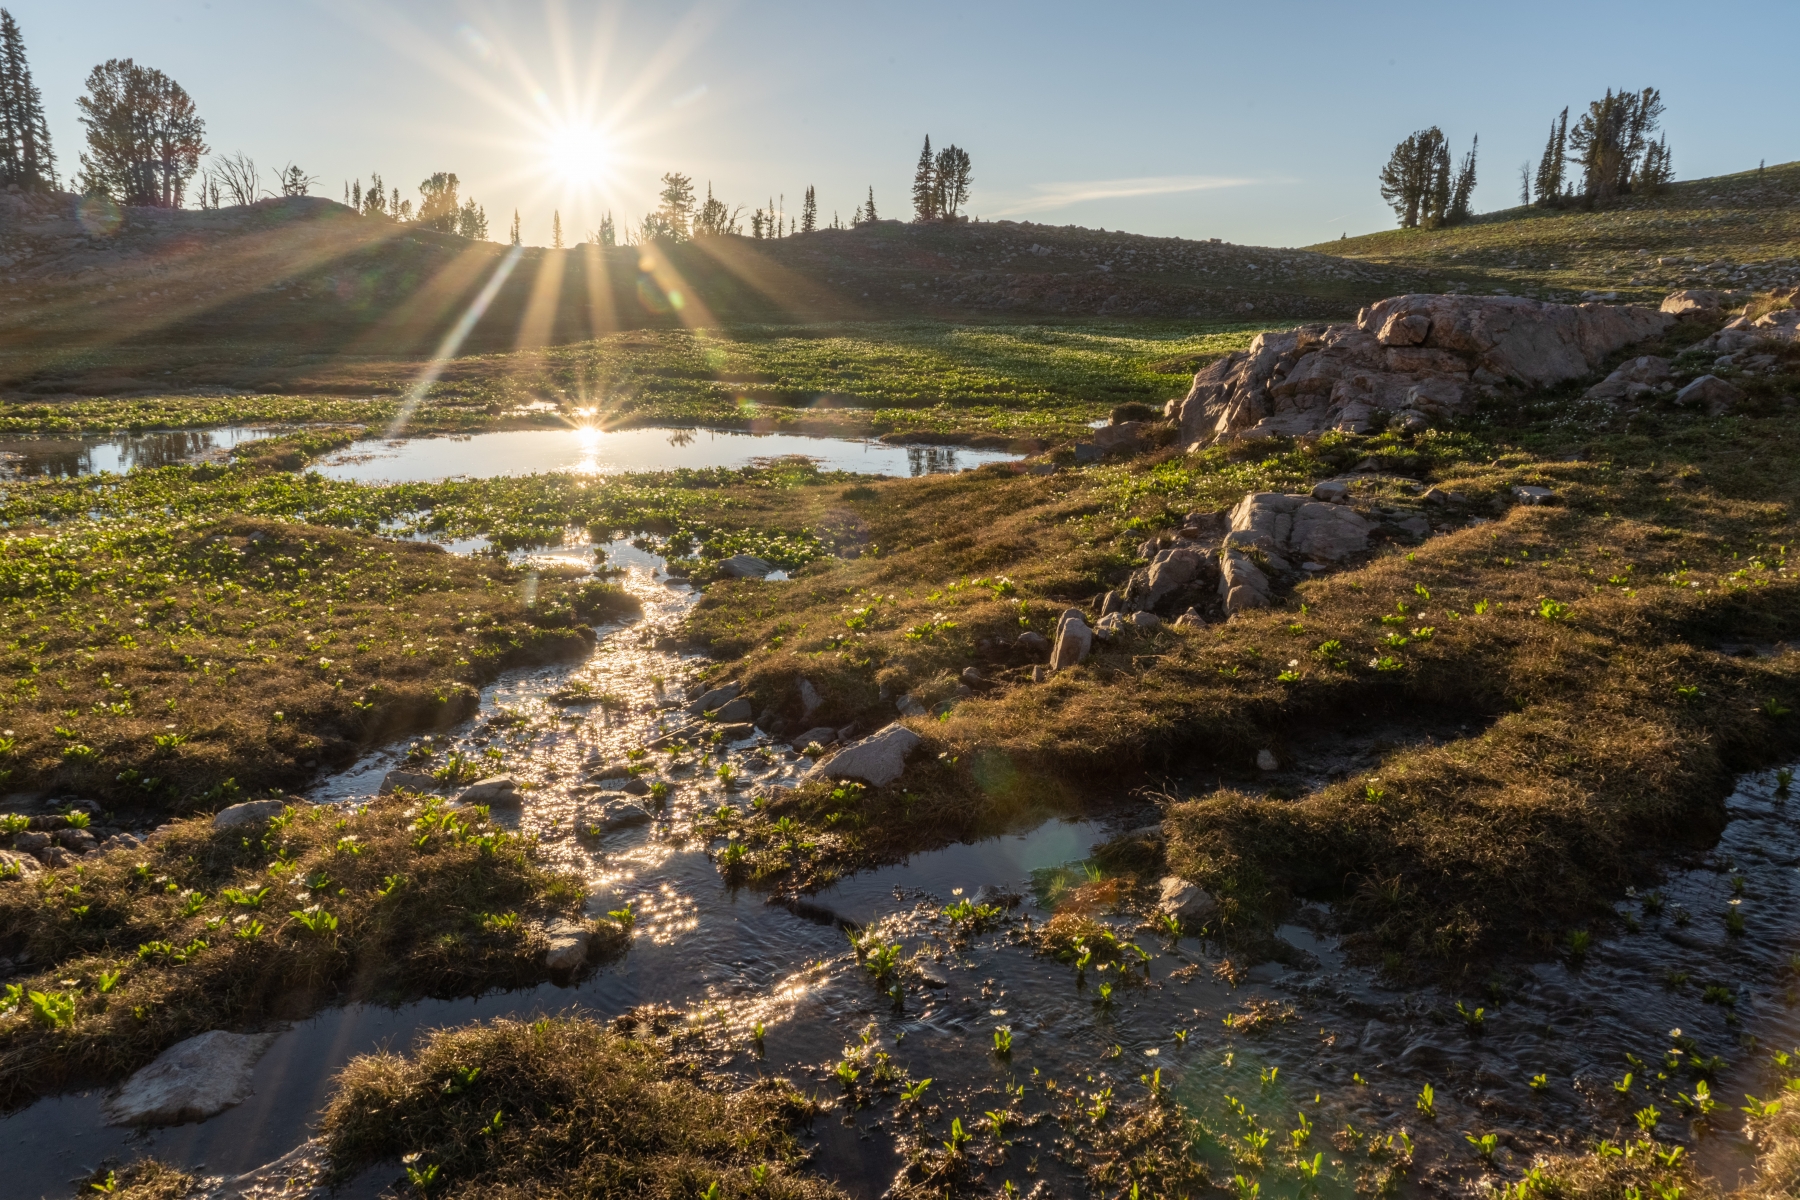
Starting at Hominy Peak Trailhead, you'll have a gradual and forested climb to the peak. There is a spring marked on the map just east of the peak and below the trail a little bit, but we didn't check it out. Along the way, keep an eye out for obsidian on the ground. This looks like a very interesting volcanic area. After Hominy Peak, it's relatively level to the rather uninteresting Jackass Pass. Then you'll be going in and out of the Grand Teton National Park for the next few miles. To the east of the trail, there will be some small ponds and the only water source in this area. As soon as we got back out of the National Park, we filled up our water from the southernmost pond and set camp up.


Day 2: 18 miles
Summary: Probably the most challenging day of the hike for two reasons, poorly maintained trail and lots of elevation change. The scenery kept improving throughout the day, though.
Continue on the Teton Crest Trail to Conant Pass, which isn't much of a pass. It will give you a good view of what's coming up, though. The trail will be hard to follow here. It is clearly not used often; the vegetation is very overgrown. Look for cairns poking out of the brush. After the pass, head west, and downhill. The Teton Crest Trail will make a sharp turn to the south, around the 8,000-foot mark. This turn is not marked and no visible trail going in that direction. If you reach the junction with the Conant Basin and Conant Pass Wilderness trail, you have gone about .3 miles too far. The Teton Crest Trail works southeast toward Youngs Point, but it is very hard to follow. The tread is basically gone in most places, so you'll be doing some bushwhacking. The forest is sparse, though vegetation is easy to move through. There is a sign at the junction with the Red Mountain Trail, but it's short and it may be obscured by vegetation. After this junction, the trail becomes a little easier to follow.
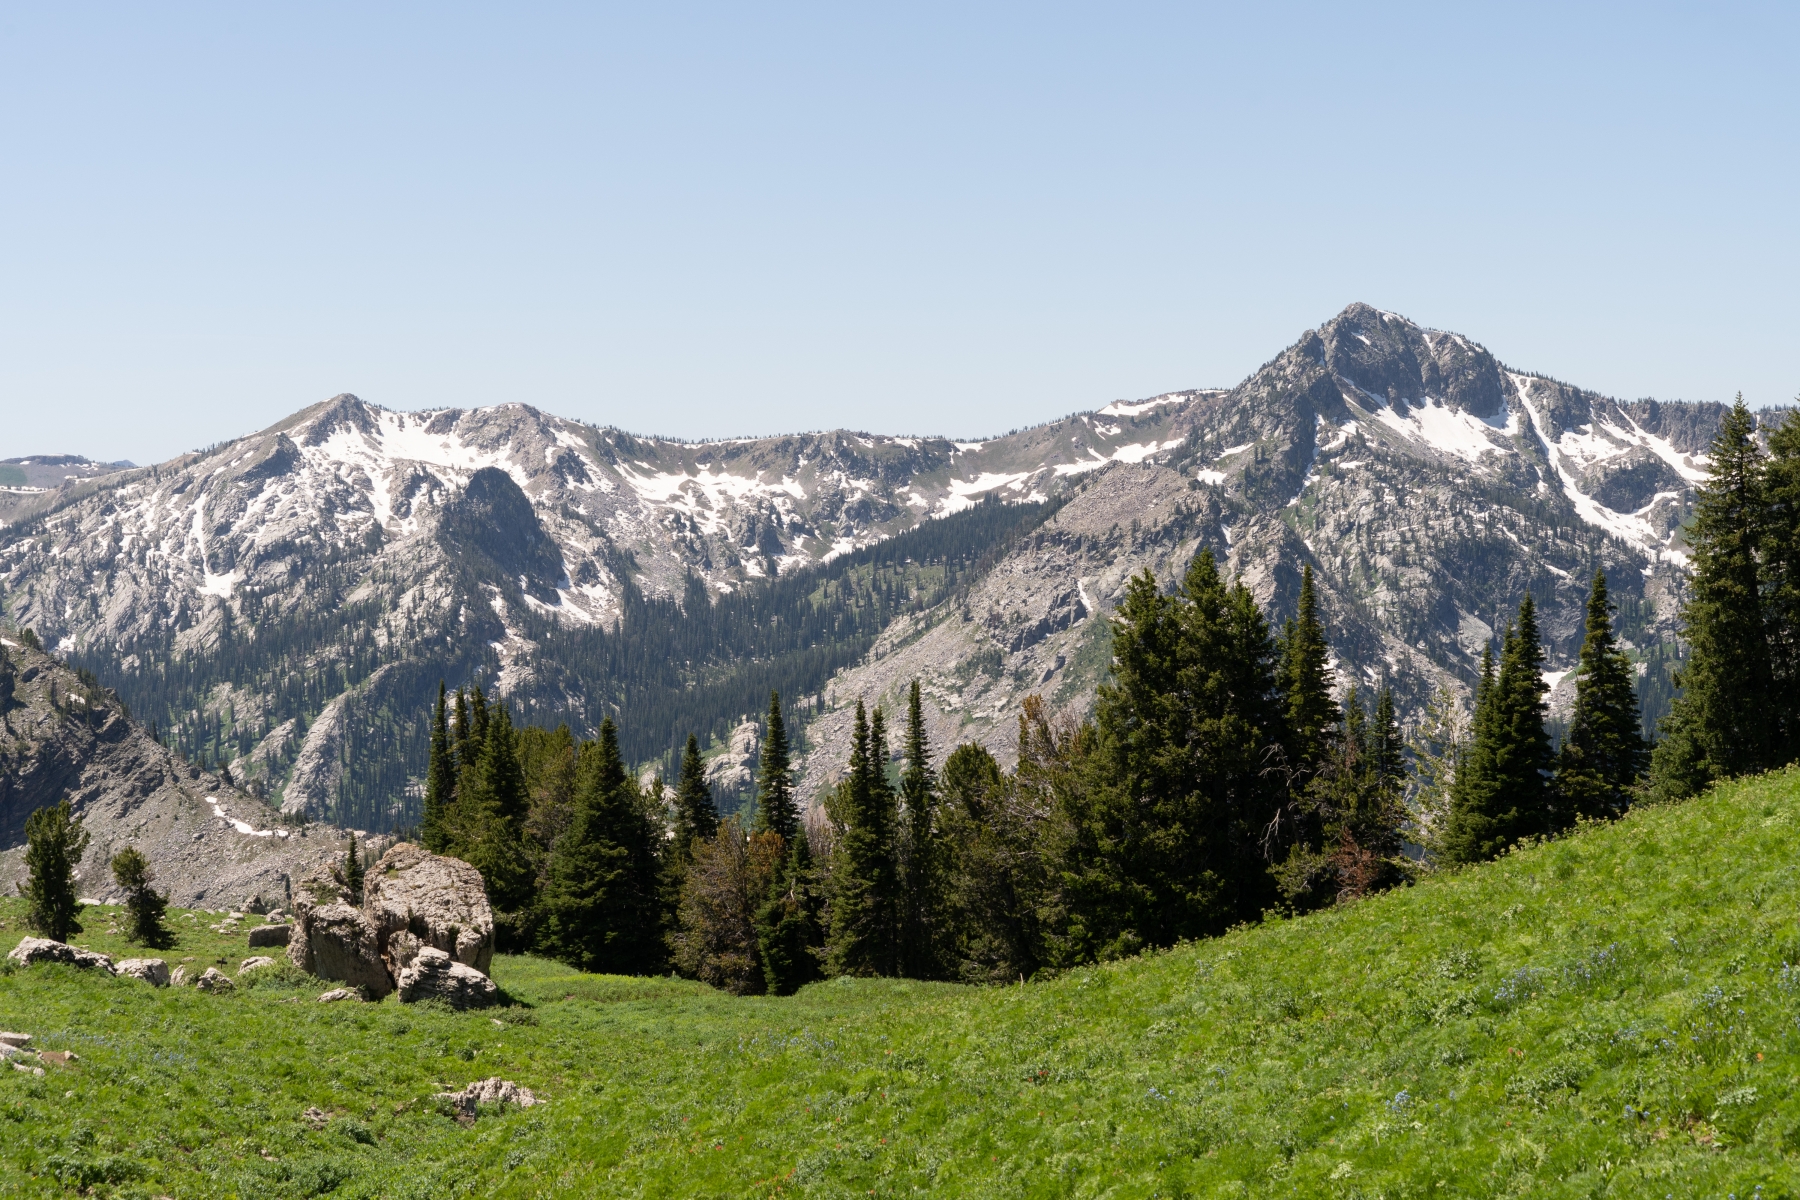
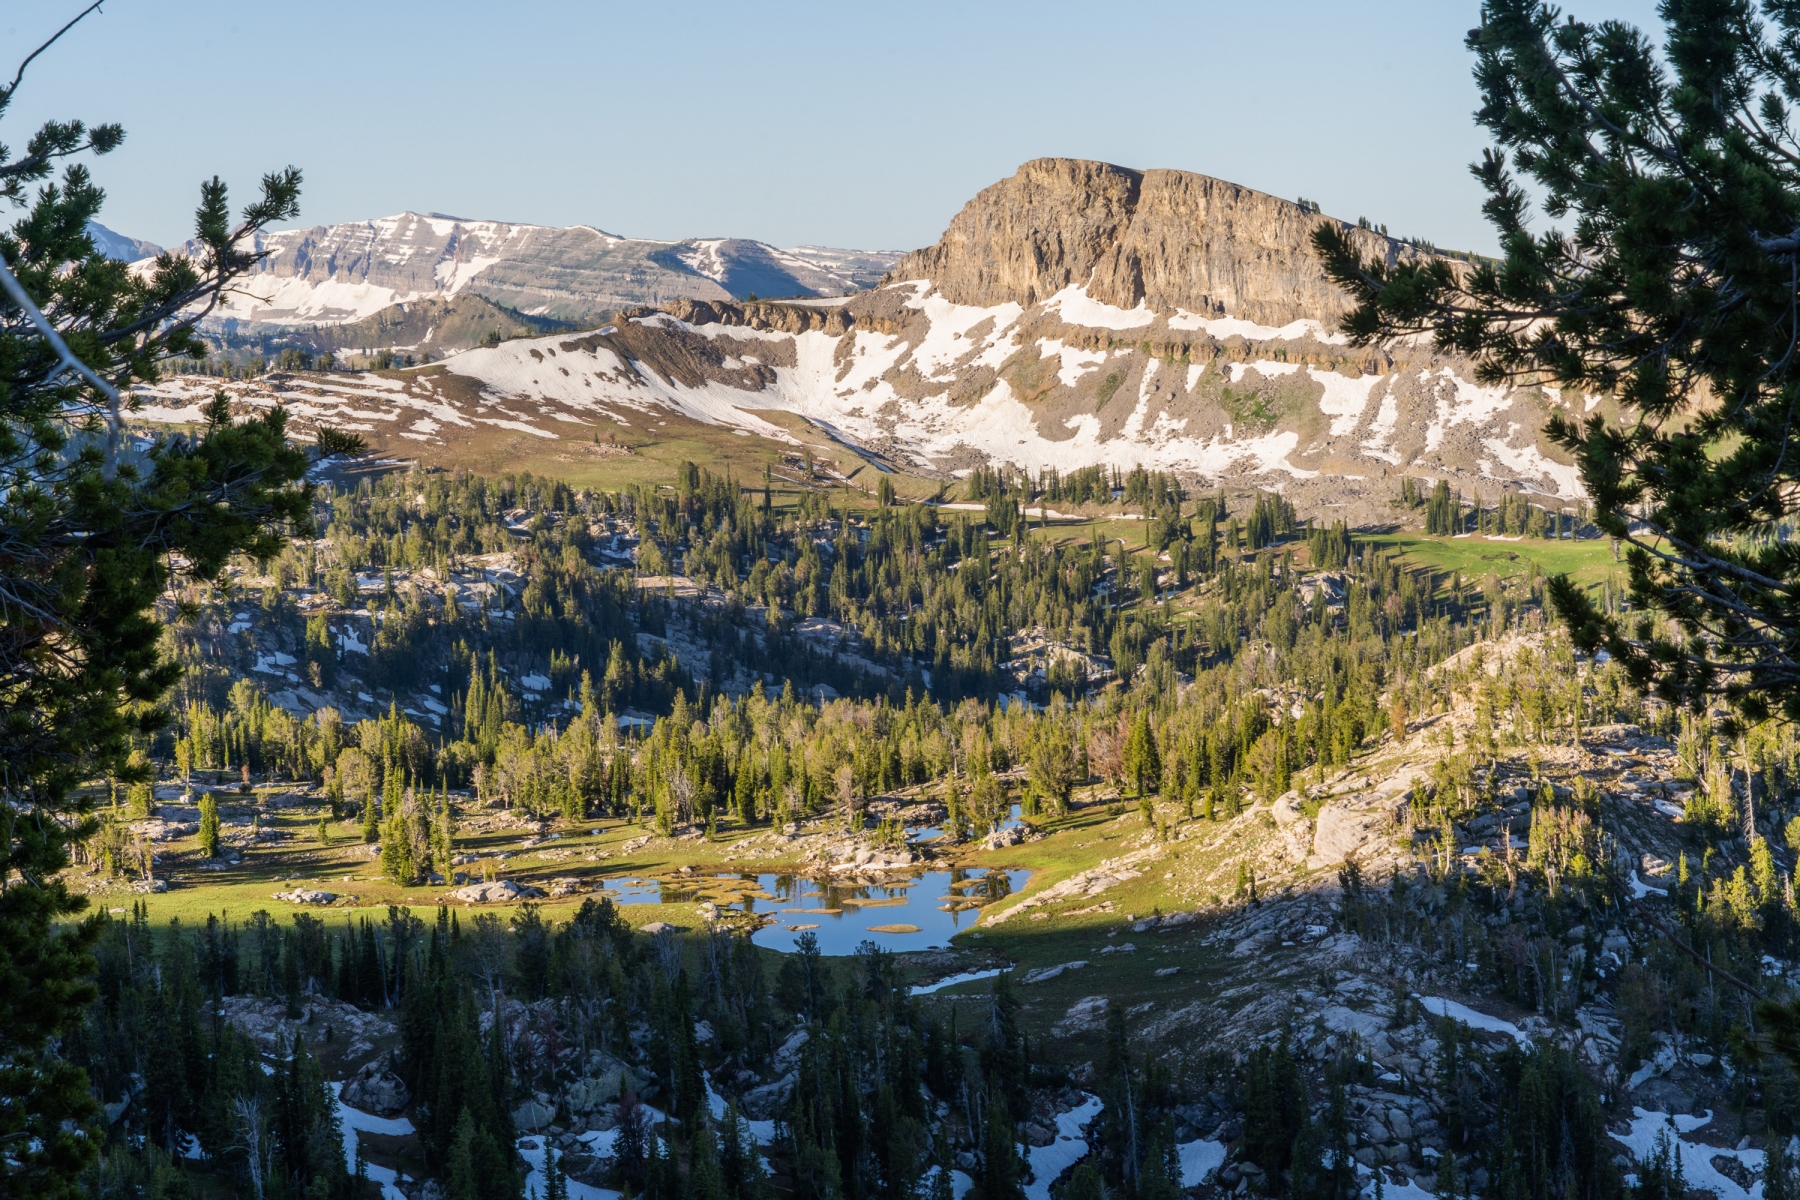
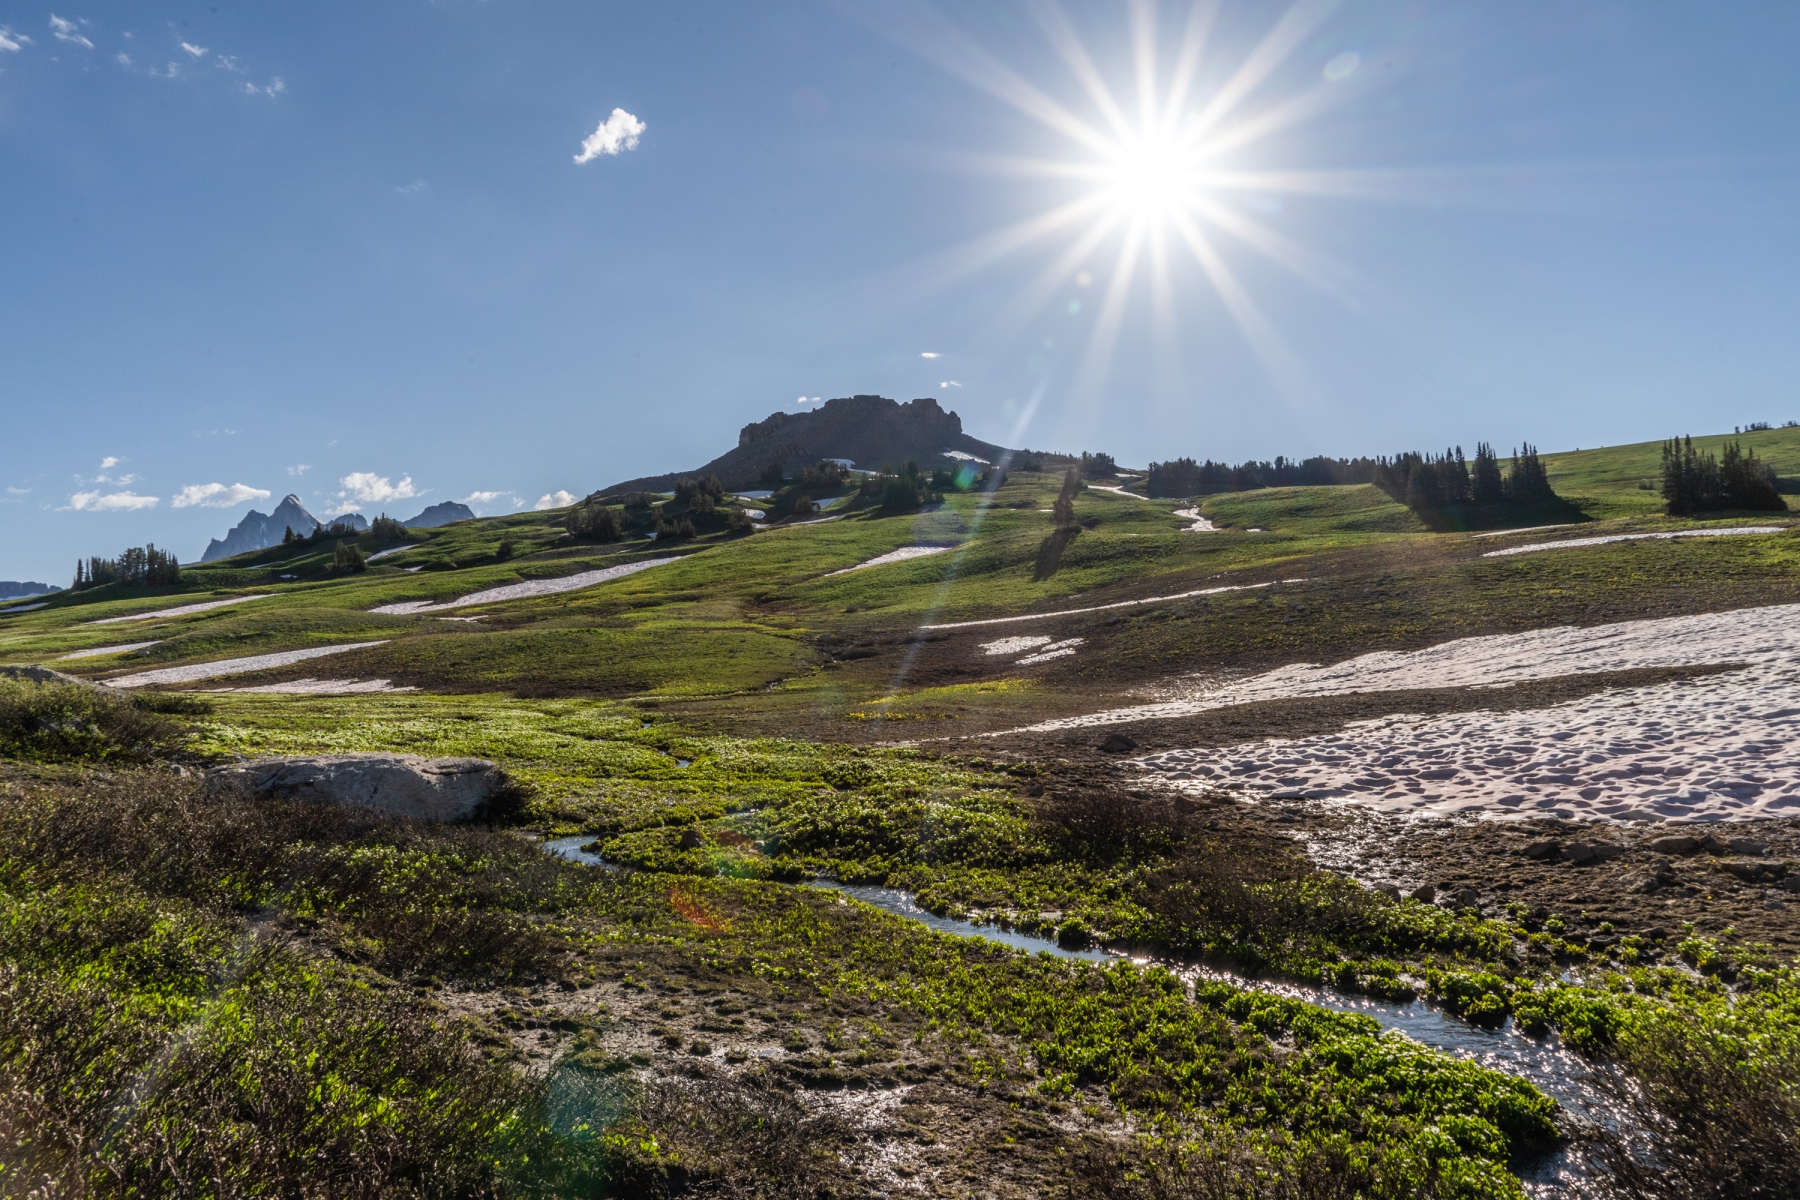
Nord Pass is the first pass that feels like a pass. Up ahead, the mountains start to become more dramatic. If your day 1 was longer, Camp lake looks like a good place to camp, believe it or not. You'll have a long descent after Camp Lake to the Hidden Corral Basin and Bitch Creek. A pretty river valley that looks like a good place to see some moose. Continue on the Teton Crest North Trail up South Bitch Creek. After a few miles, the trail turns Southwest to climb up to Dead Horse Pass. You may find some snow up there. After all that hard work of climbing, you go back down to South Badger Creek, only to climb right back up to roughly the same elevation as Dead Horse Pass. We camped on a shelf below Green Lakes Mountain. There aren't any streams marked on the map, but we found a bunch of small ponds and snowmelt in this area.
Day 3: 19 miles
Summary: The highlight day of the hike. You'll be at the highest elevations and find the best views. Pray for good weather though there is quite a bit of exposure.
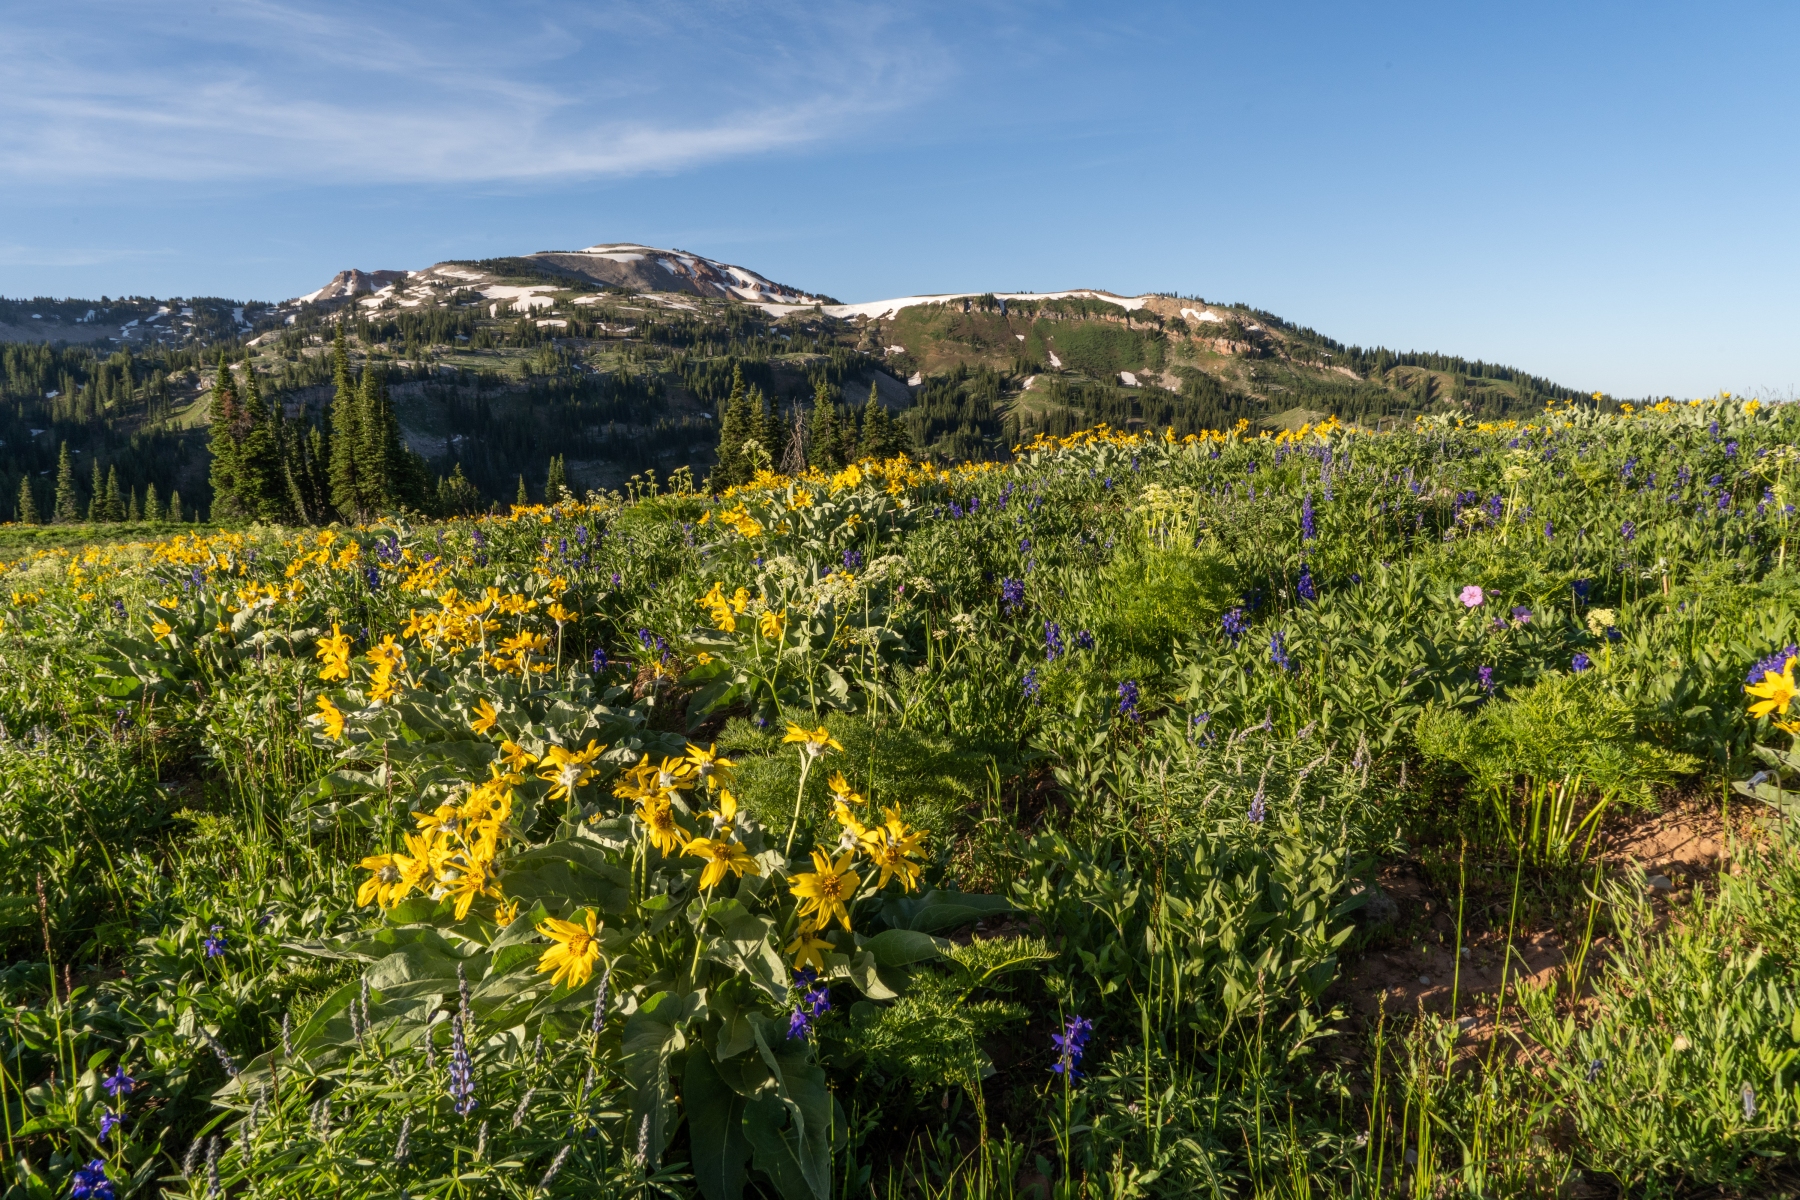
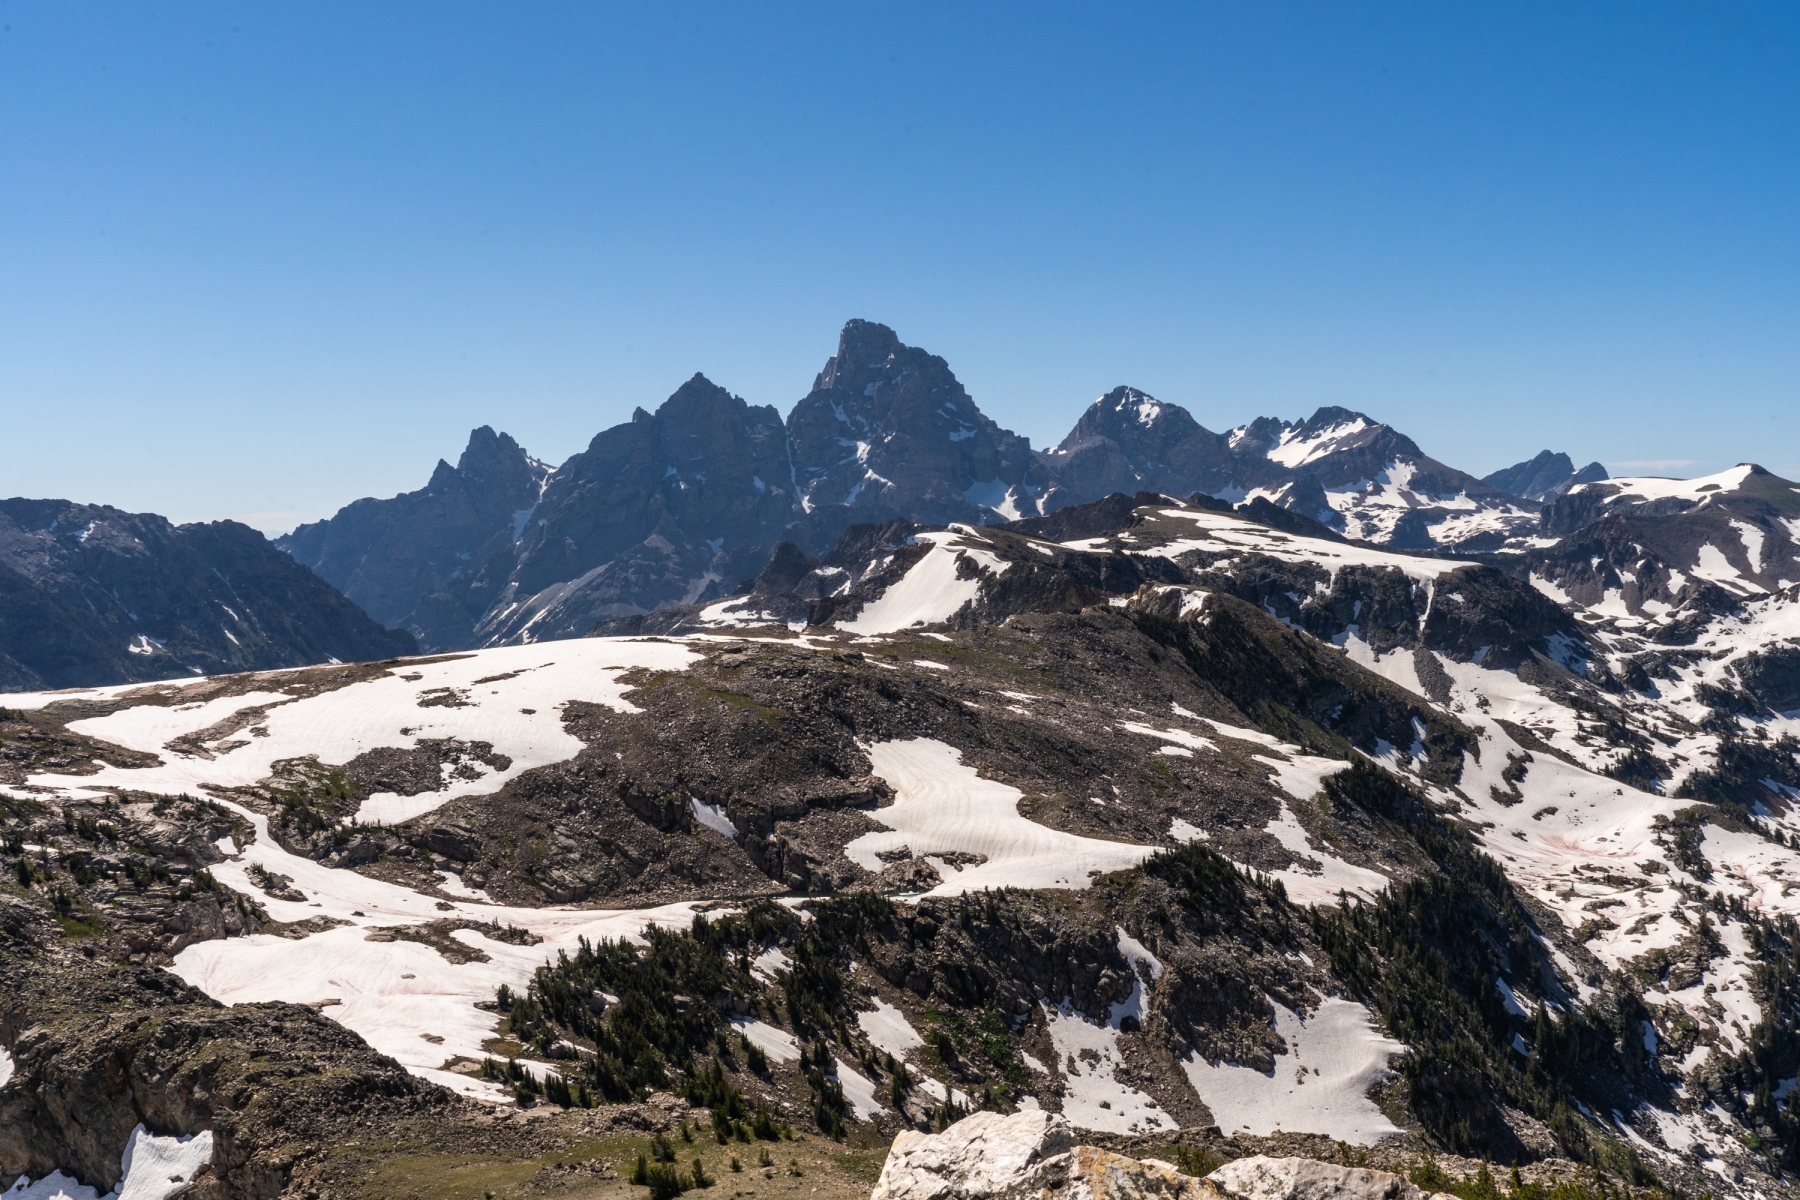
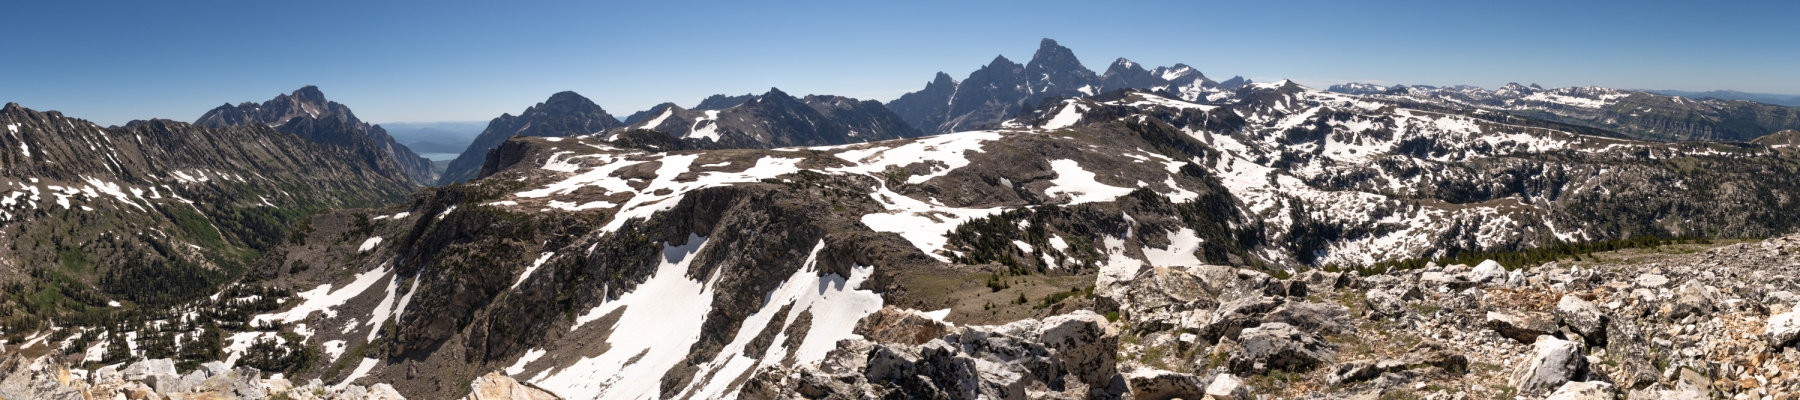
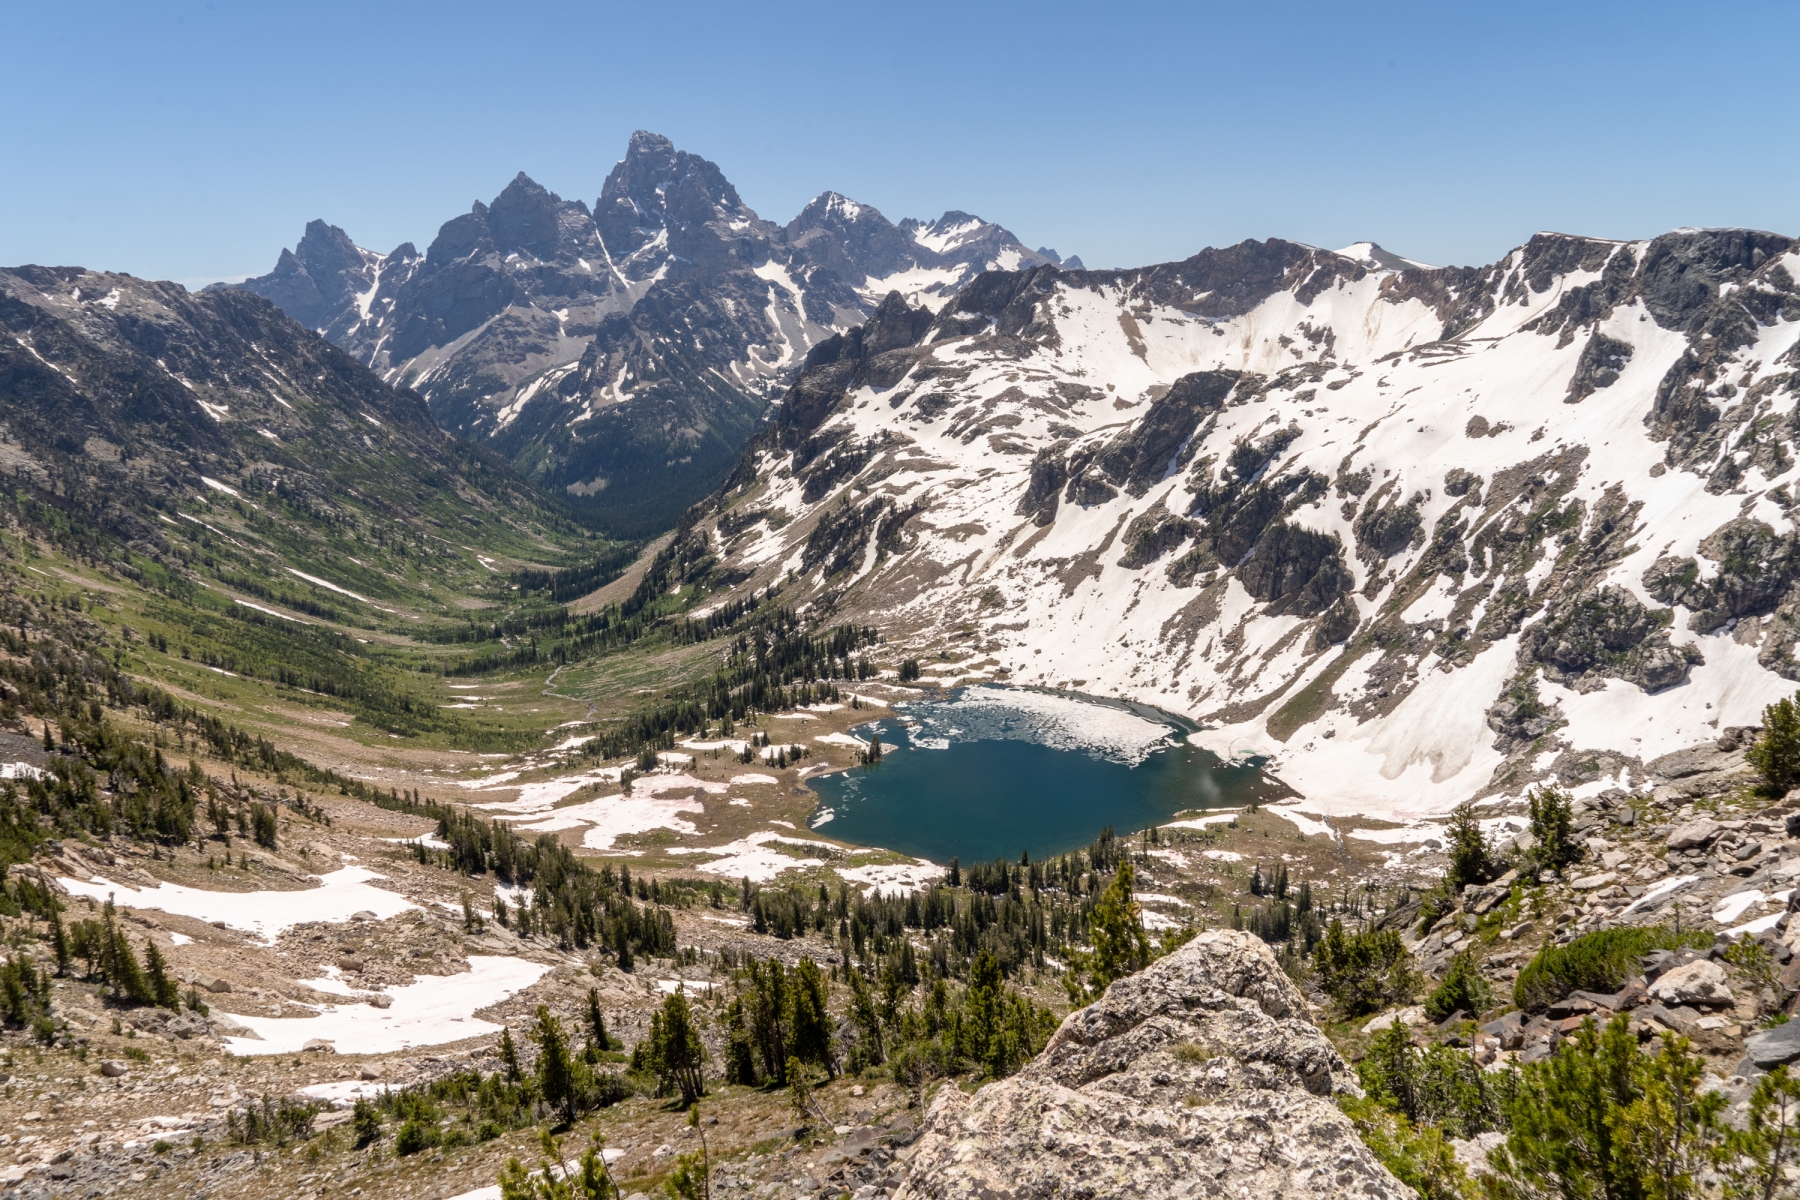
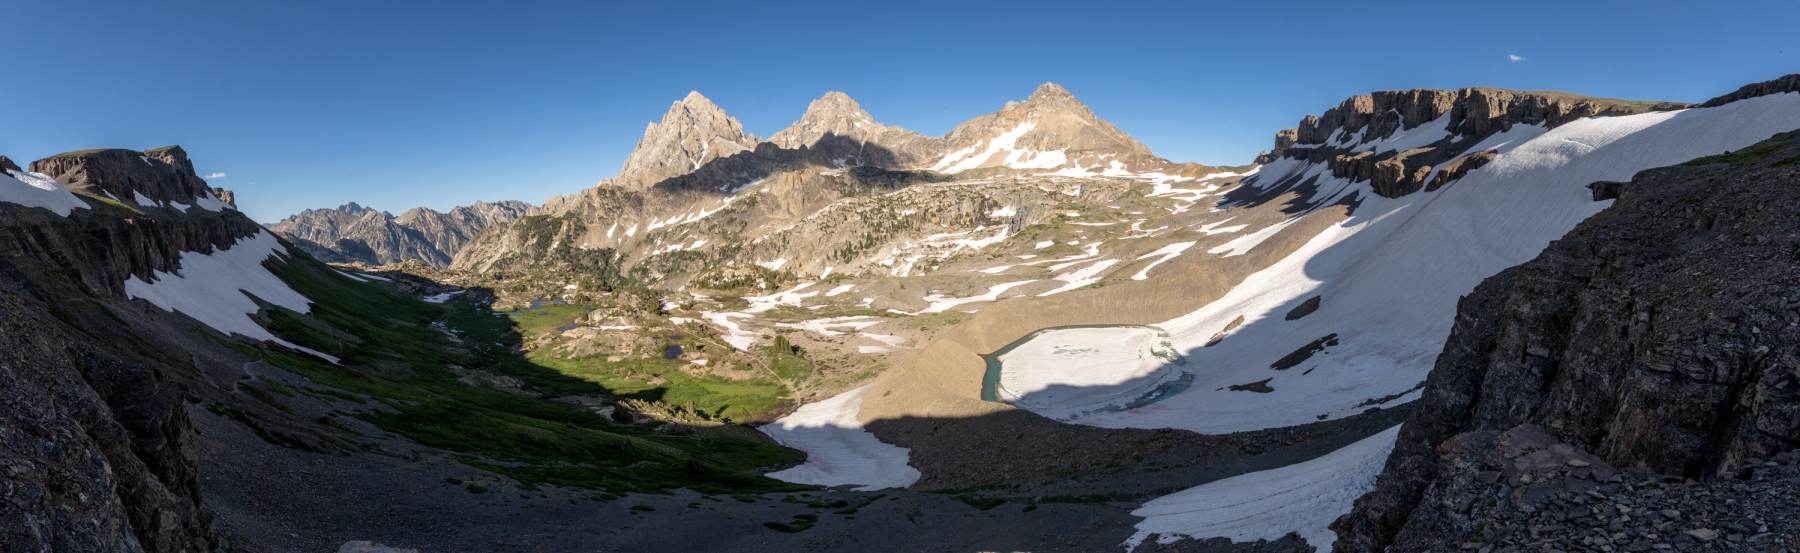
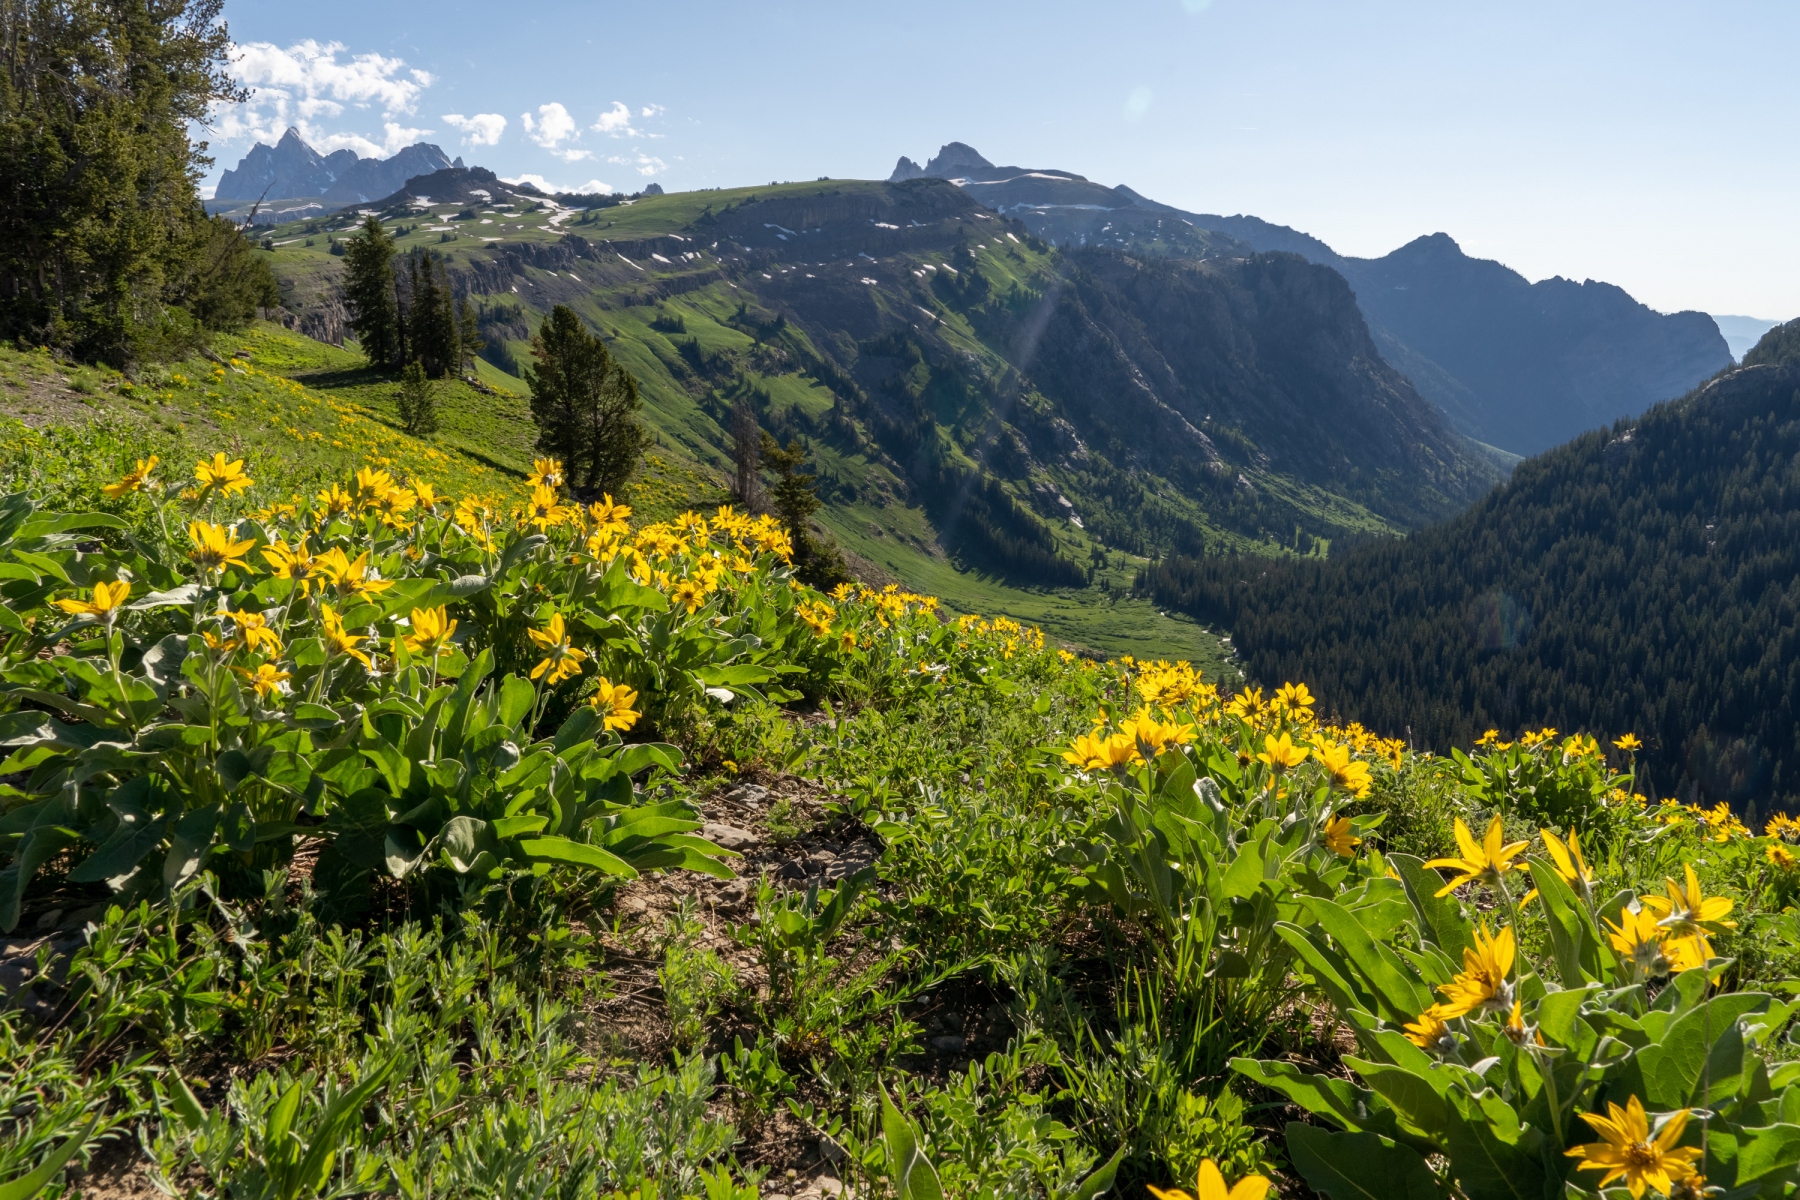
The morning starts with a pleasant stroll through the meadows and many small alpine lakes. About half a mile after the junction with Green Mountain Trail, you will leave the Teton Crest North trail to hike cross-country. You'll be on short alpine grass; the navigation will be easy. Head southeast toward Littles Peak and summit it. You'll have about 500 feet of climbing on scree to reach the summit. Choose your steps carefully in the loose rock, but it's not a bad climb. From the summit of Littles Peak at 10,712 feet, you'll have a commanding view of the heart of the Tetons, and The Grand will be towering above you to the southeast. You'll want to time this summit for good weather because you'll want to hang out up here for a while. It's also very exposed and should not be attempted if there is lightning or high winds. To descend, follow the ridgeline east. Continue east across the high plateau until Lake Solitude is below you to the south. As the lake becomes visible, keep an eye on the slope between you and the lake. Be looking for a good route down to the lake and take it when you find one. You'll be picking your way through scree, steep hillsides, and navigating around cliffs. There may even be some snow left that you can glissade down.
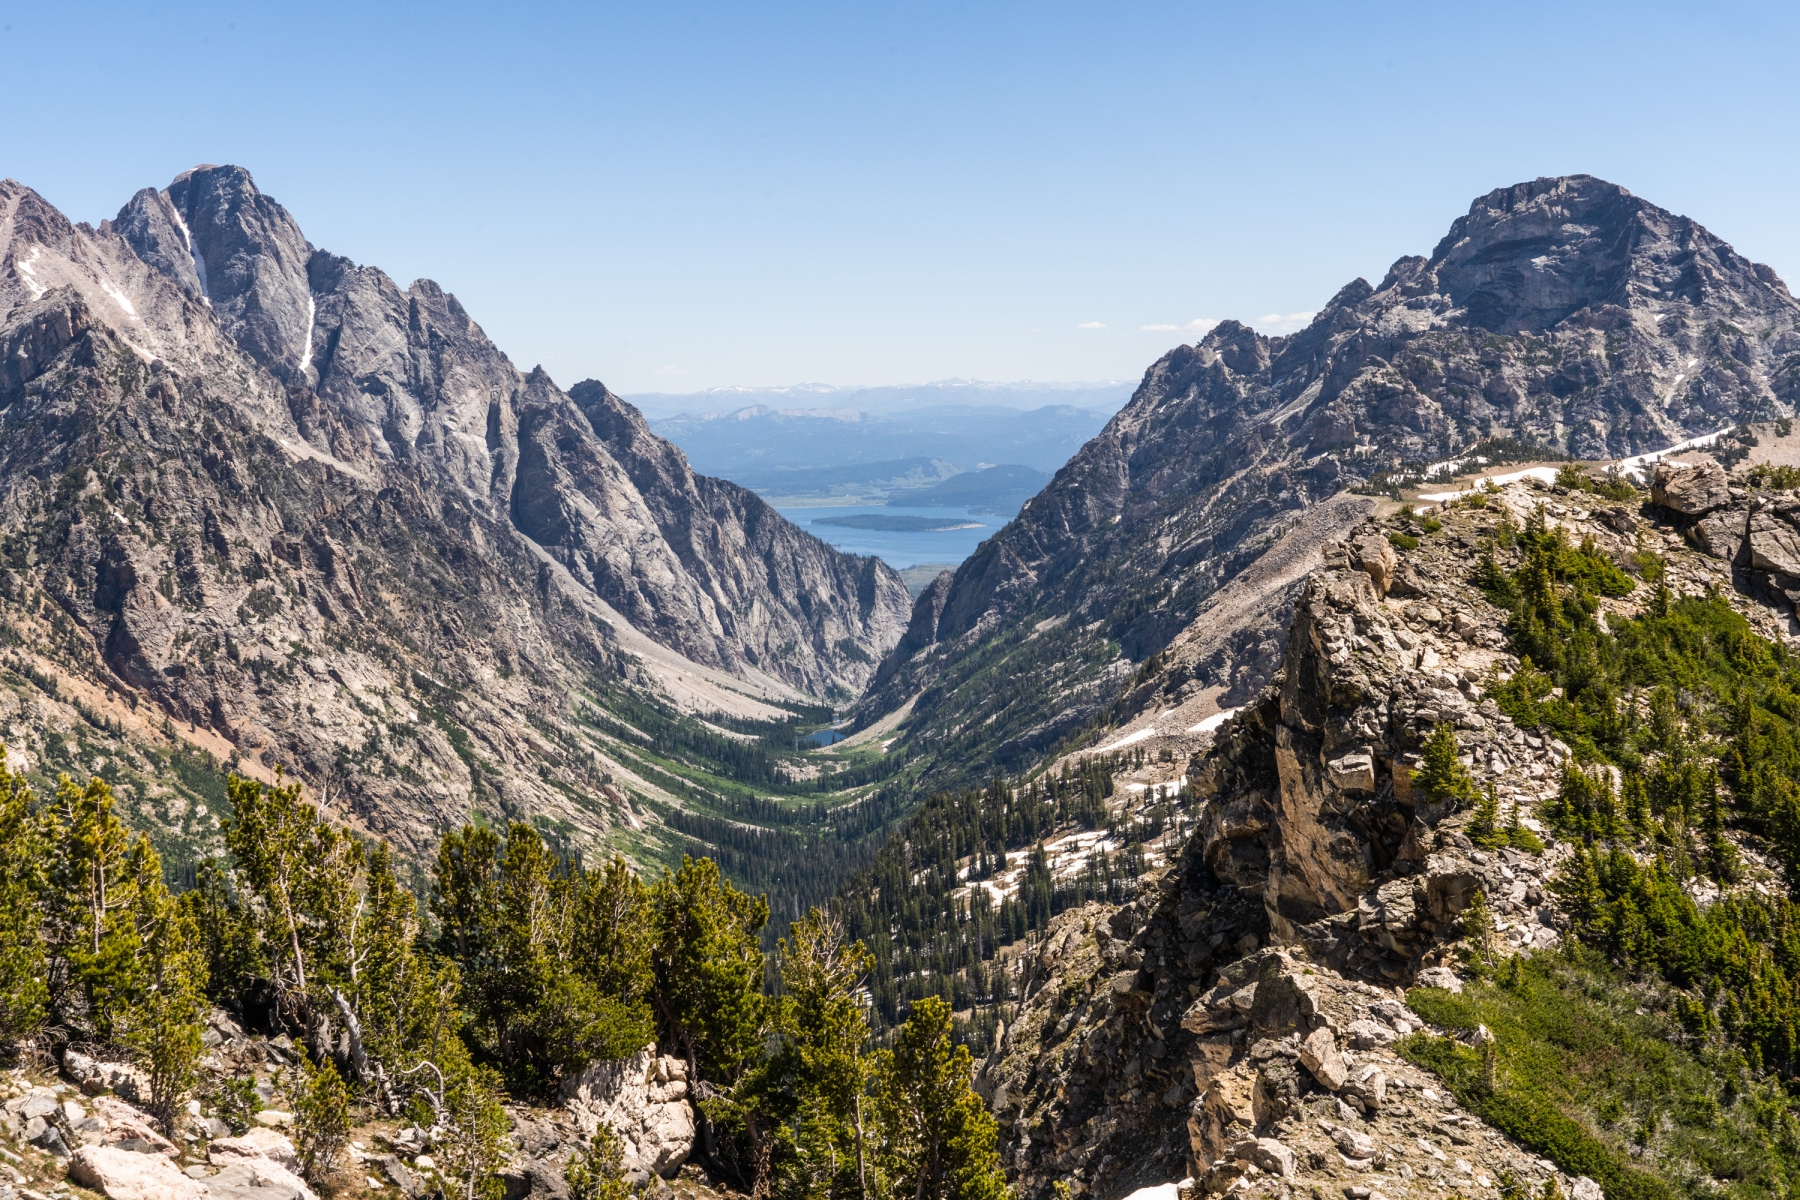
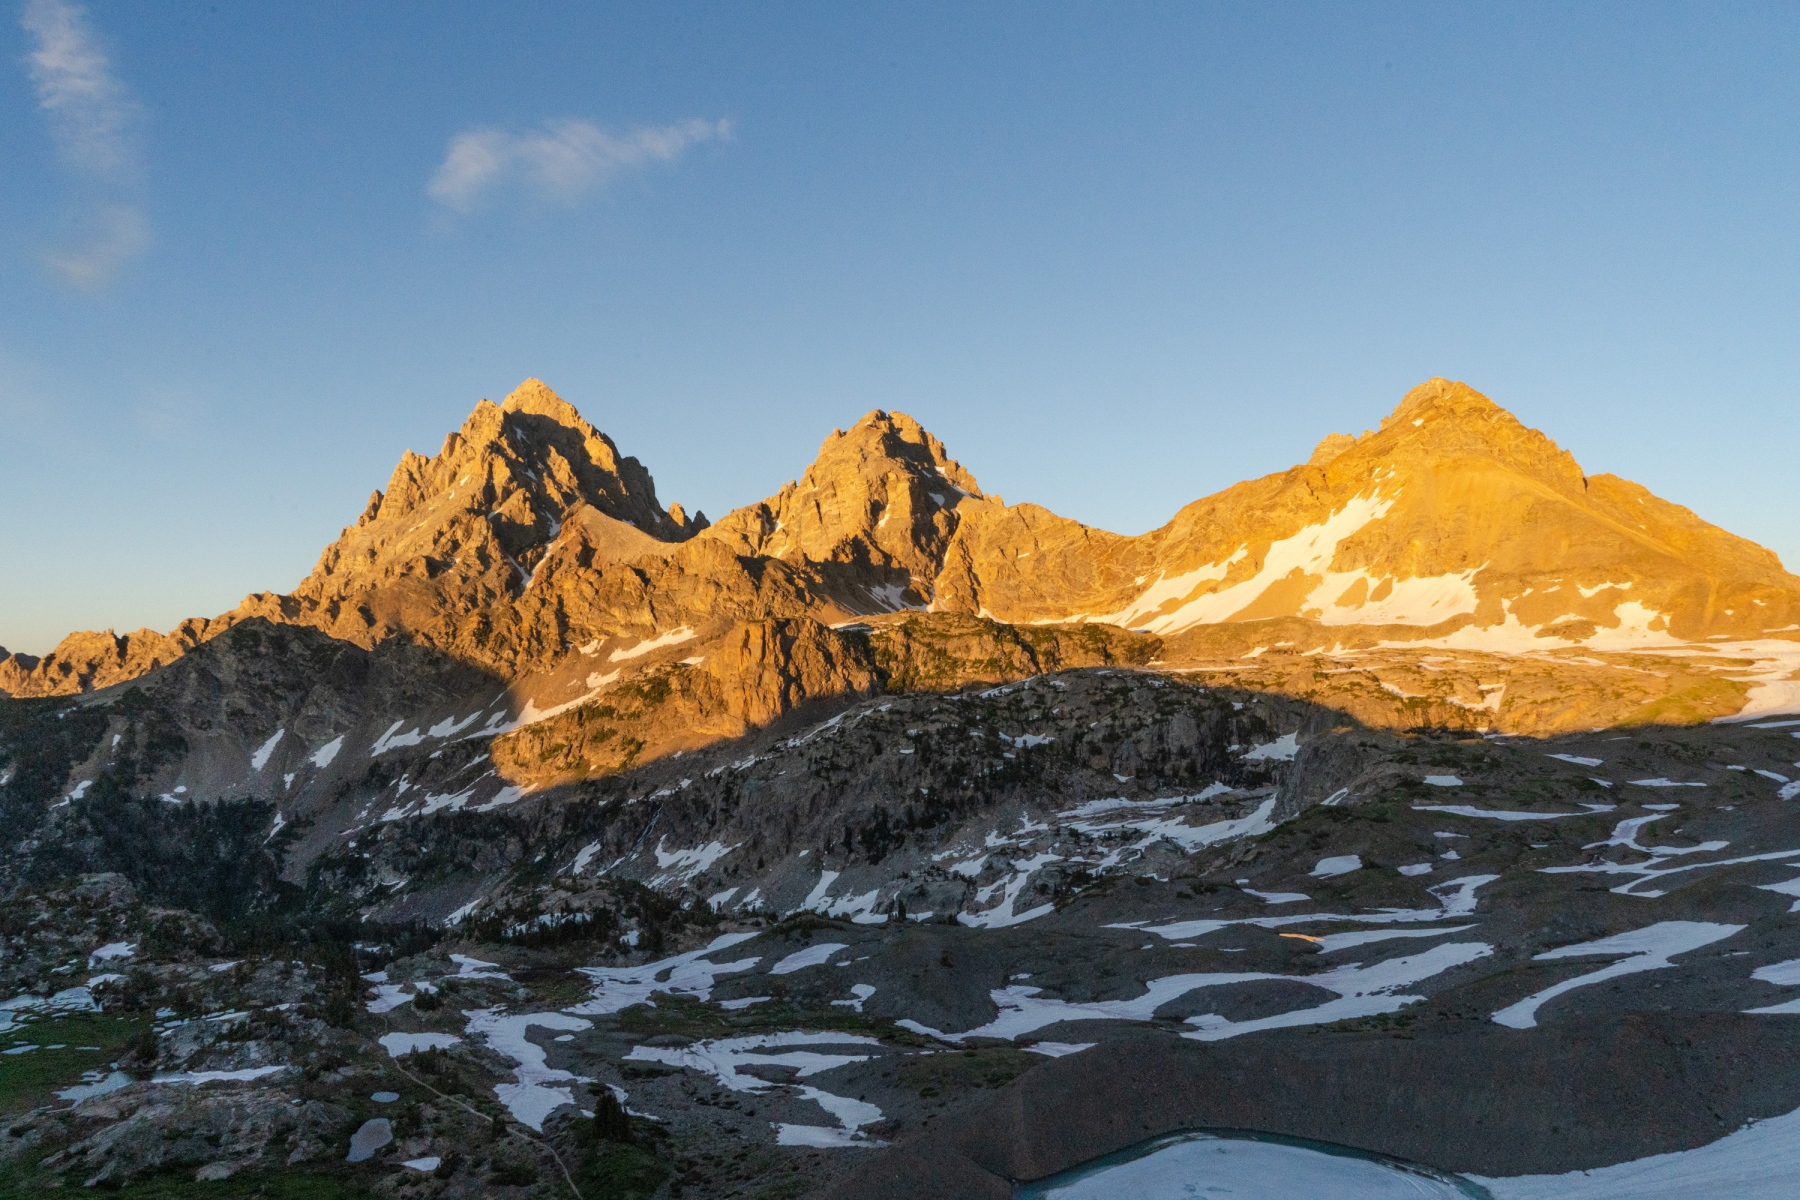
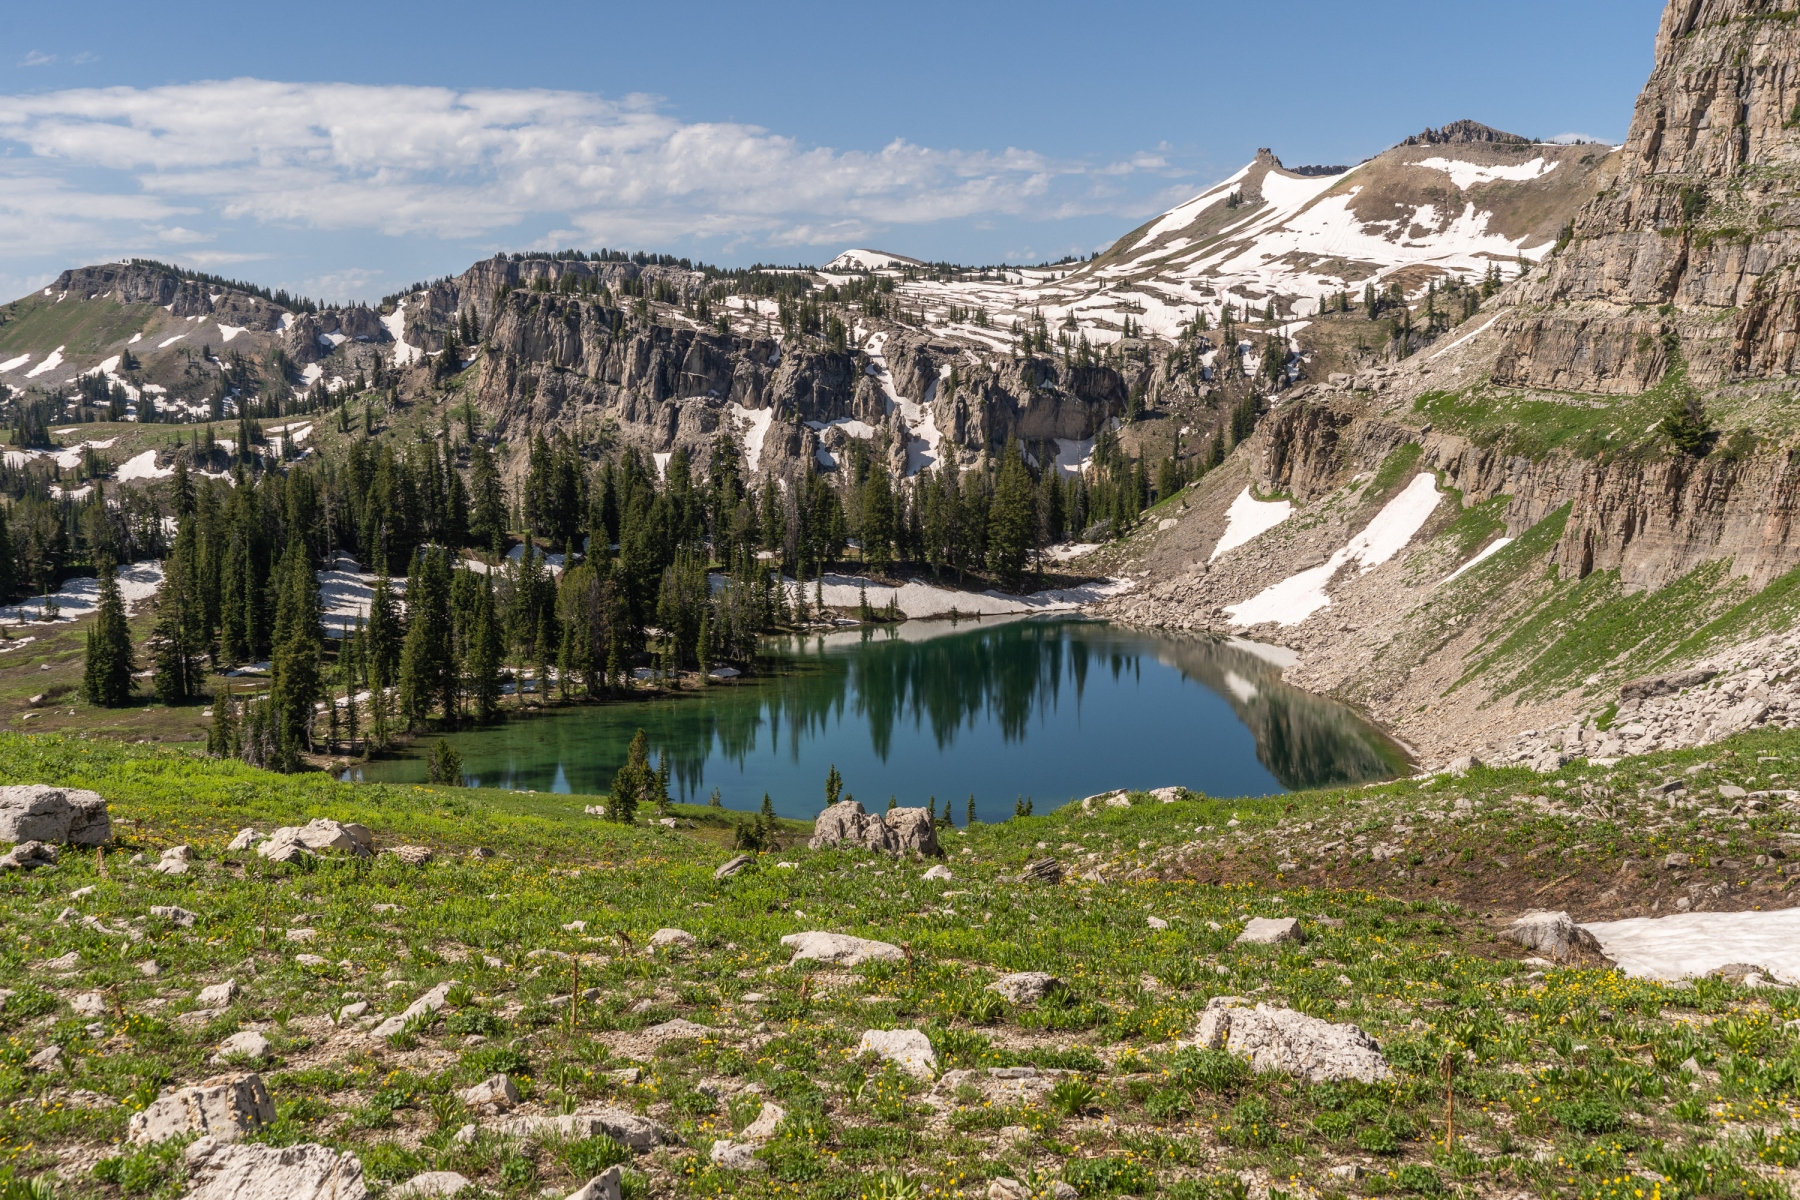
Once at Lake Solitude, you'll likely be overwhelmed by people. The trail has been very quiet up until now. You're in the National Park now, and Lake Solitude is a very popular day-use area. It's popular for good reason because the views of the Grand Tetons are incredible. If you can time it to be here around sunset, you'll be rewarded with the Grand Tetons glowing in golden light. We still had half a day of hiking to get us outside the National Park to camp, though. Take the Lake Solitude Trail down to the South Fork Cascade Canyon Trail. Then you'll be climbing all the way up to Hurricane Pass, another place that is worth timing for the sunset. The pass will give you incredible views of the Grand Tetons, and you'll be just 3,400 feet below the summit of The Grand. After the pass, you'll be back in the Jedediah Smith Wilderness. Follow the Teton Crest South trail off the pass and descend into the Alaska Basin, a great place to camp.
- «
- 1
- 2
- »
Day 4: 16 miles
Summary: Good trail and fairly easy hiking in high alpine meadows for most of the day. The dramatic mountain views fade away, and the hiking was fast.
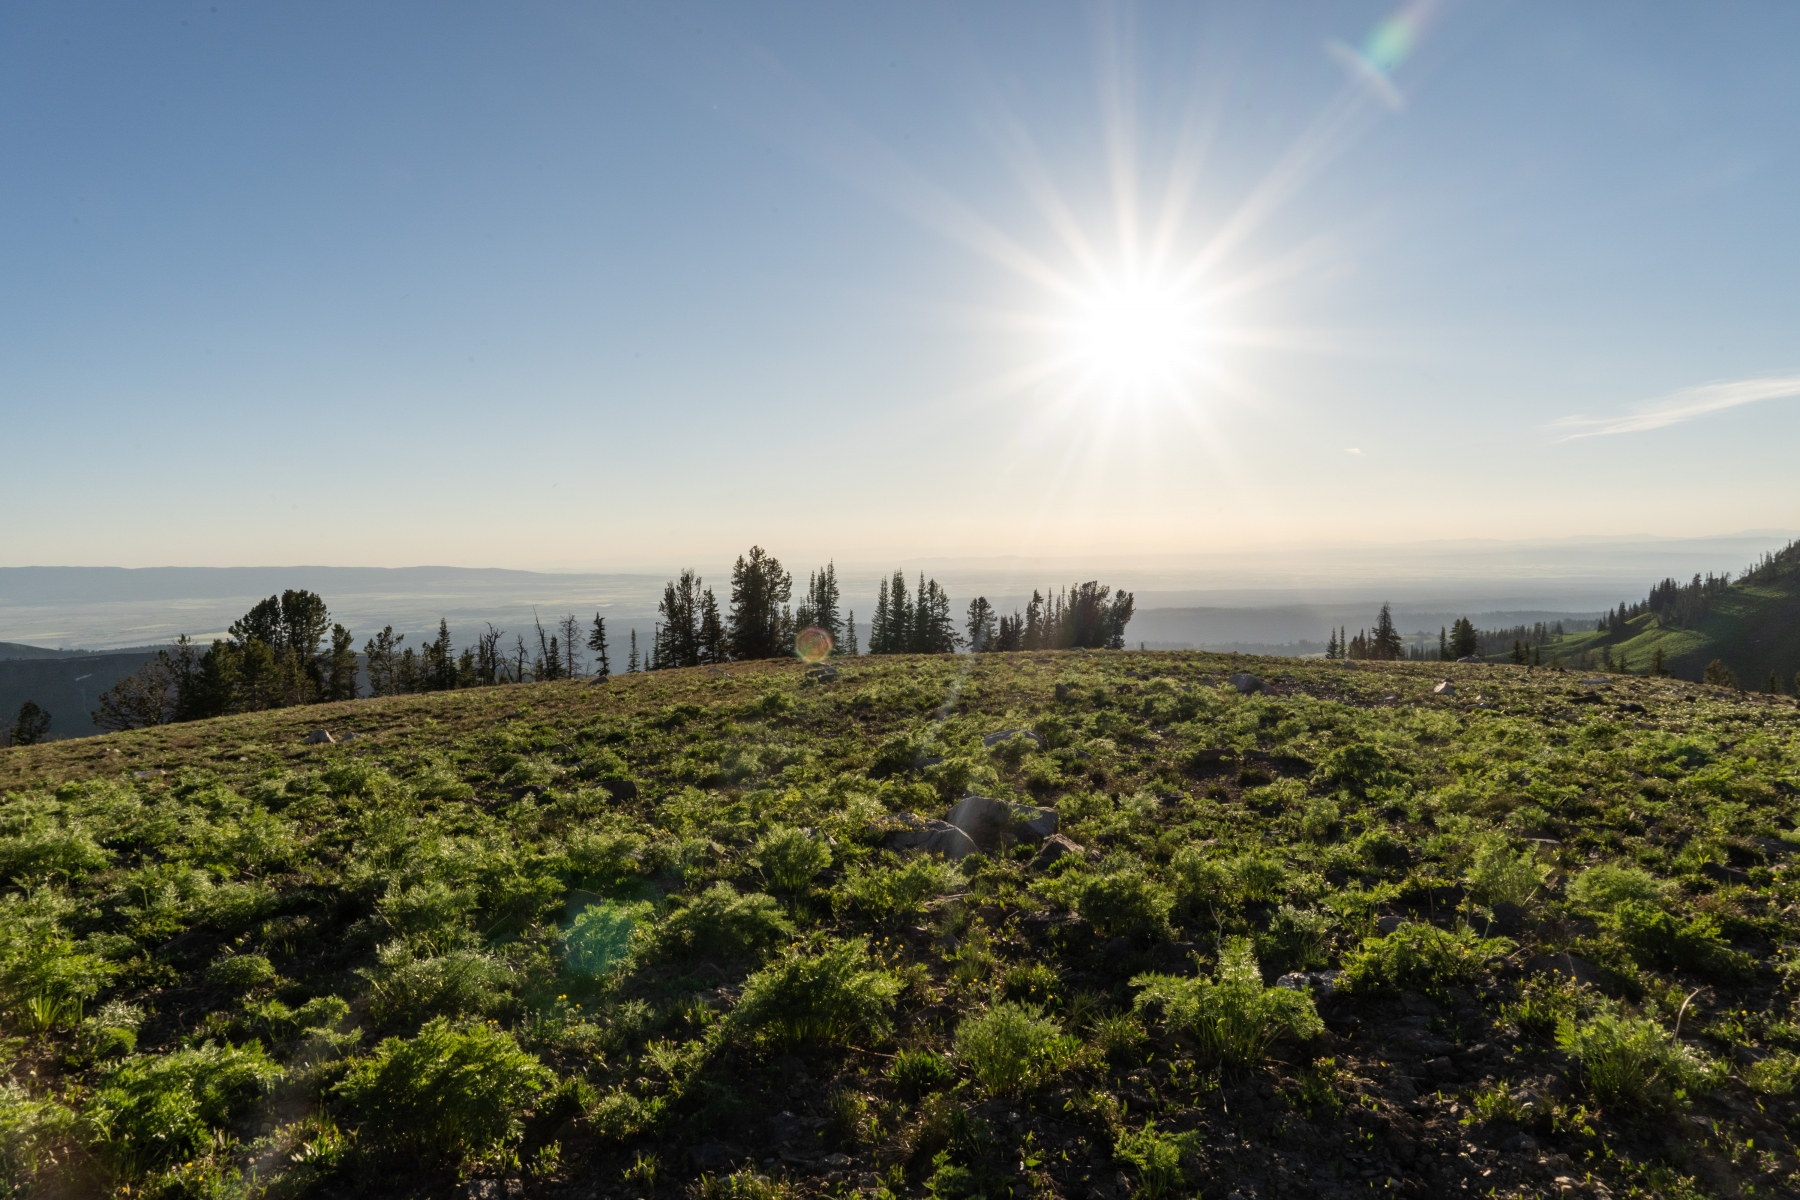
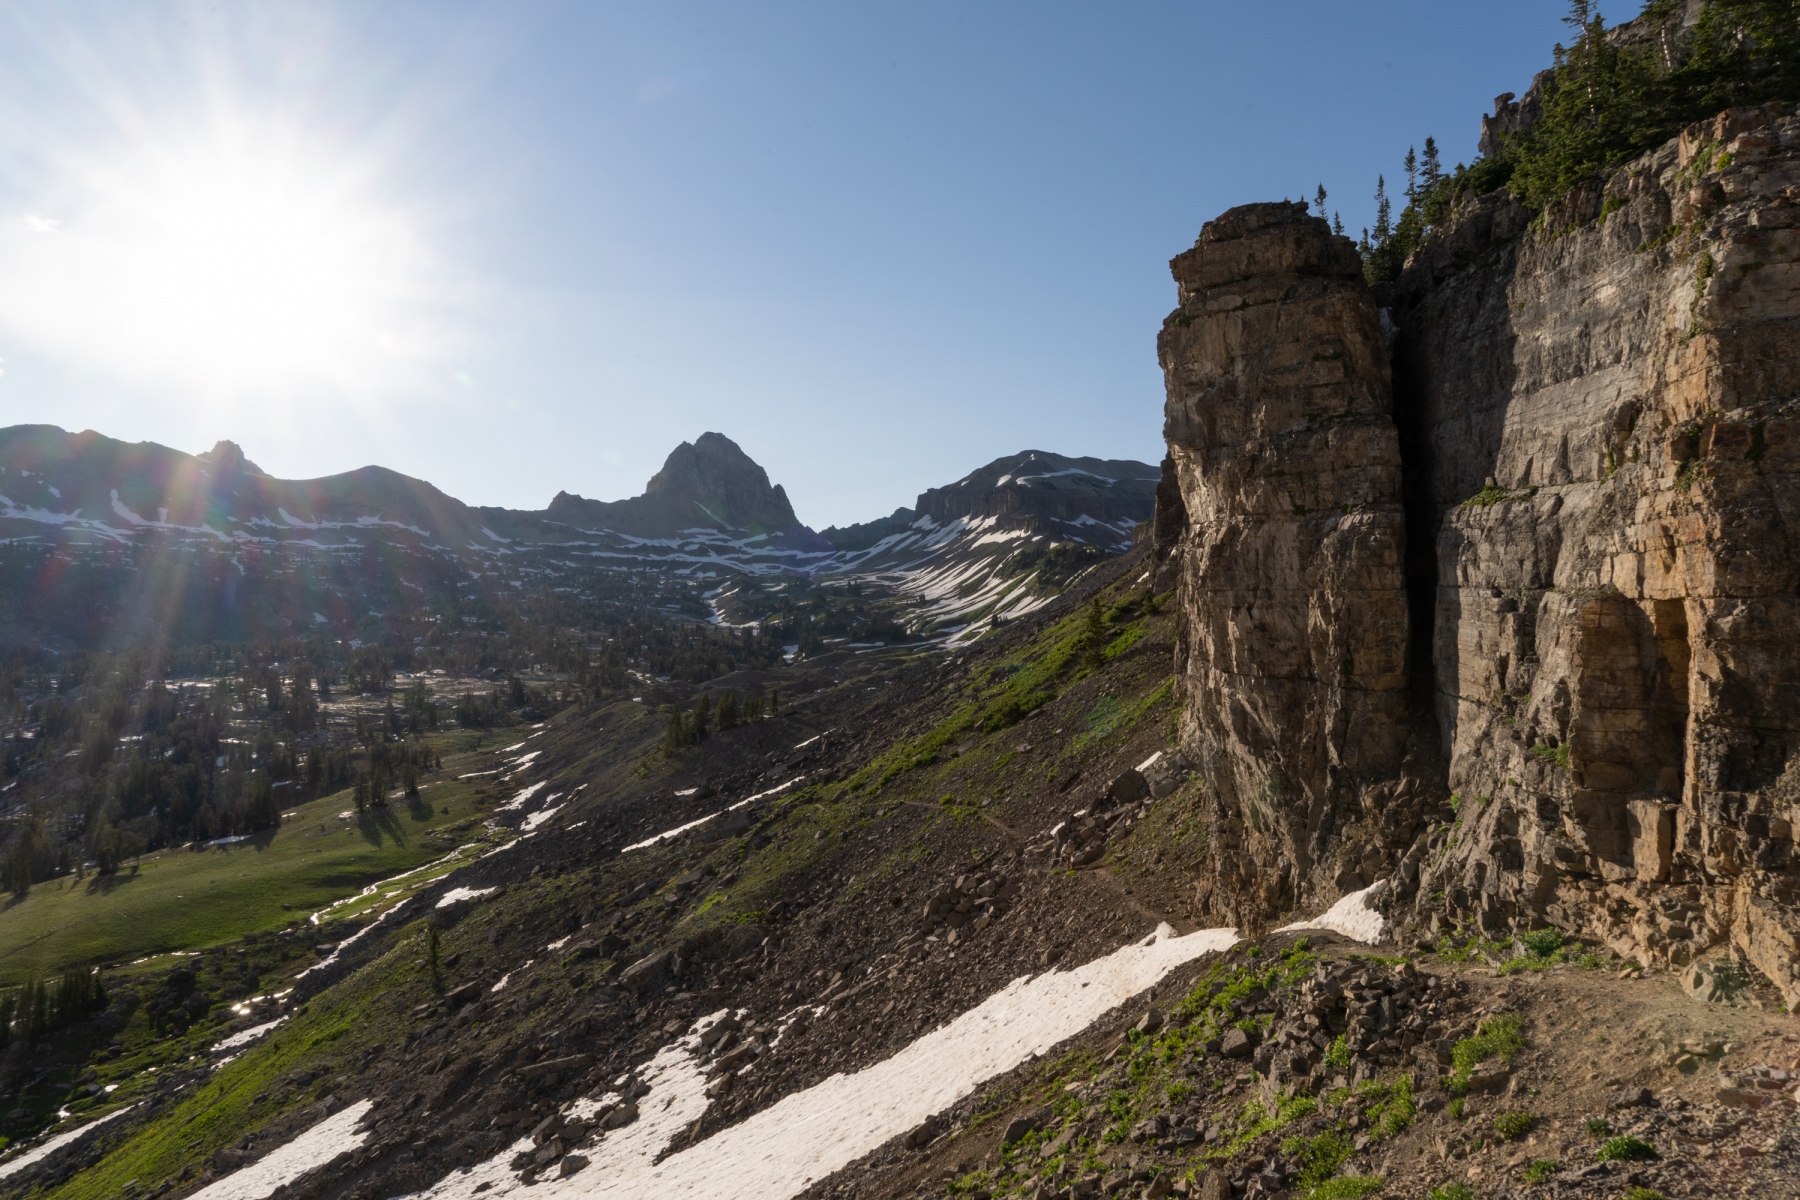
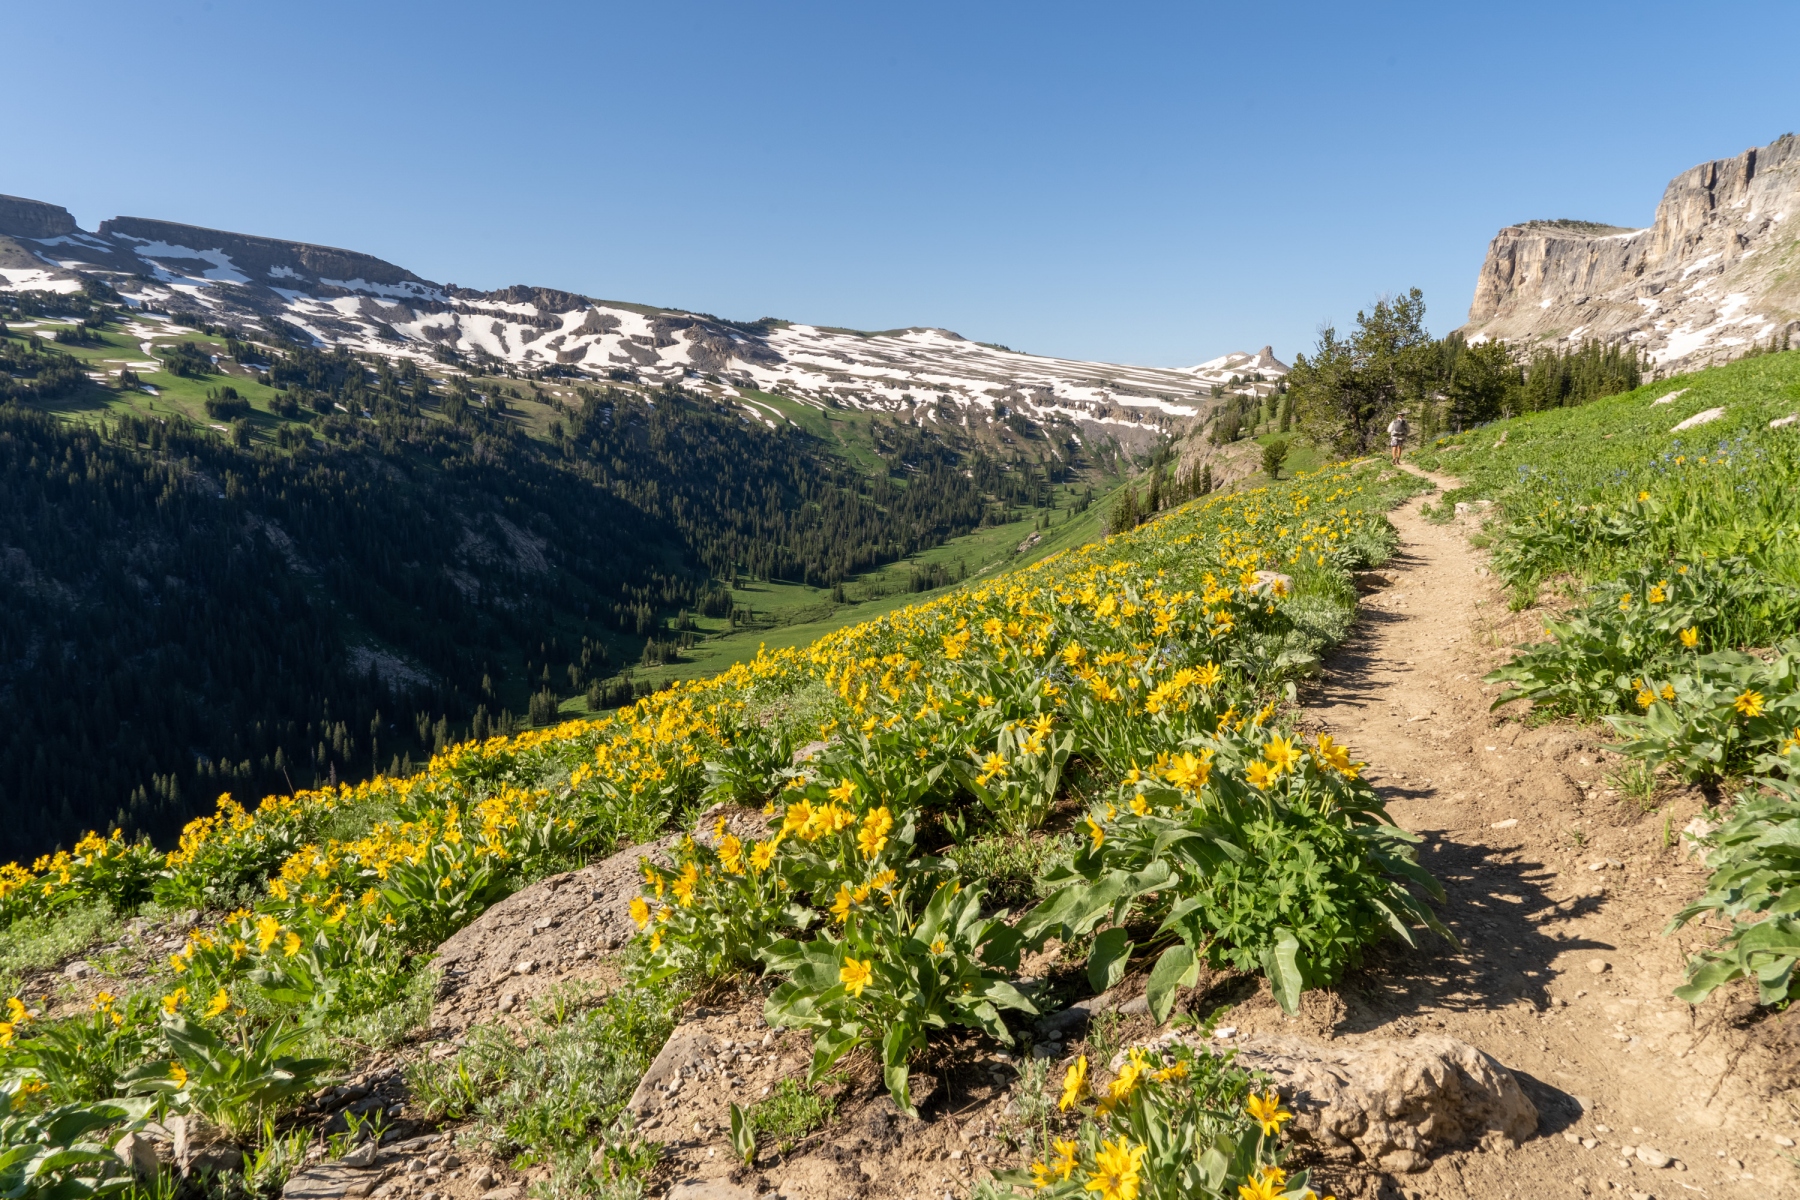
The day begins with a climb on the Sheep Steps. You'll spend the rest of the day in pleasant high alpine meadows. The trail is well maintained and easy to follow. Mount Meek pass is barely a pass, and it's where you enter the National Park again. Hike along the Death Canyon Shelf, a scary name for a really nice walk through the meadows. After Fox Creek Pass, you'll be back in the Jedidiah Smith Wilderness for about a mile, and that's a good place to camp. Re-enter the National Park, where you'll have some ups and downs to climb. Trail traffic will likely increase as a lot of people enter the park this way. Following the Teton Crest South trail, you'll leave the National Park for the last time and enter the trees. The dramatic mountain views fade away as you climb up to Phillips Pass. There is one very steep hill to climb just before the pass. From Phillips Pass, it's a nice and mellow descent in meadows and forest all the way to the trailhead.
Best time to hike
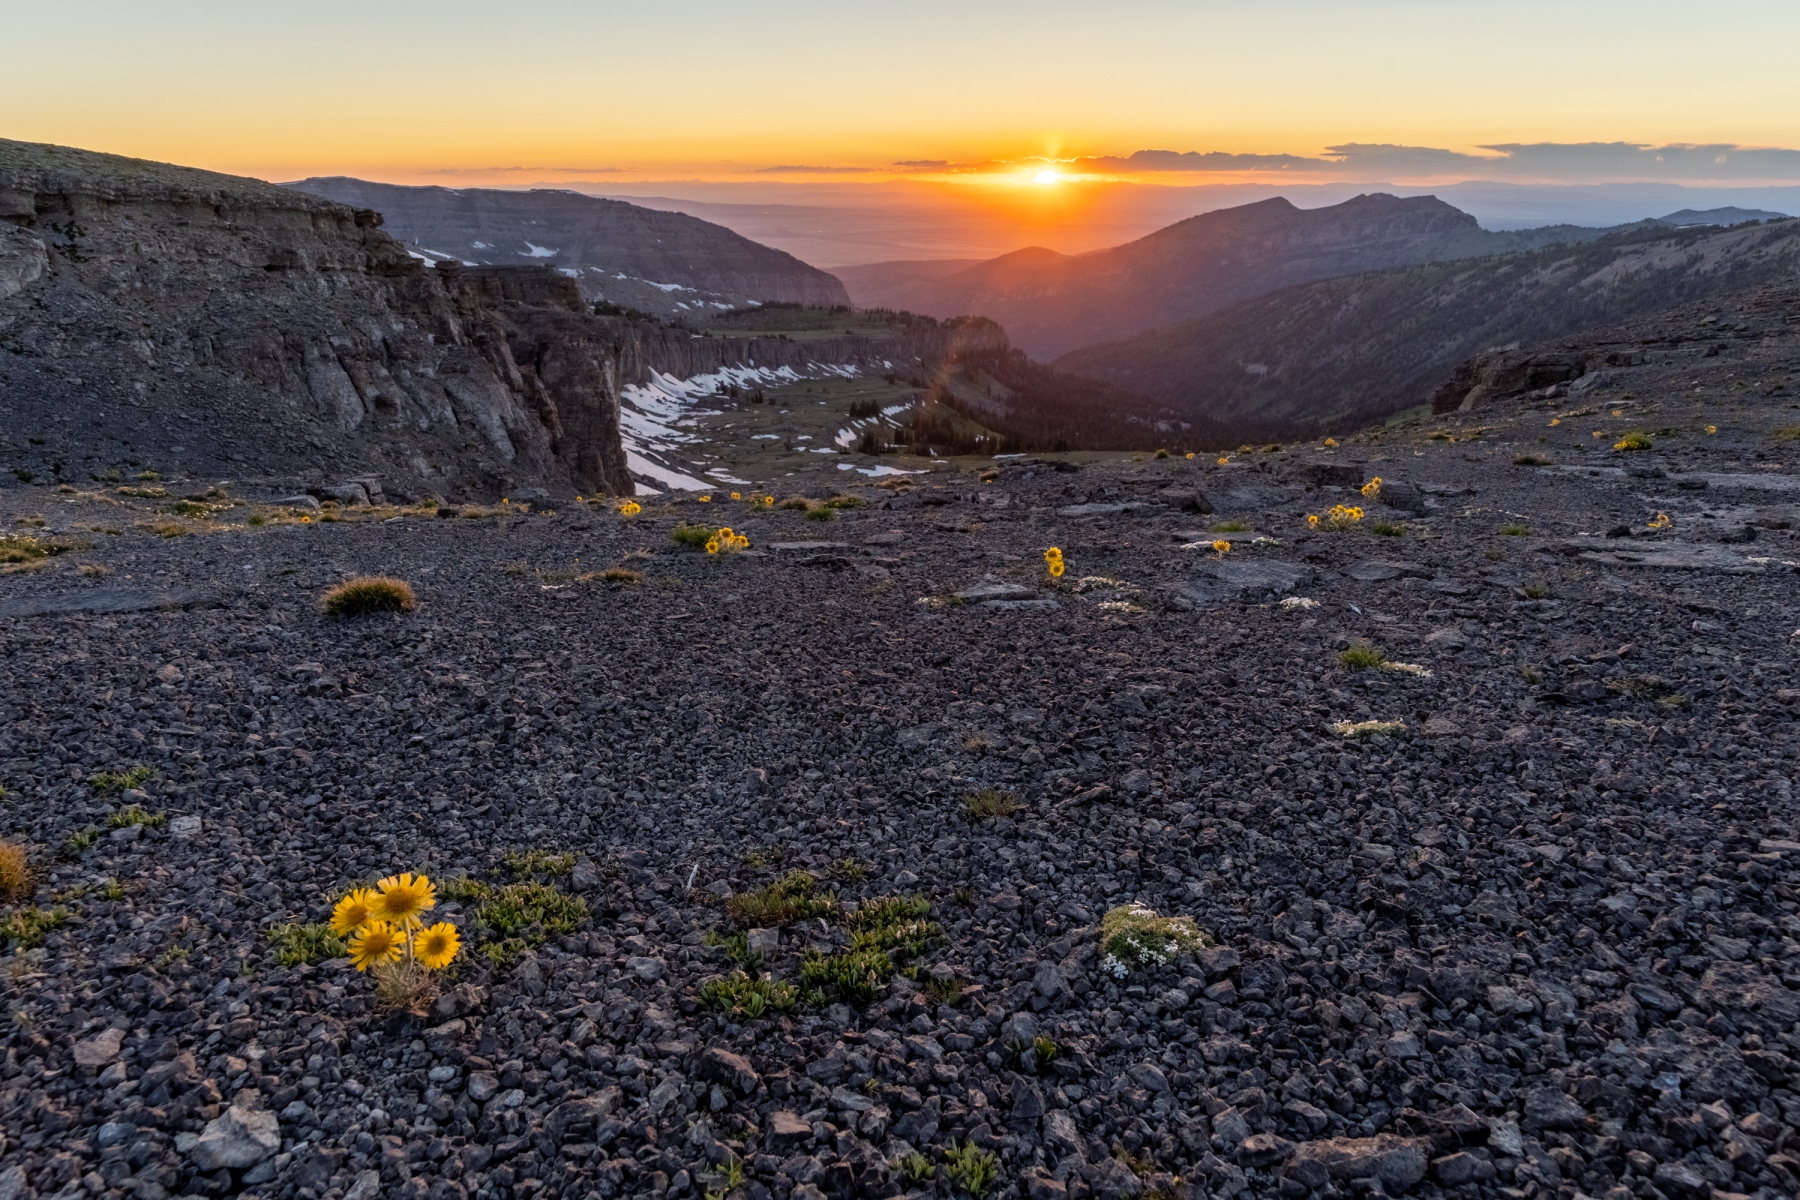
You will be at high elevation for almost the entire hike, so it's a good idea to give the snow plenty of time to melt. We hiked it in mid-July. There were still some snow patches to walk through, but we never felt like we needed an ice ax. Mid-July to mid-August would be the best time to hike this trail, but you could probably do it anytime in July through early September. Too early, and you'll be dealing with a lot of snow from the previous winter, too late, and you may get snowed on.
Thunderstorms are also a major concern on this hike. So much of it is exposed and in high terrain. Pick a weather window with clear weather.
What to bring
Even in the middle of summer, you can expect temperatures to drop into the 40's or lower at night. During the day, it may reach into the 80's. High winds and short, but intense rainstorms are something to be prepared for too. This is the bare minimum of what you'd want to carry for this hike.
- Clothes
- Backpacking Gear
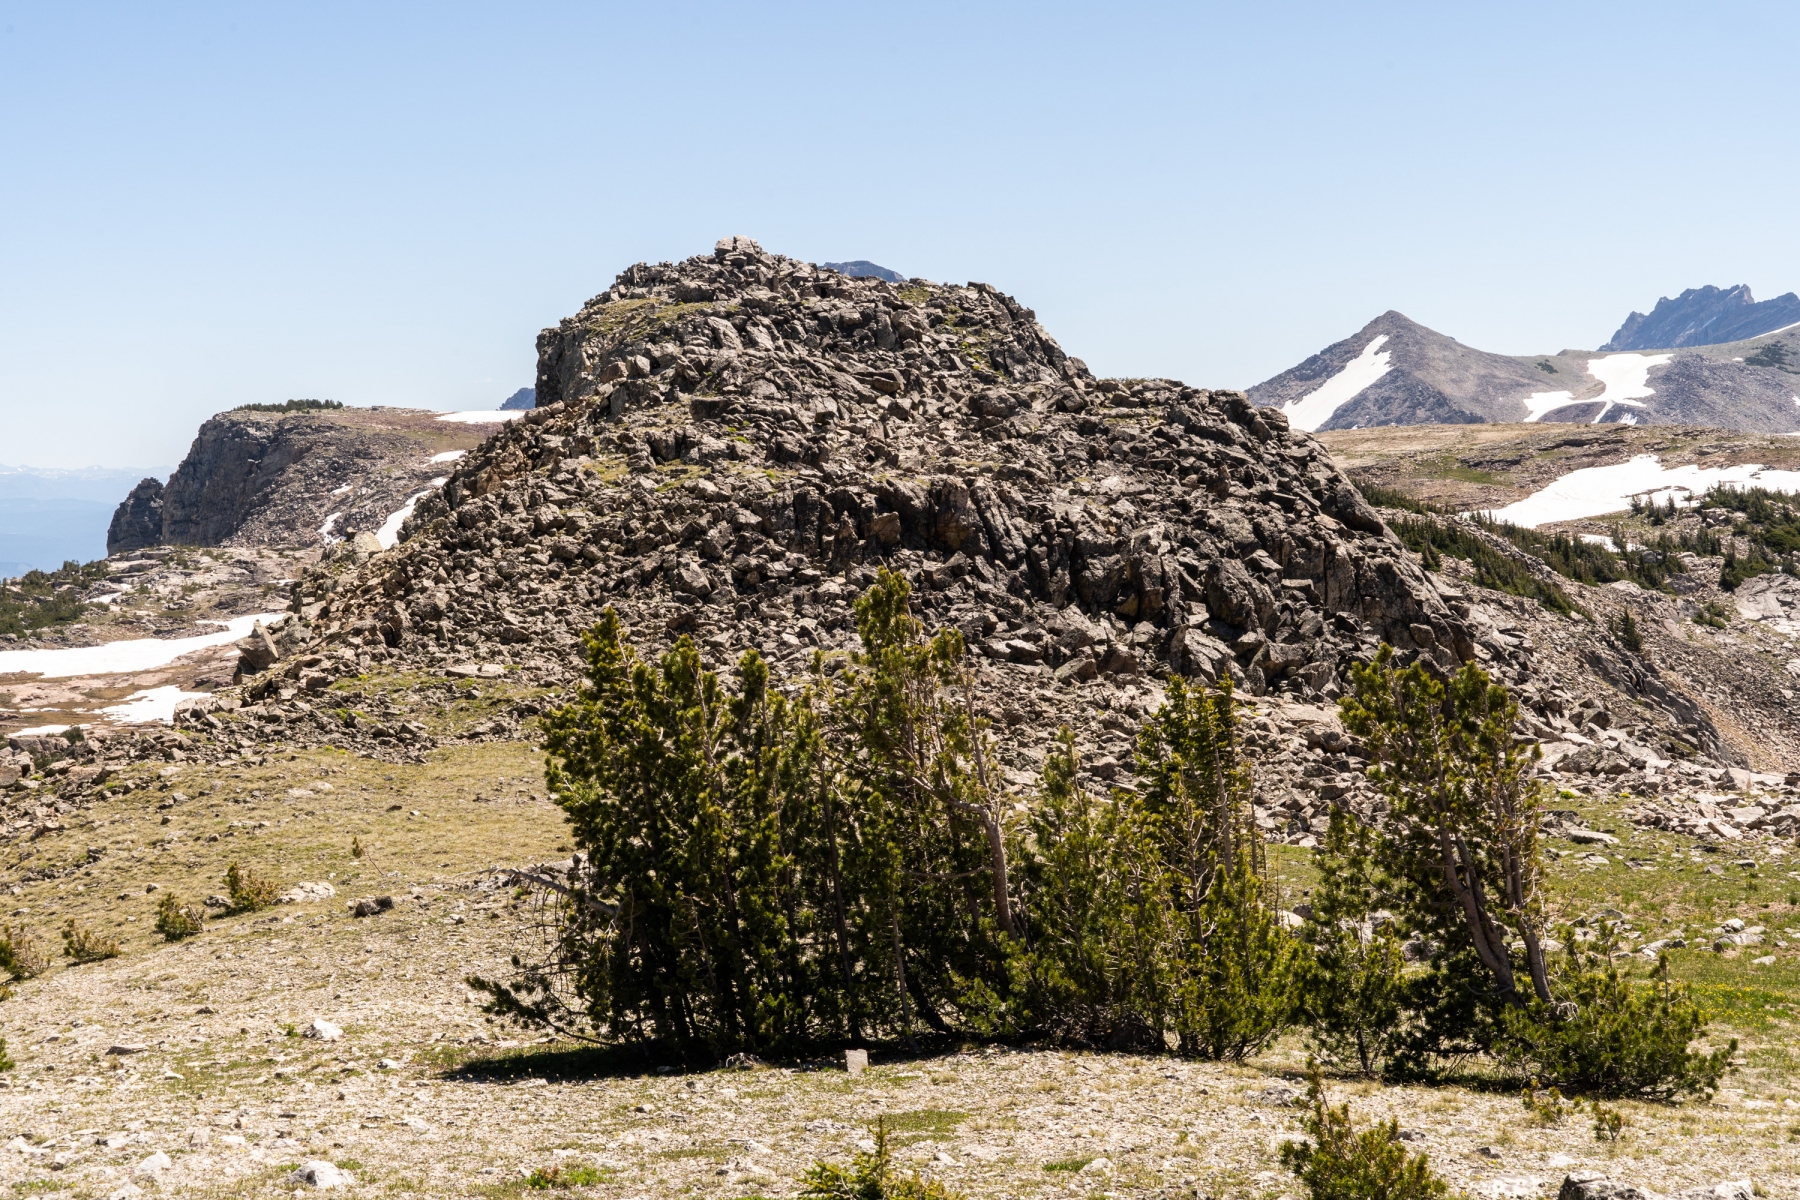
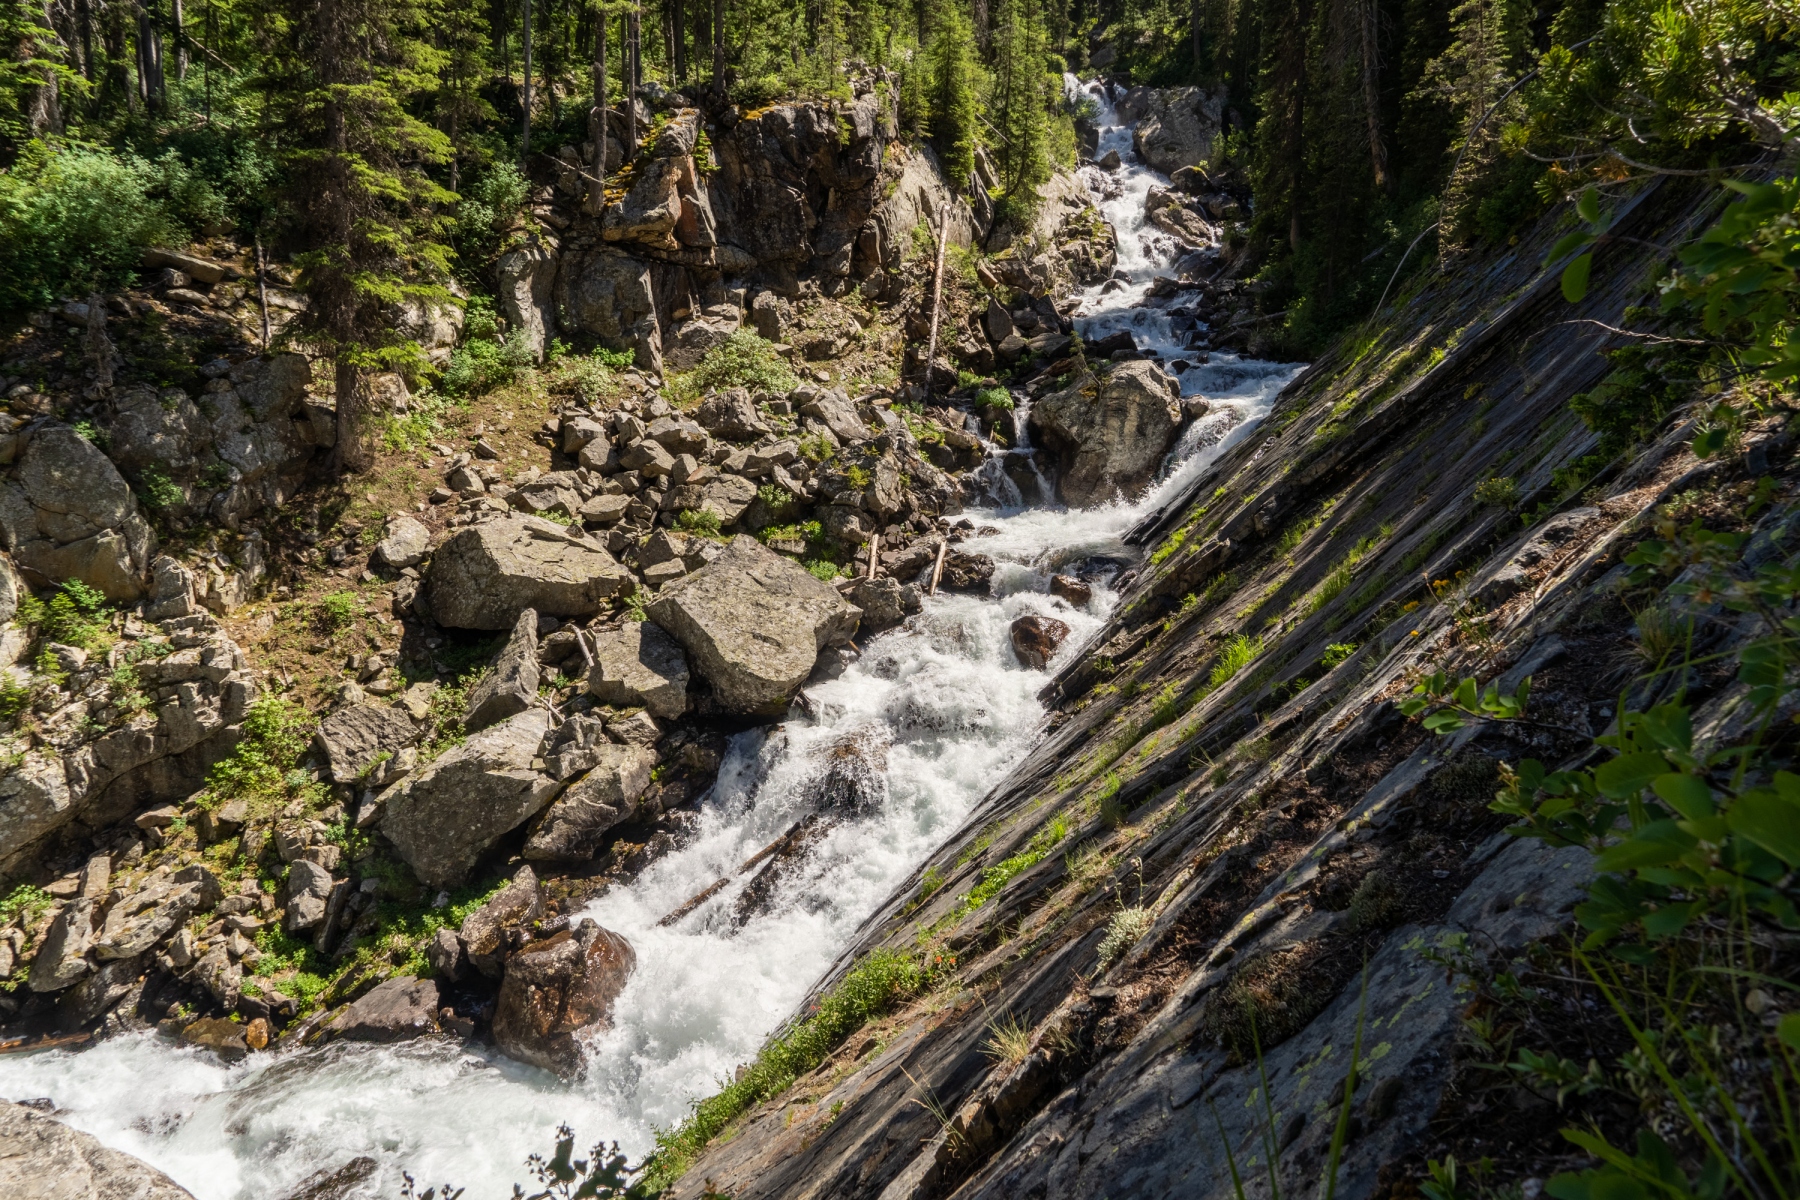
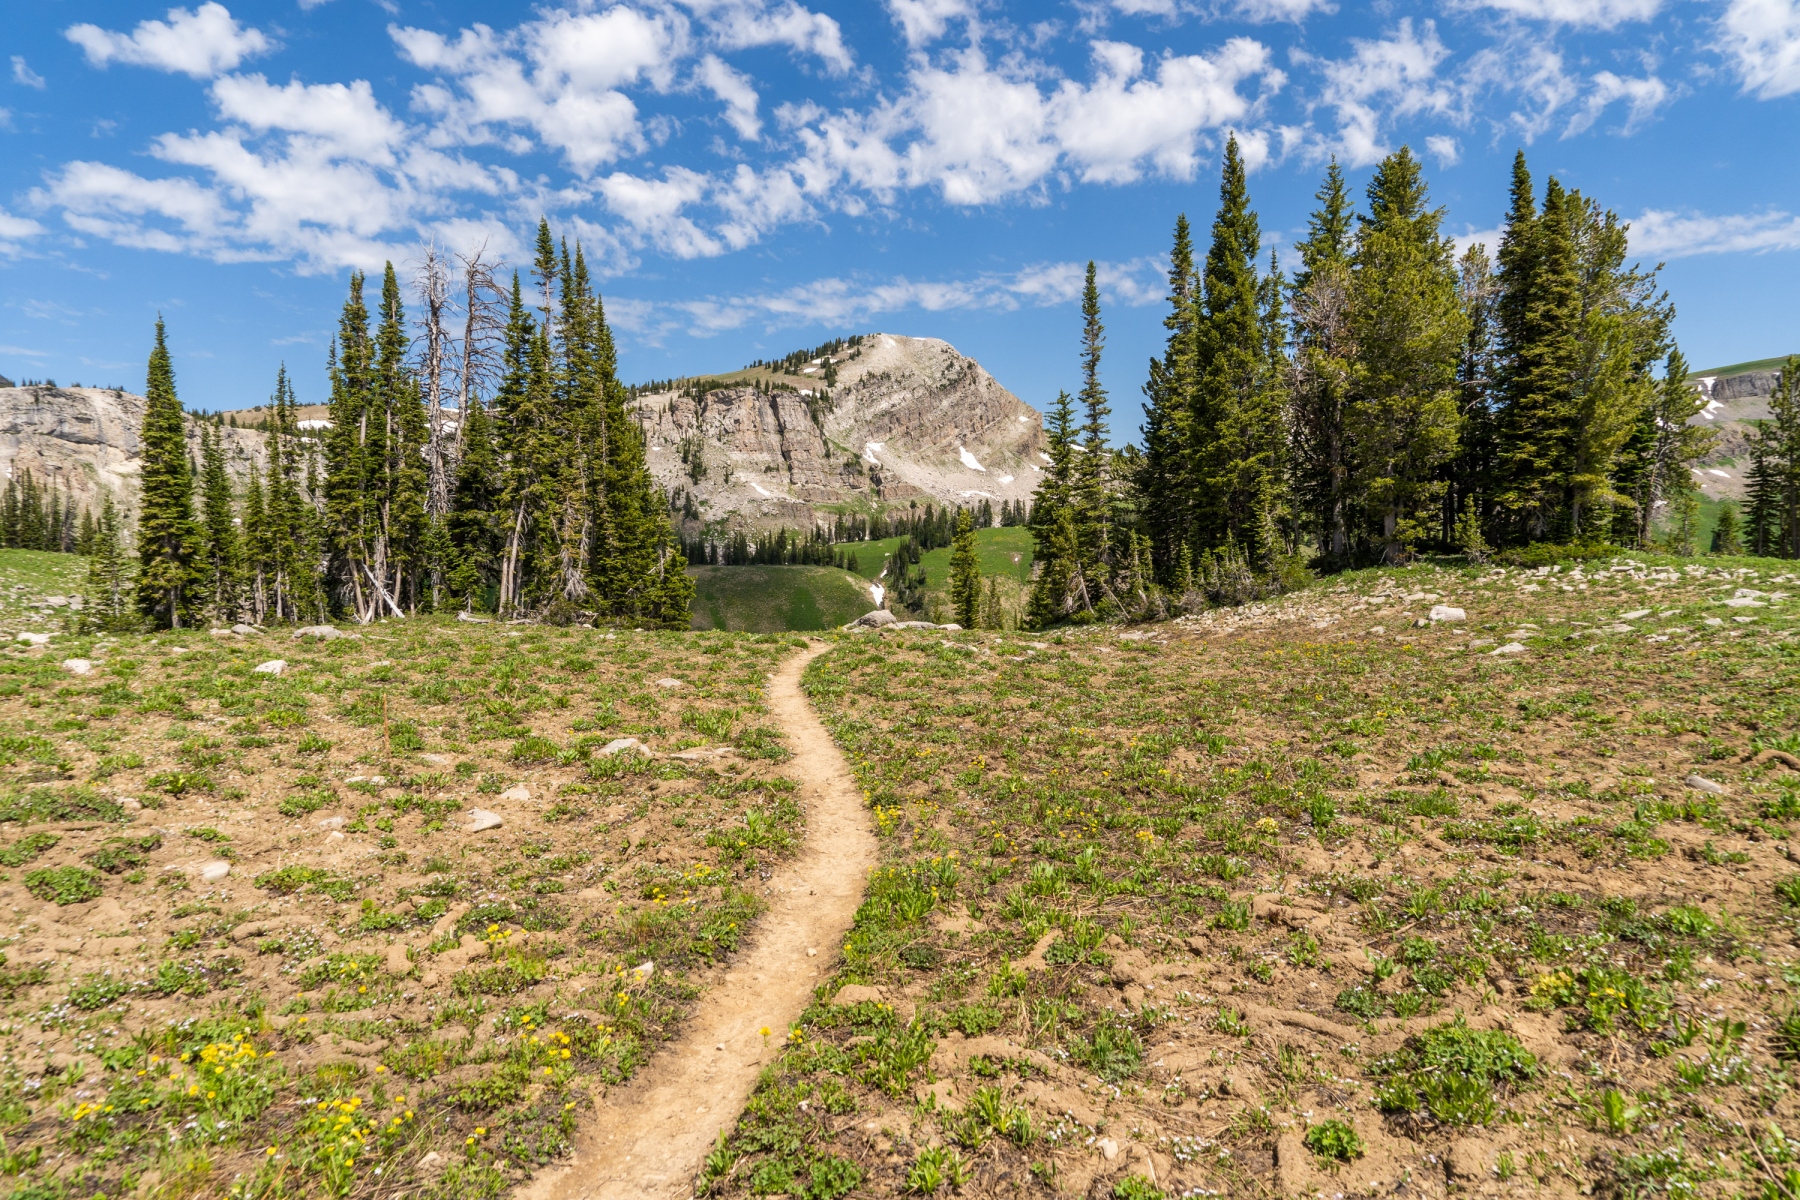
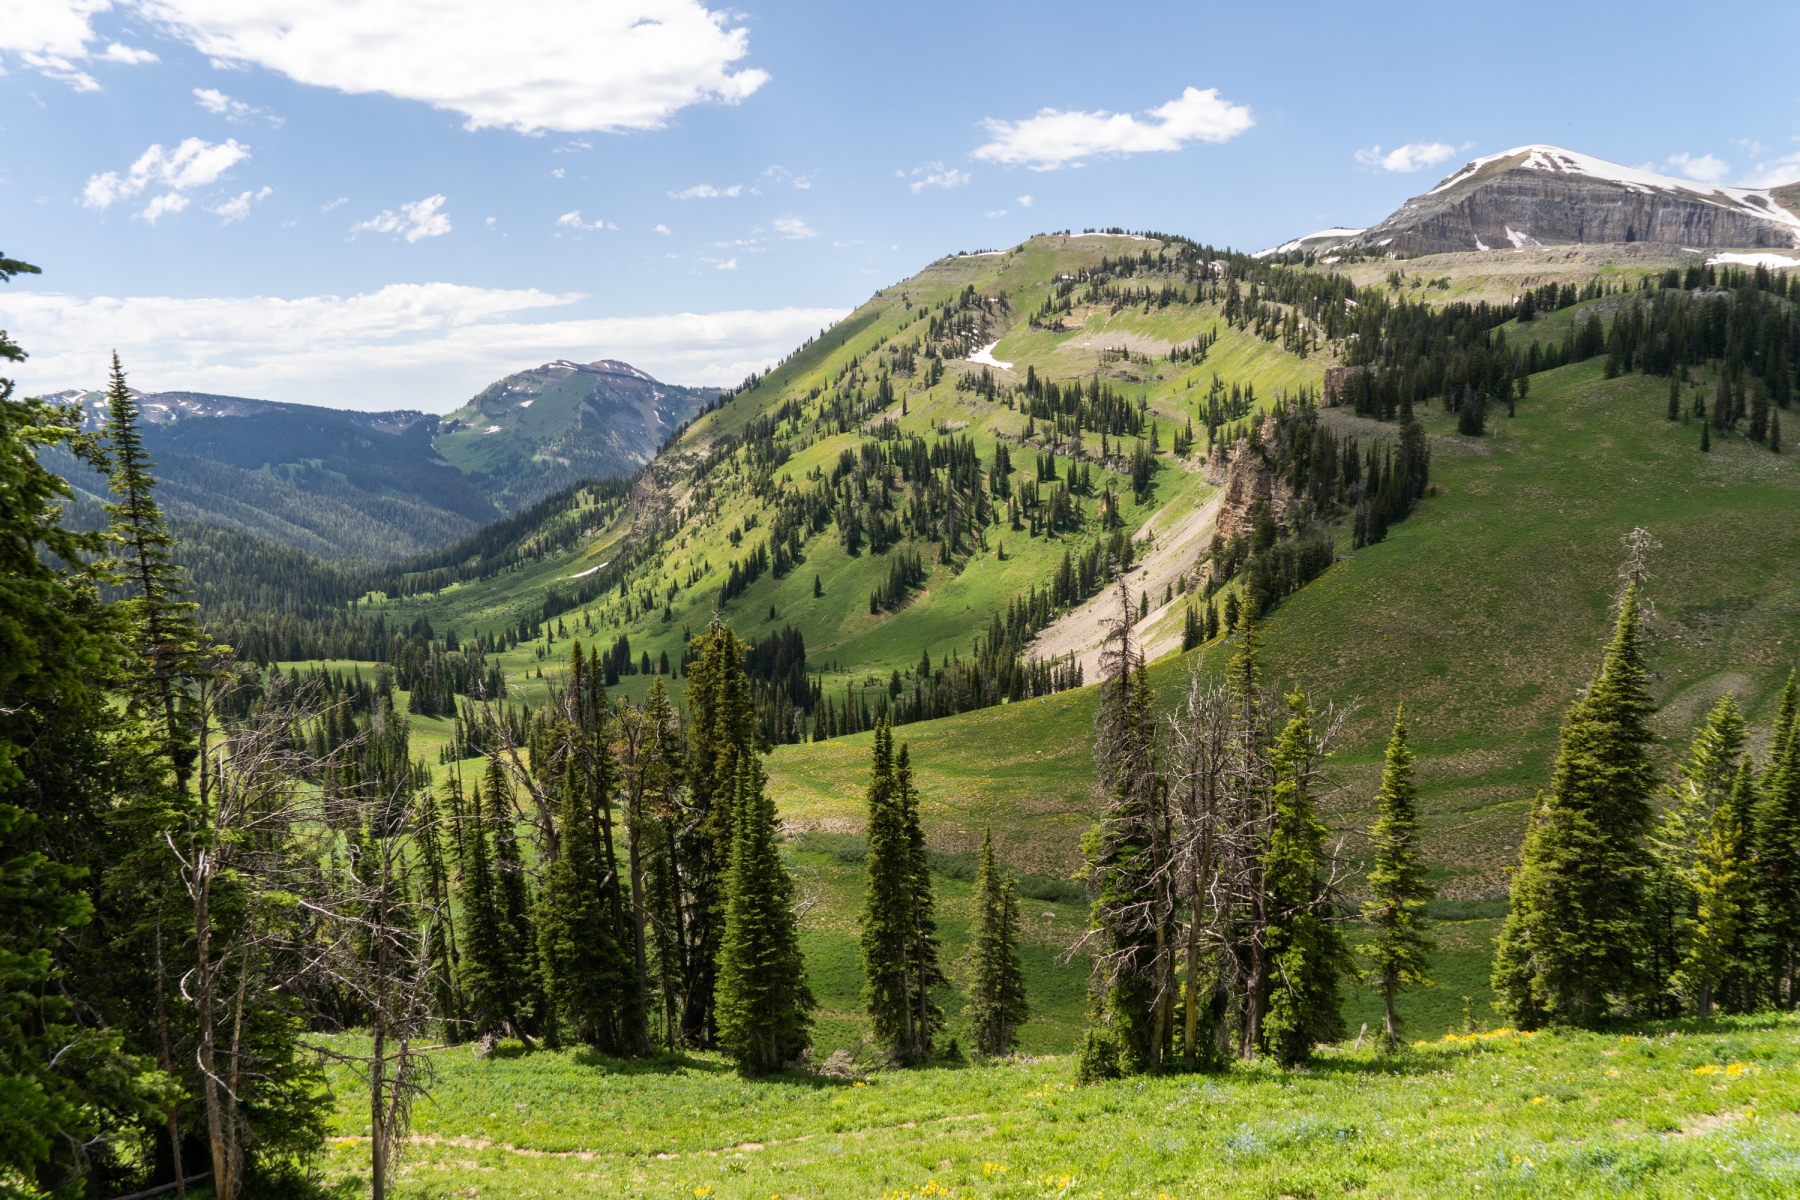
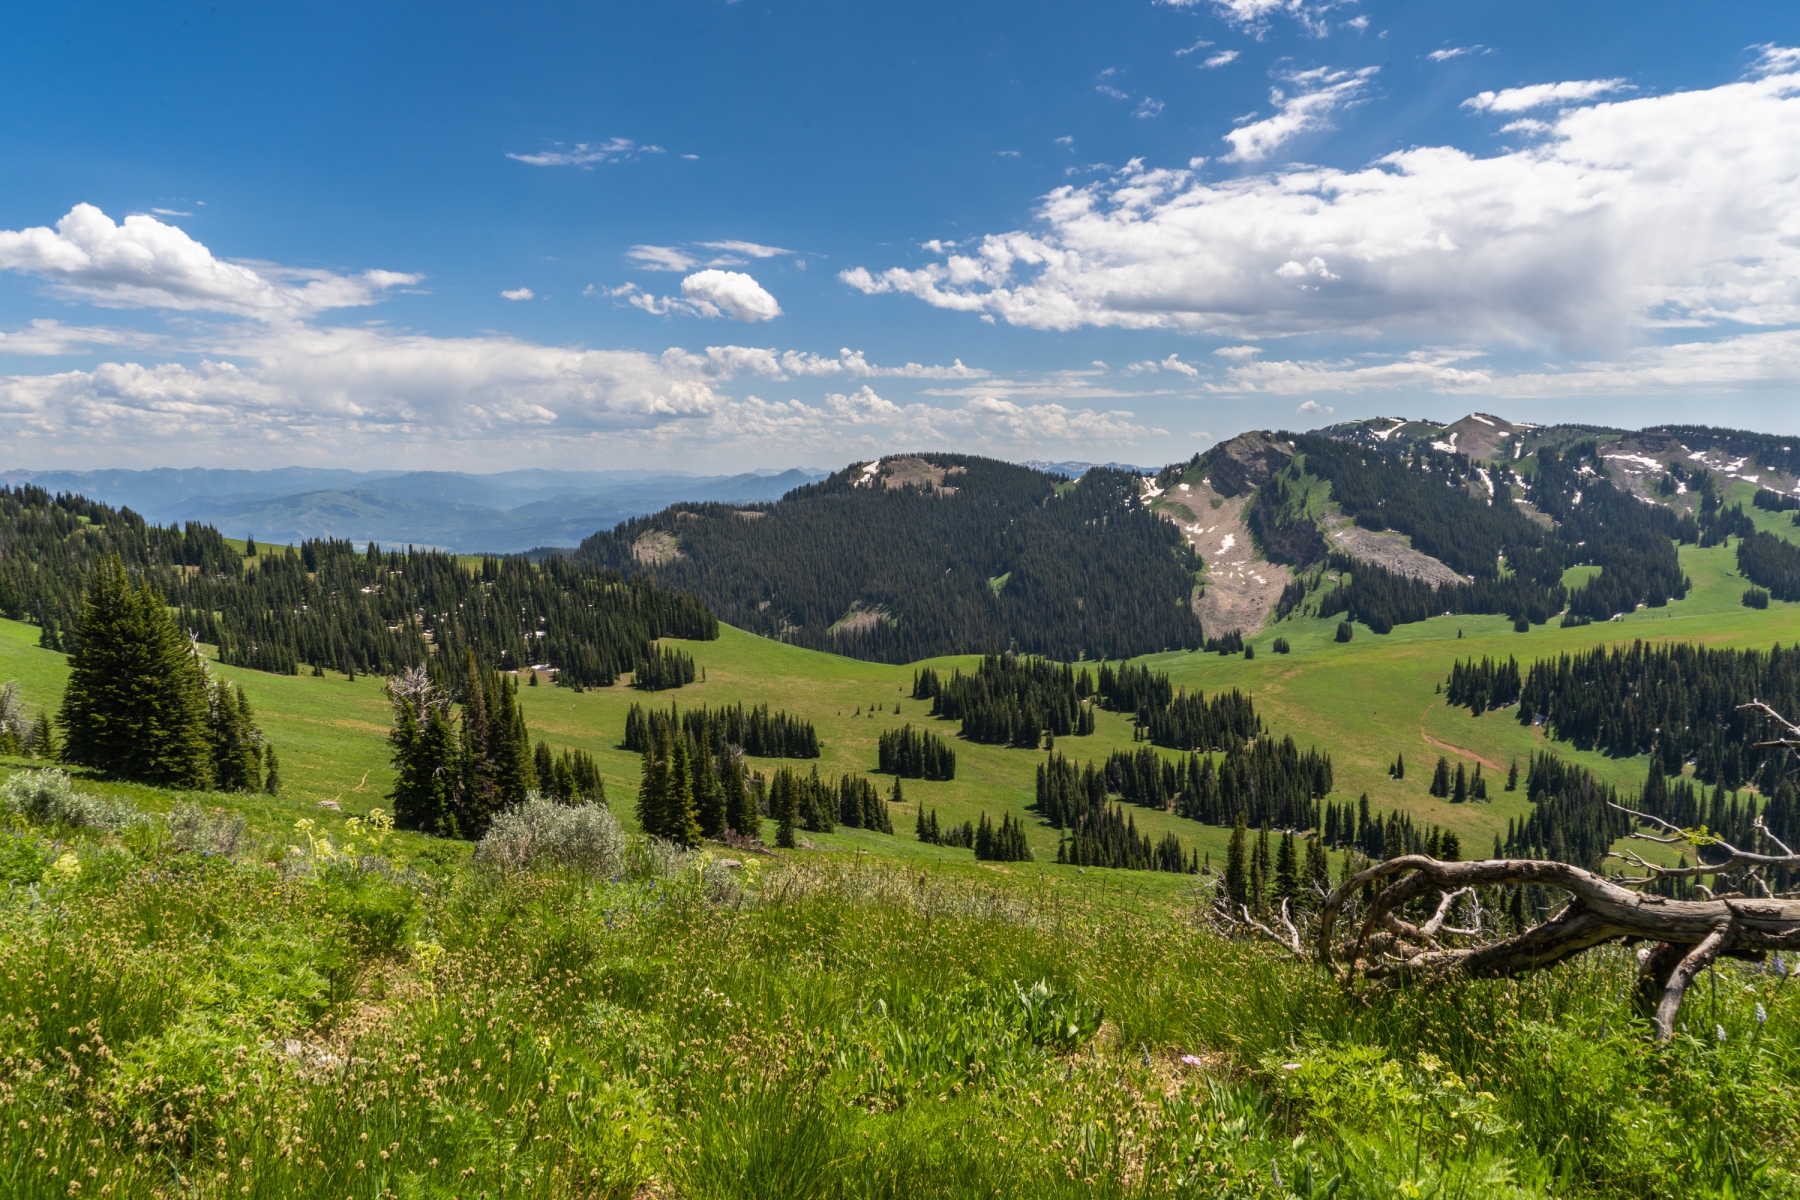
Scenery from the hike.