
Beartooth High Route
The Beartooth High Route is in a category of its own. This 90-mile route traverses the entire Beartooth Mountain Range while staying as high as reasonably possible. This route is almost entirely off-trail and very challenging. The scenery and alpine experience is unmatched. The goal when creating this route was to stay as high as possible on the Beartooth Plateau, while balancing hikability and safety. This is still a backpacking route, but it's not far away from being more of a mountaineering expedition. The terrain is very rough and involves a lot of boulder hopping, don't count on doing more than 10 miles a day on this route. It will take you to places that people rarely go and you'll spend a lot of time above 10,000 feet. It's a great adventure!
Since the route is so long and the hiking is so slow, it's best to break it up into two parts. You don't want to be carrying a heavy pack with 9 days of food on some of this terrain. I hiked it in two sections.
Difficulty Rating: Expert
Stats

Beartooth High Route Guide PArt 1
Beartooth High Route Guide PArt 2
Getting There
The eastern terminus is very accessible on the Beartooth Highway. It’s the same trailhead that the Beartooth Loop trail uses. The halfway point is the Lady of the Lake Trail. If you are doing this is 2 sections, you’ll want to shuttle a car to the Upper or Lower Lady of the Lake trailhead. The upper trailhead save a couple miles of hiking but requires a higher clearance vehicle to drive to. The lower trailhead is right off the Beartooth Highway and easily accessible. The western terminus is the Rabbit Gulch Trailhead. Getting to this trailhead requires a higher clearance vehicle. Any truck or SUV should be just fine.
The Route
It's best to do this route in two parts. They break up evenly at about 45 miles each. The eastern section is much more difficult than the western section. It's up to you which one you'd rather start with. I started at the eastern terminus and worked my way west.
The descriptions below are based on my hike. Your hike, pacing, campsites, and even your route will probably differ. This route is meant to be more of a guideline than a strict path to follow. Things like weather and ability level will require many to modify their route across the plateau. There are often many different ways to navigate across the rugged lanscapse, always use your best judgement and don't worry about sticking to the line on the map too closely.
Day 1: 8.5 miles
Summary: A good warm up for what's ahead.
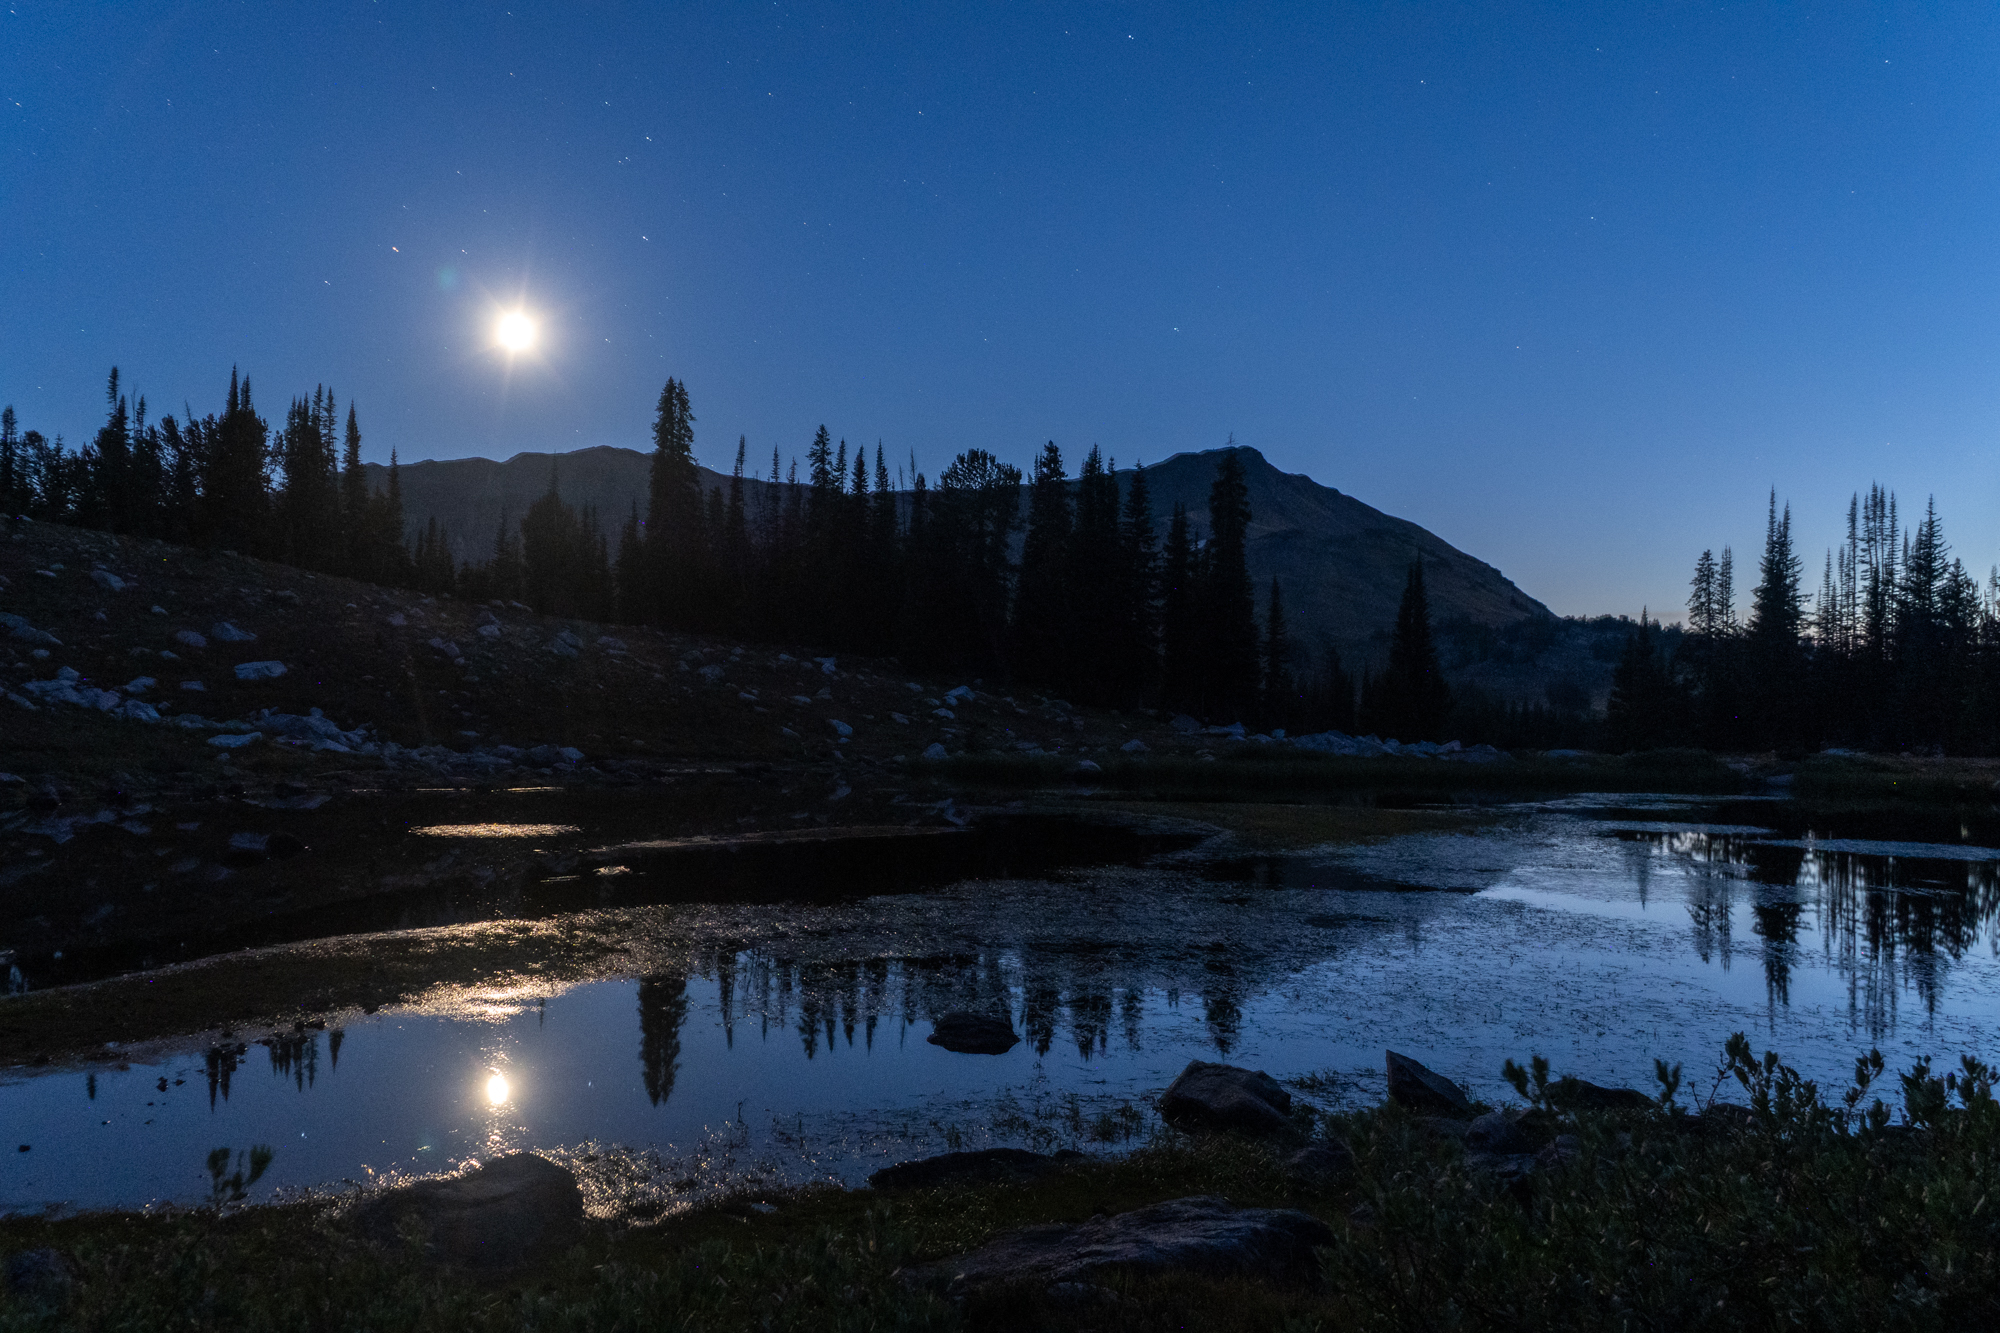
Starting from a trailhead on the Beartooth Highway is nice because you are already at 9,800 feet. There is no big climb to get up into the mountains. That doesn't mean you're not going higher though. You'll be starting with a cross-country hike on grass, there is no trail. Hike to Sheepherder lake, then gain the ridge to the north of it. Follow the ridge to Spirit Mountain. You don't have to go all the way to the summit but you can if you want to add another peak to your bag.
I camped just below Spirit Mountain. It was not a good spot but it was getting dark. I'd recommend going a little further to around Triskele Lake to camp.
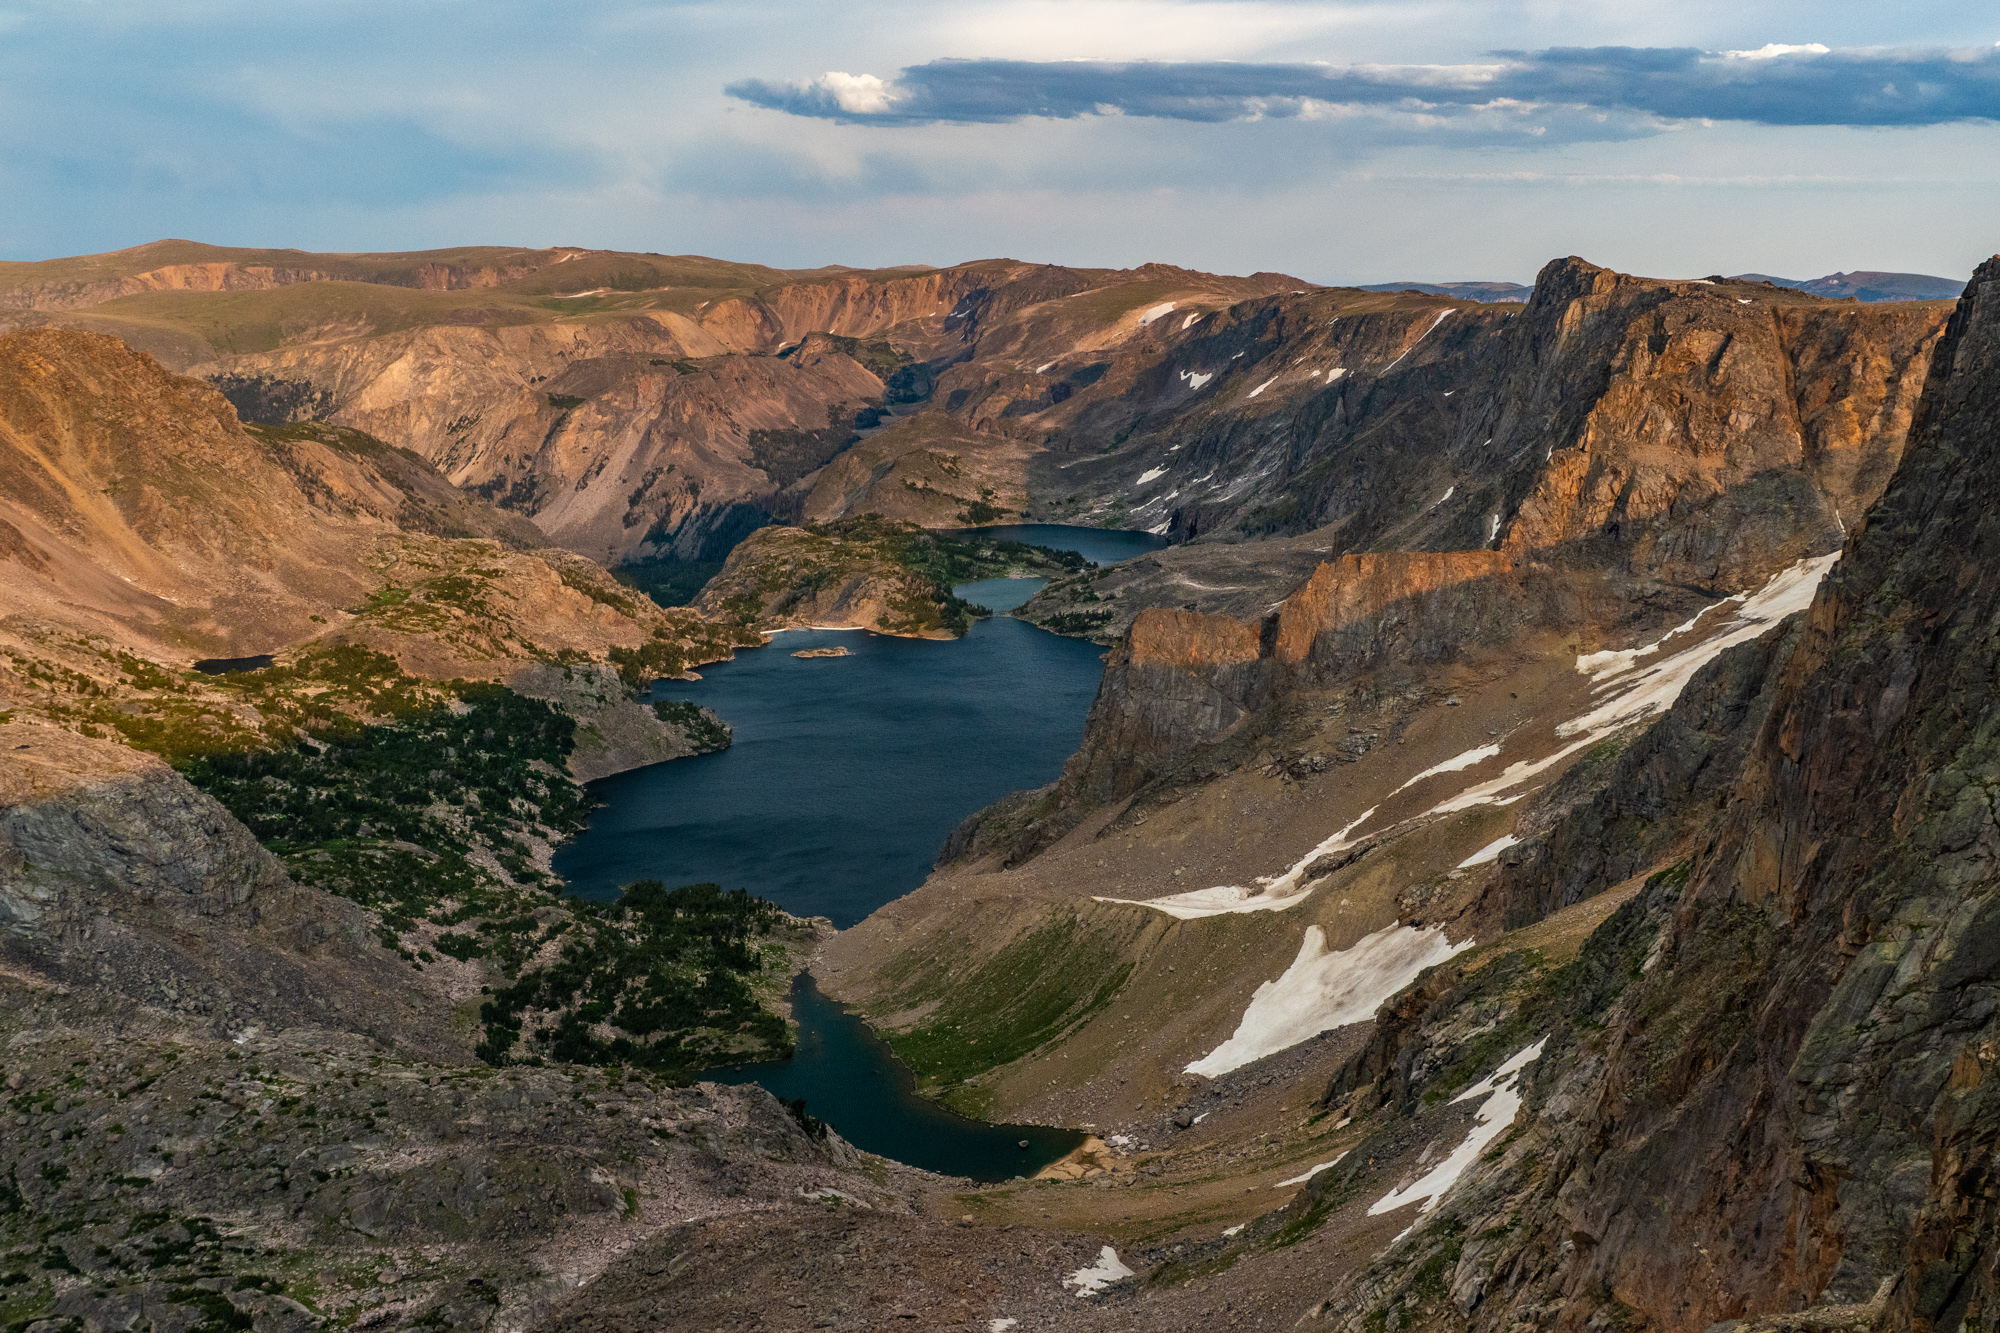

Day 2: 10.2 miles
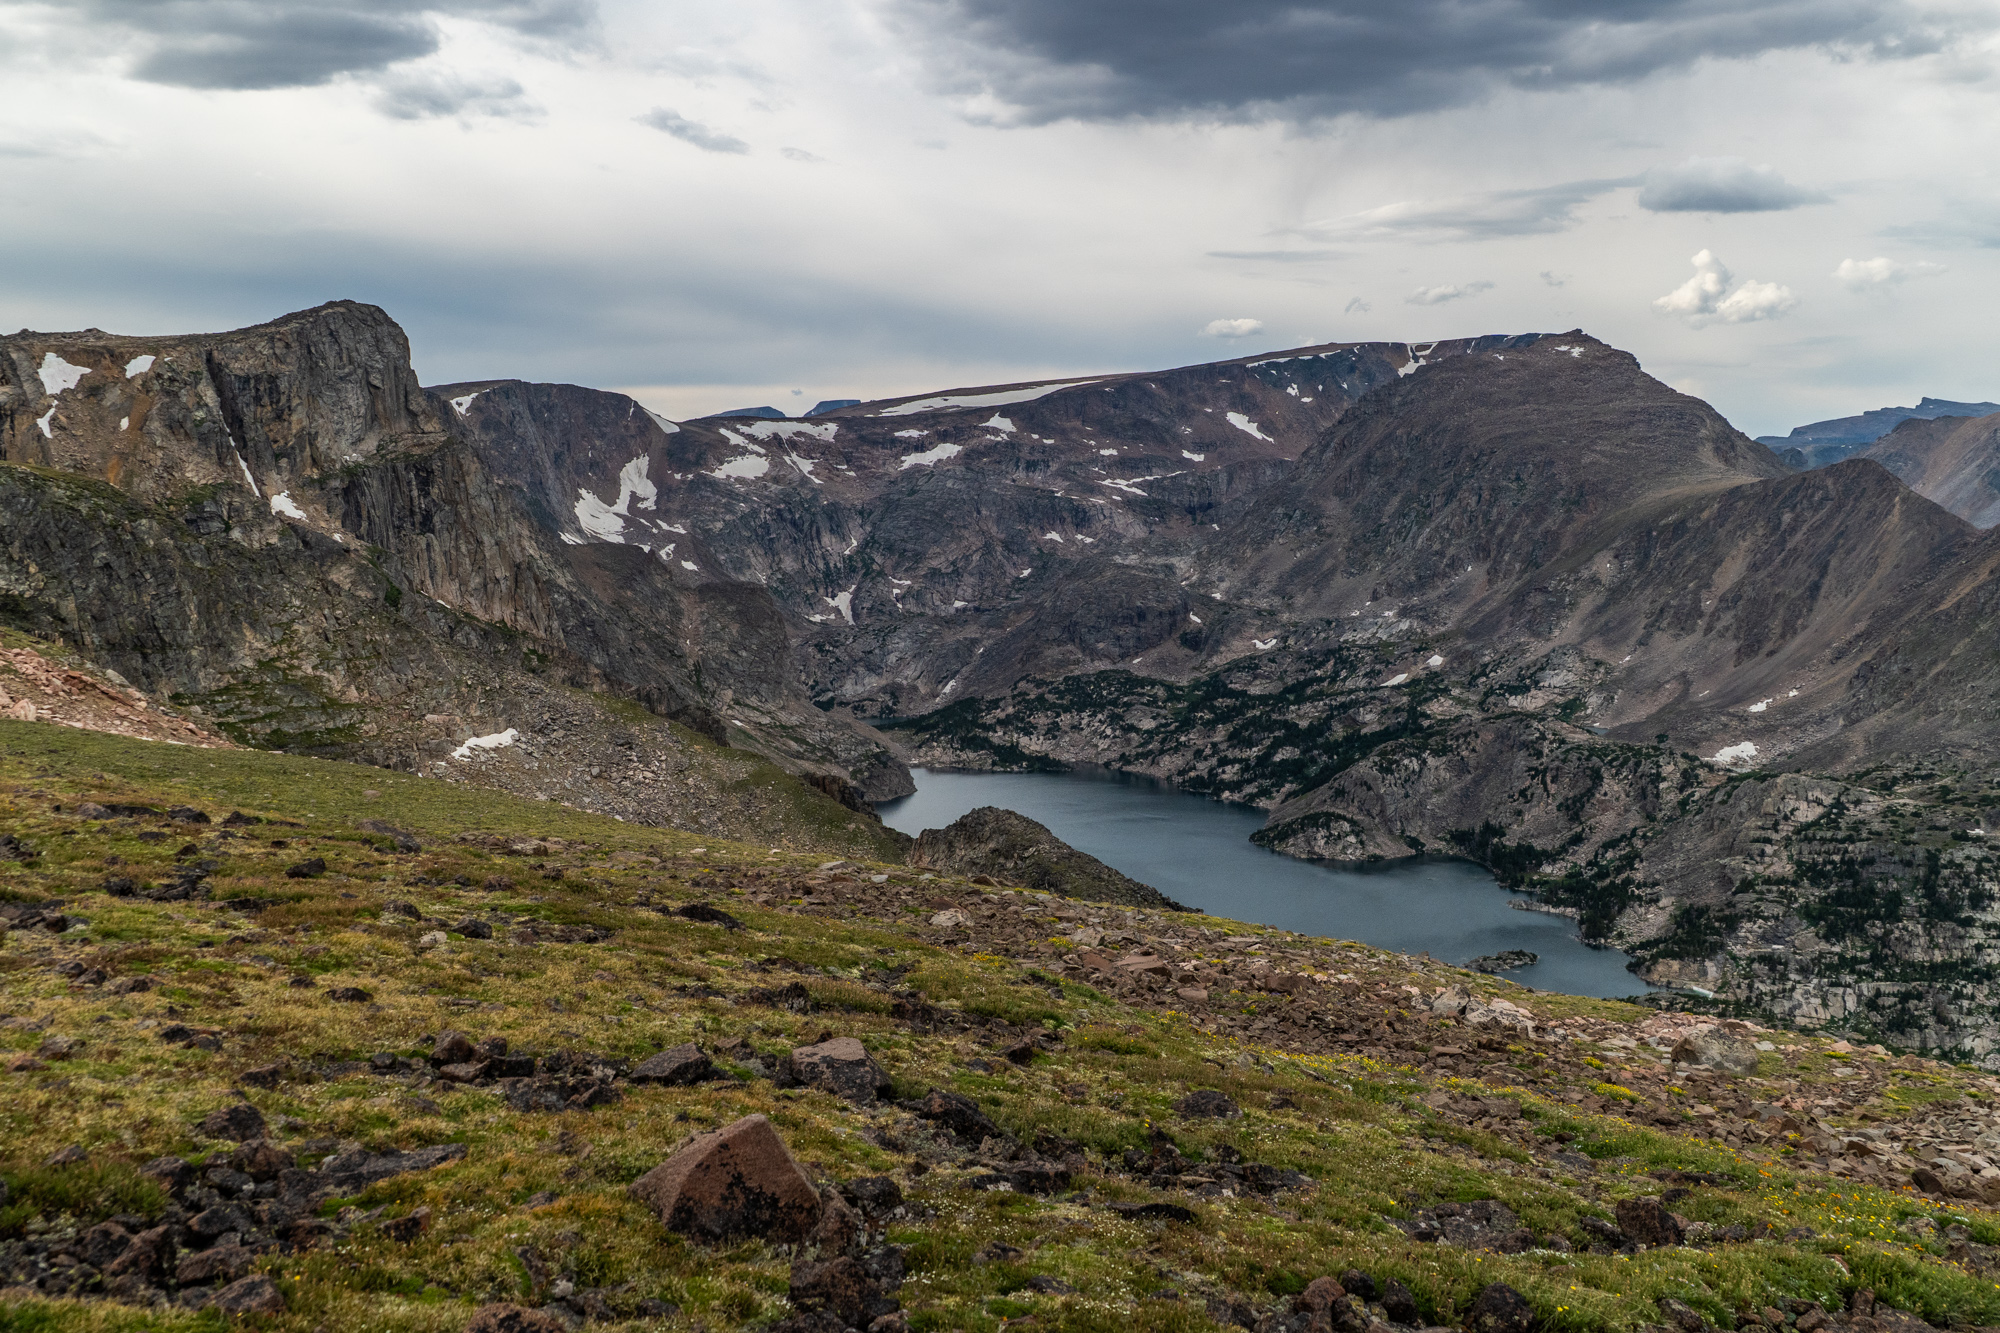
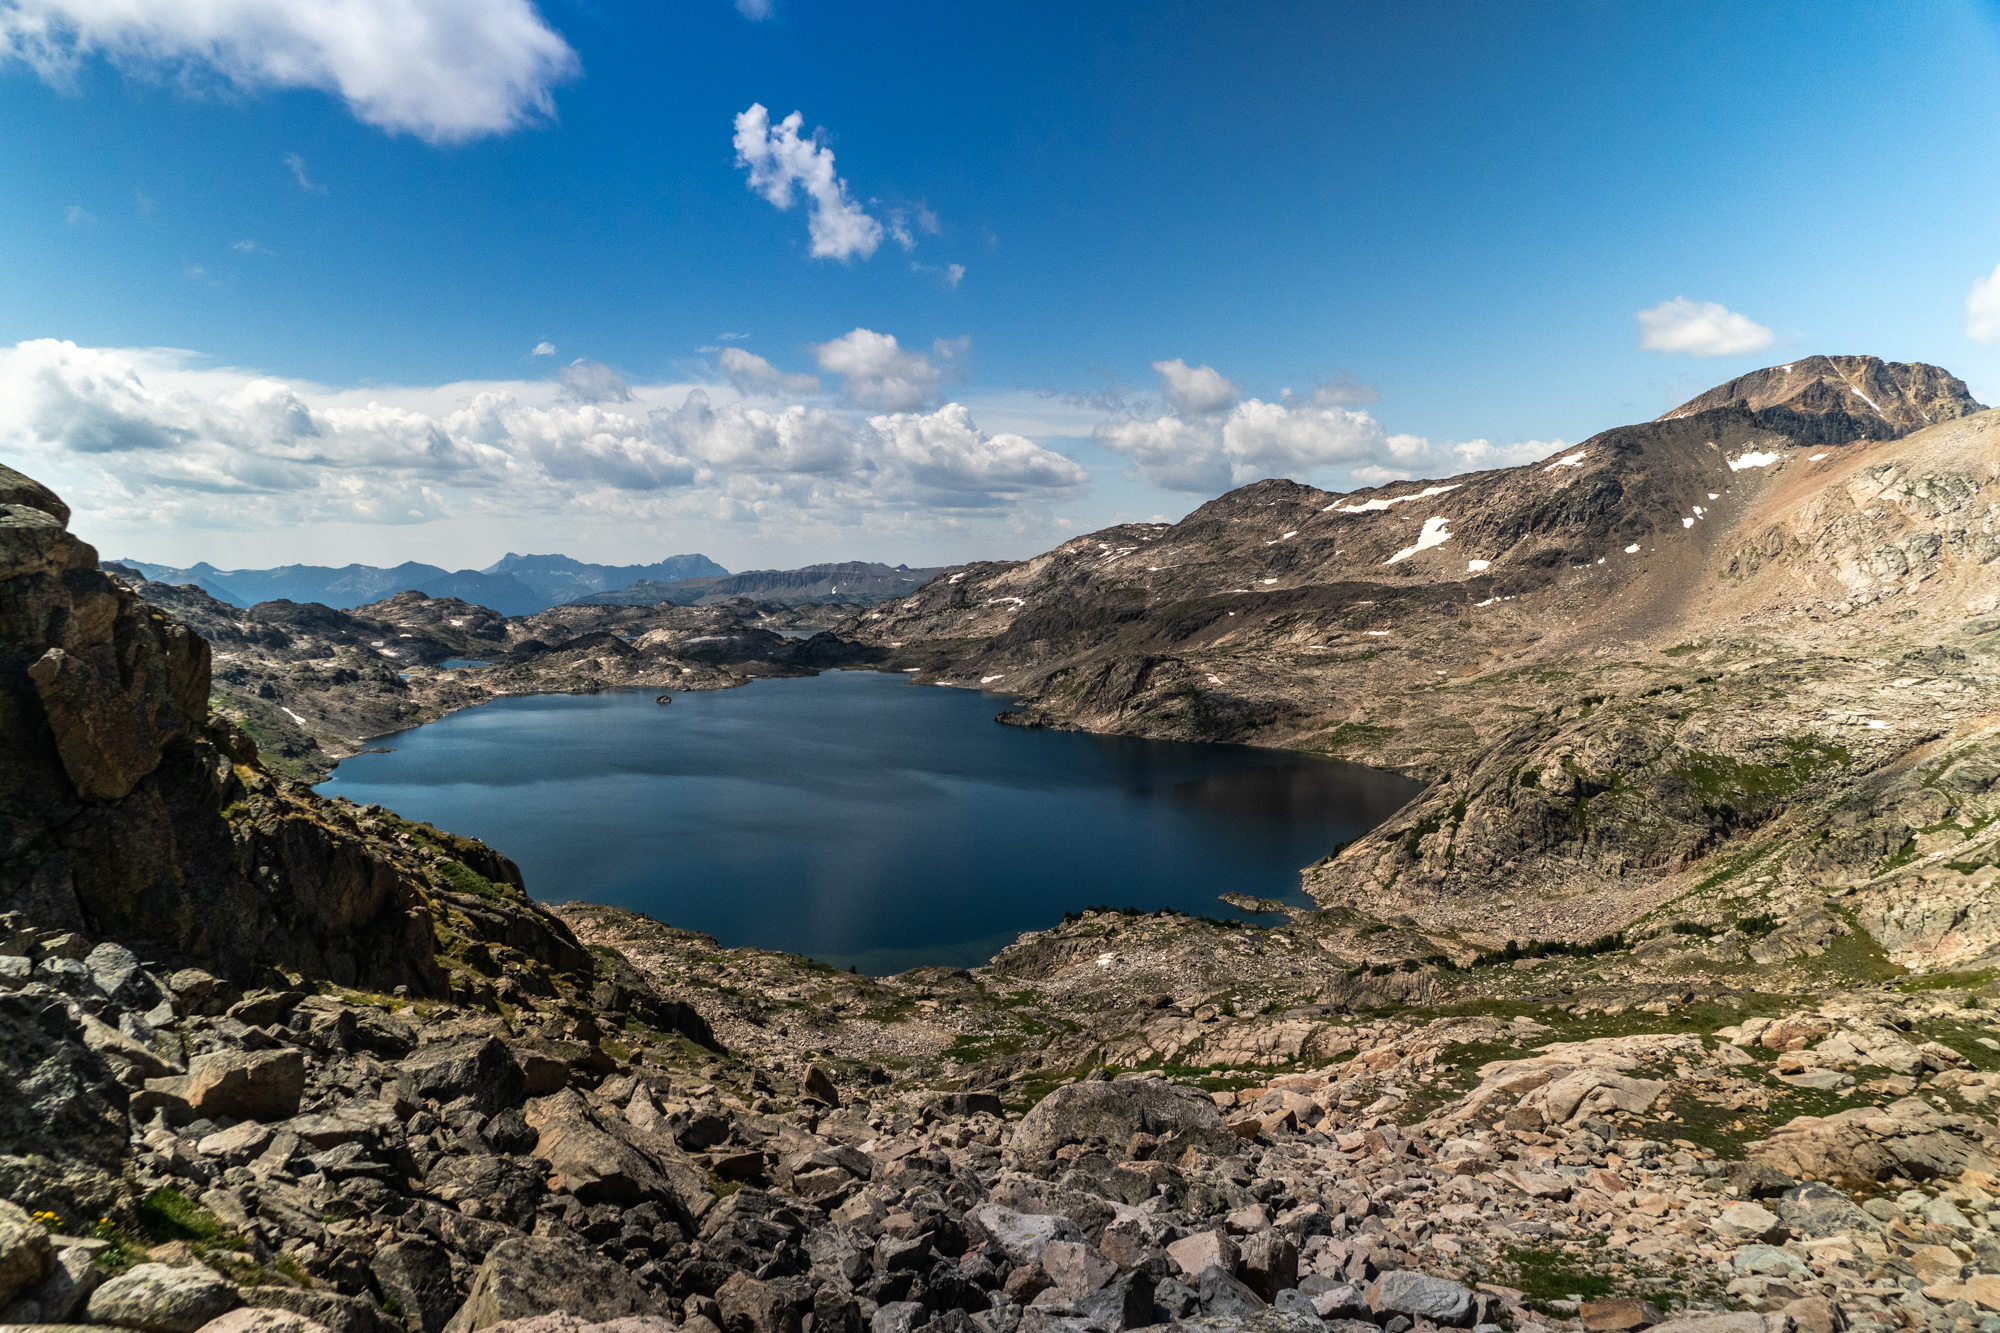
Summary: You'll hike by at least 9 alpine lakes. Any one of them would be a great place to hang out at for a day.
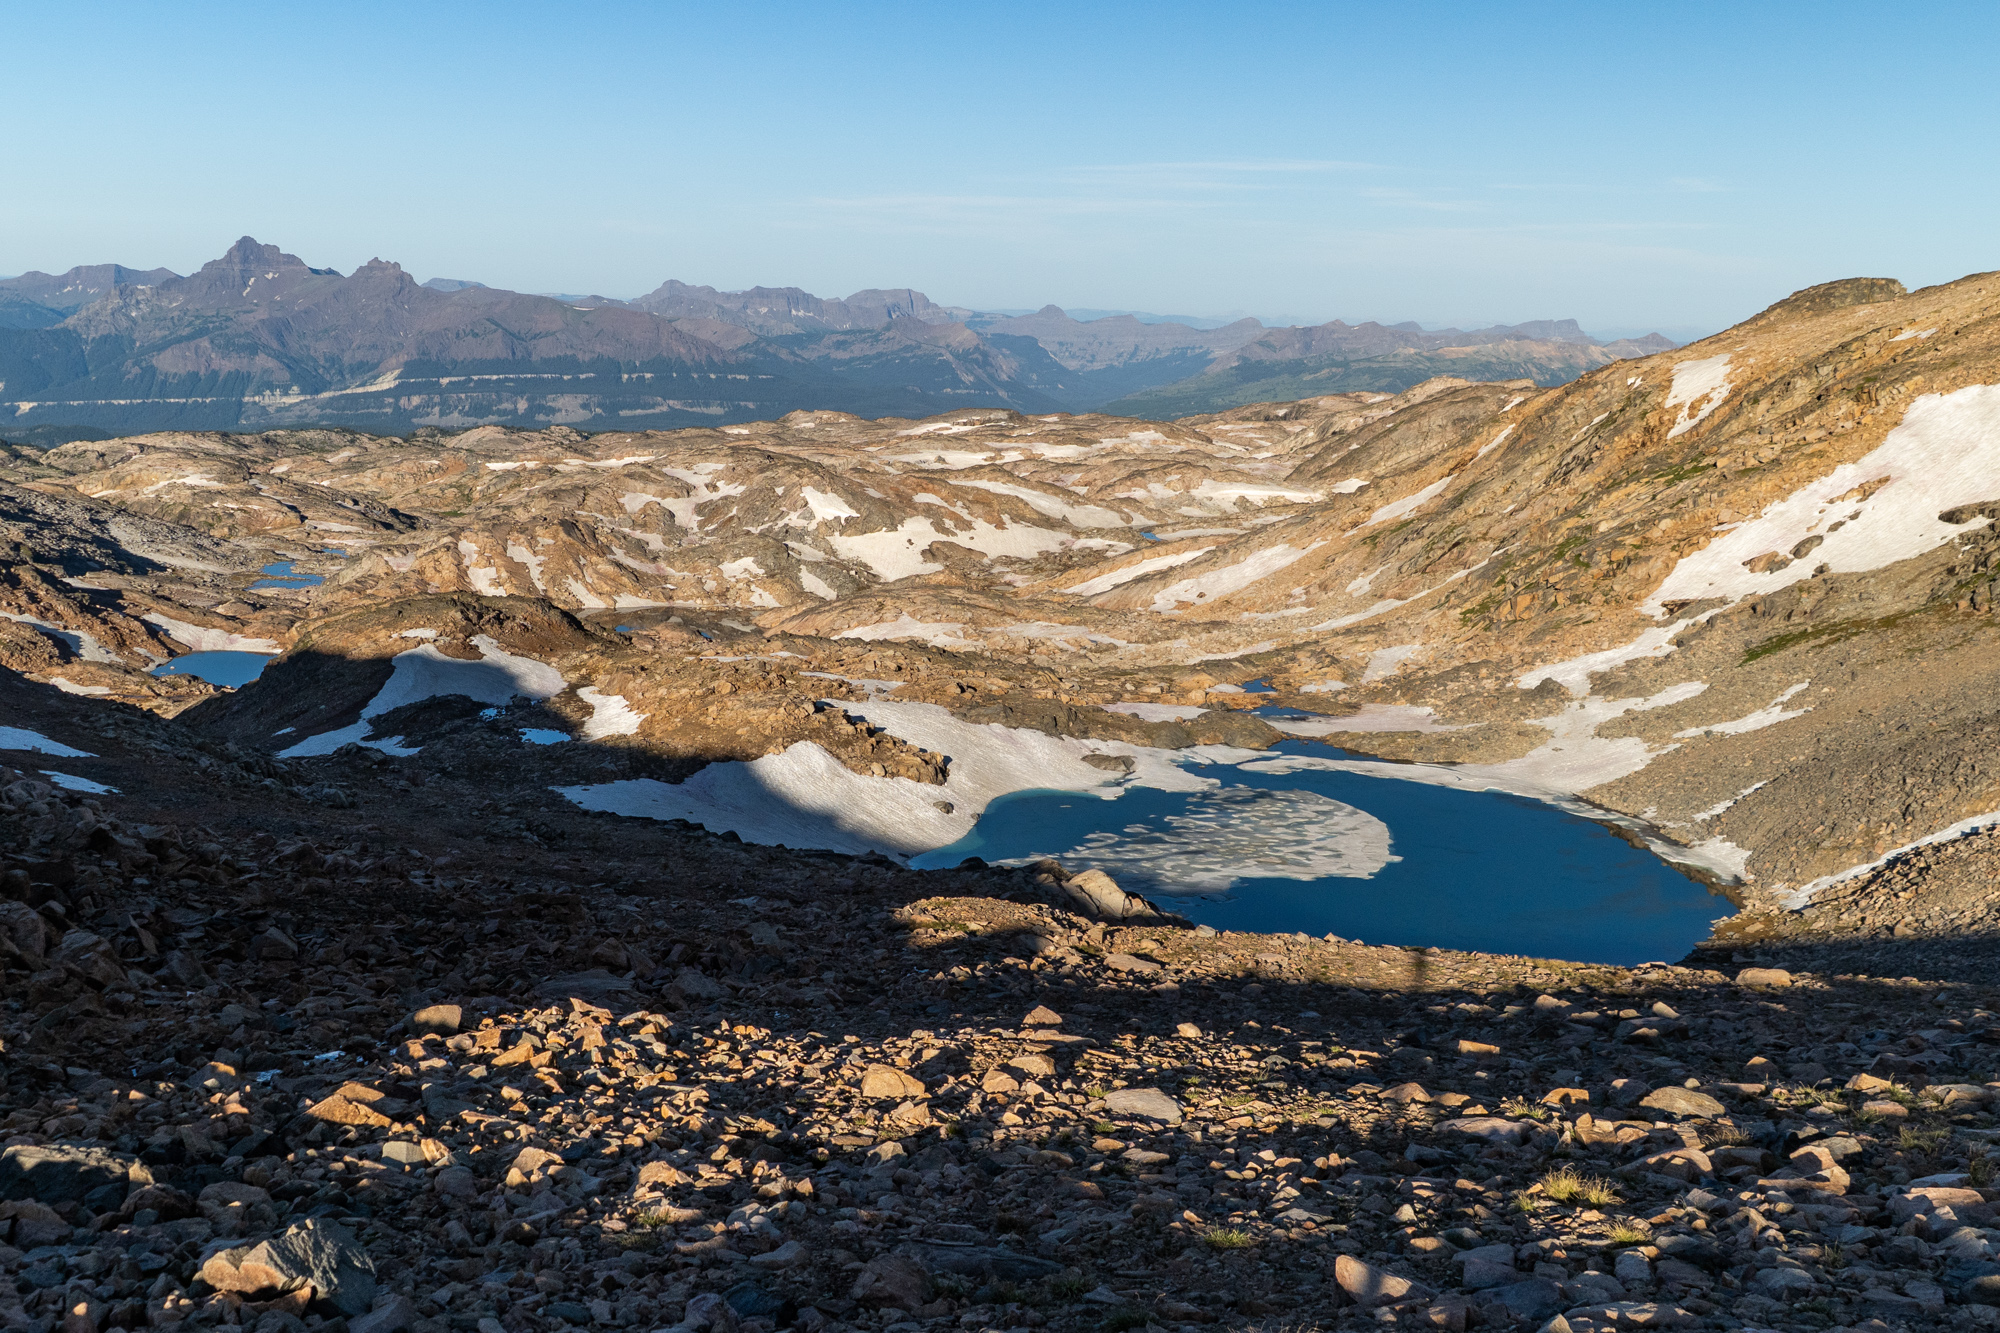
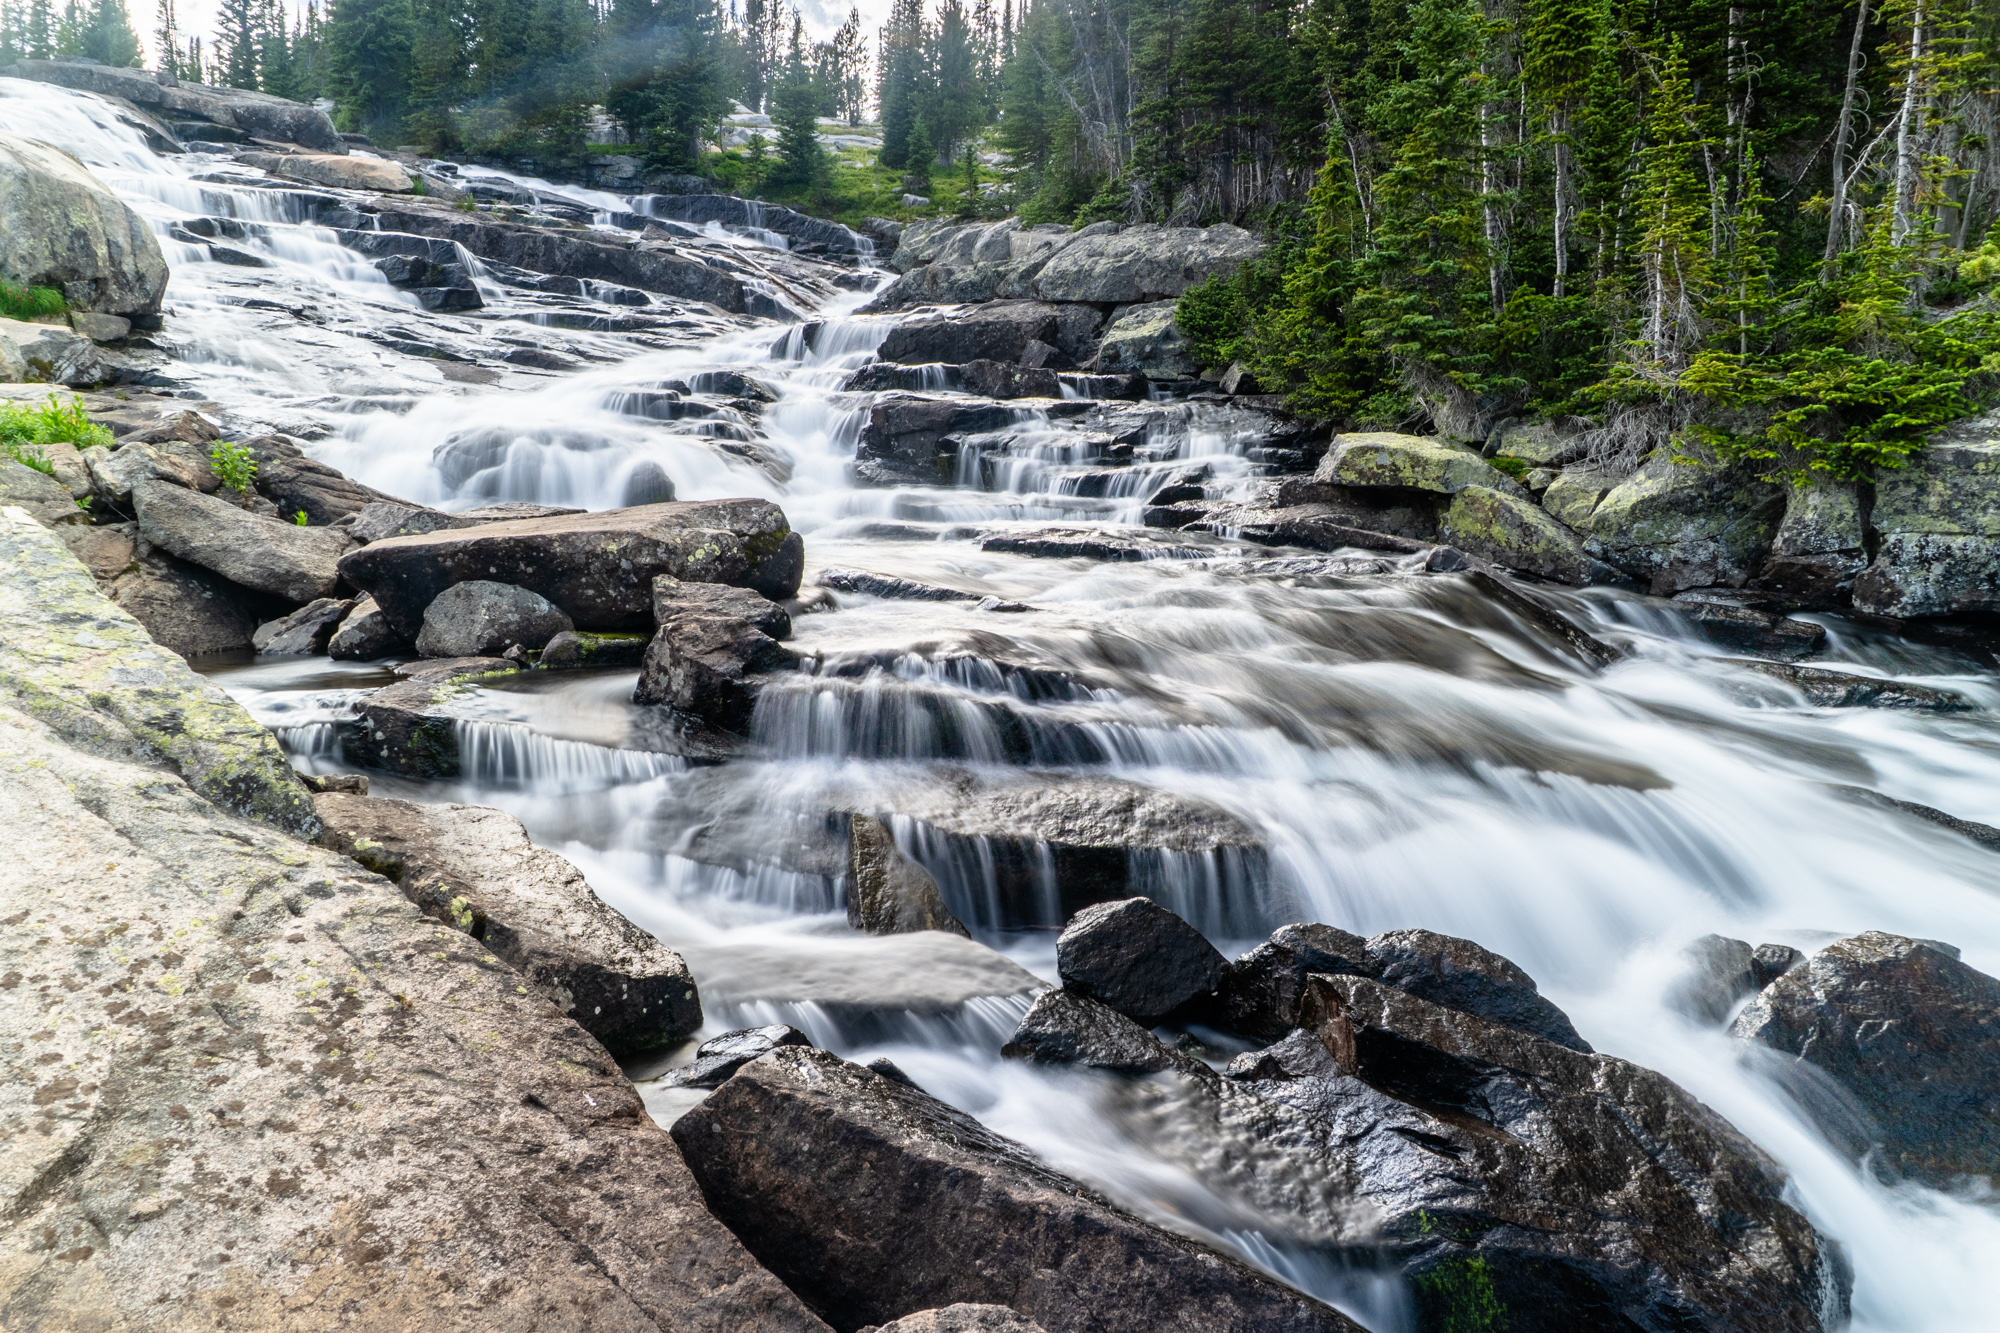
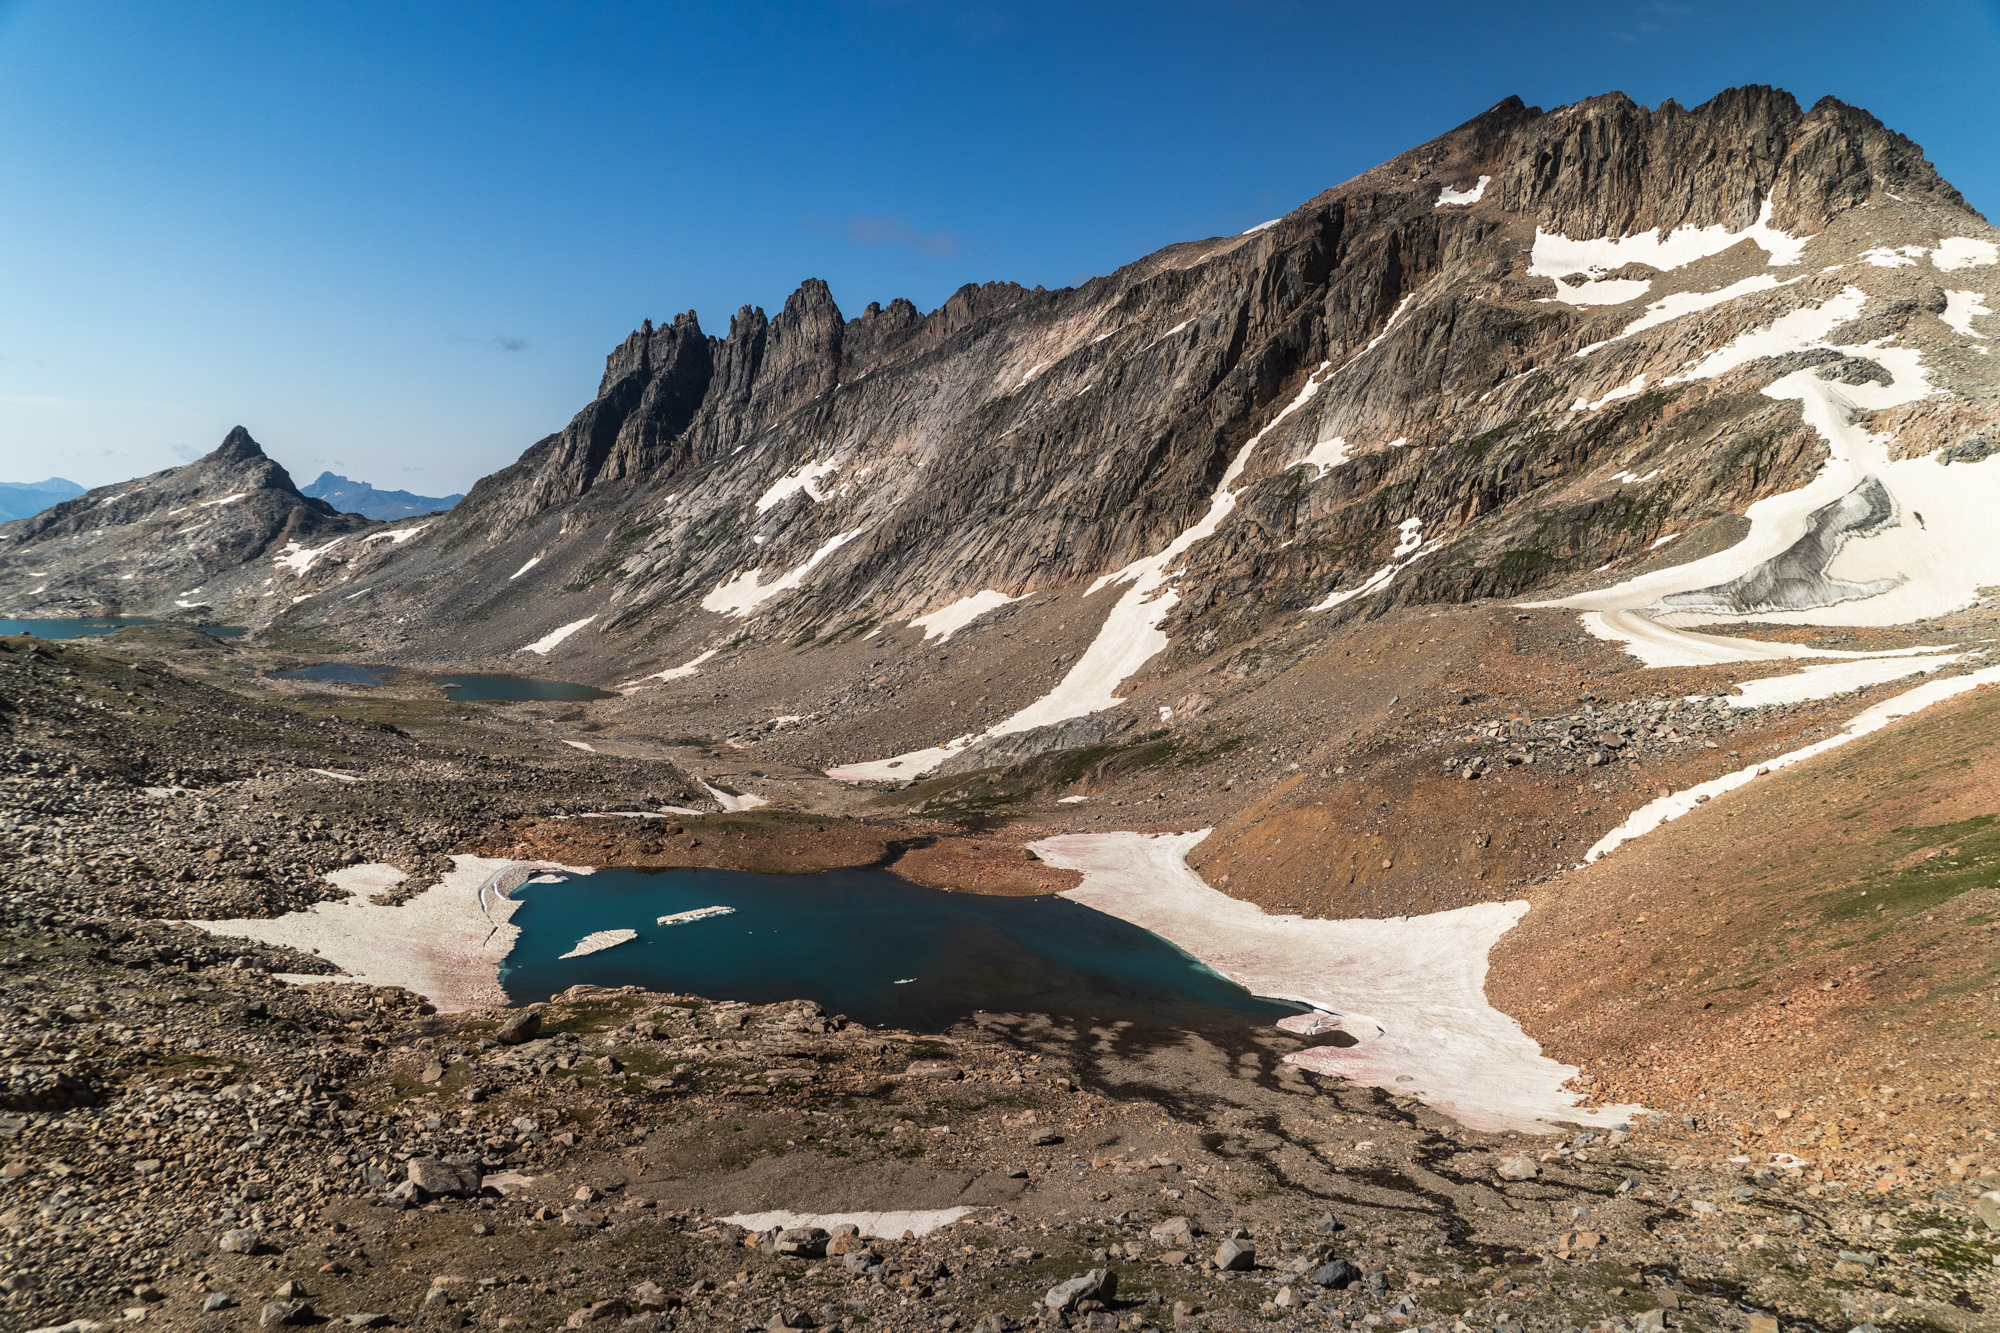
You'll quickly learn that the Beartooth Plateau is a convoluted mess of broken rock, dotted with grassy meadows and hundreds of lakes. It's all incredibly scenic but it can make navigation challenging, both in terms of route finding and physically because you'll be spending a lot of time boulder hopping on huge granite boulders. Pay close attention to the map as you navigate through all the small hills and lakes.
Fun fact, there's a hidden lake near Castle Rock Mountain. It's not on the map but it's definitely there. At that same lake is where the terrain gets extra broken and difficult. You're nearing 11,500 feet and it's just broken rock as far as you can see. Chose your routes carefully as you move through the boulders. When it flattened out a bit I found a small grassy patch to set up camp.
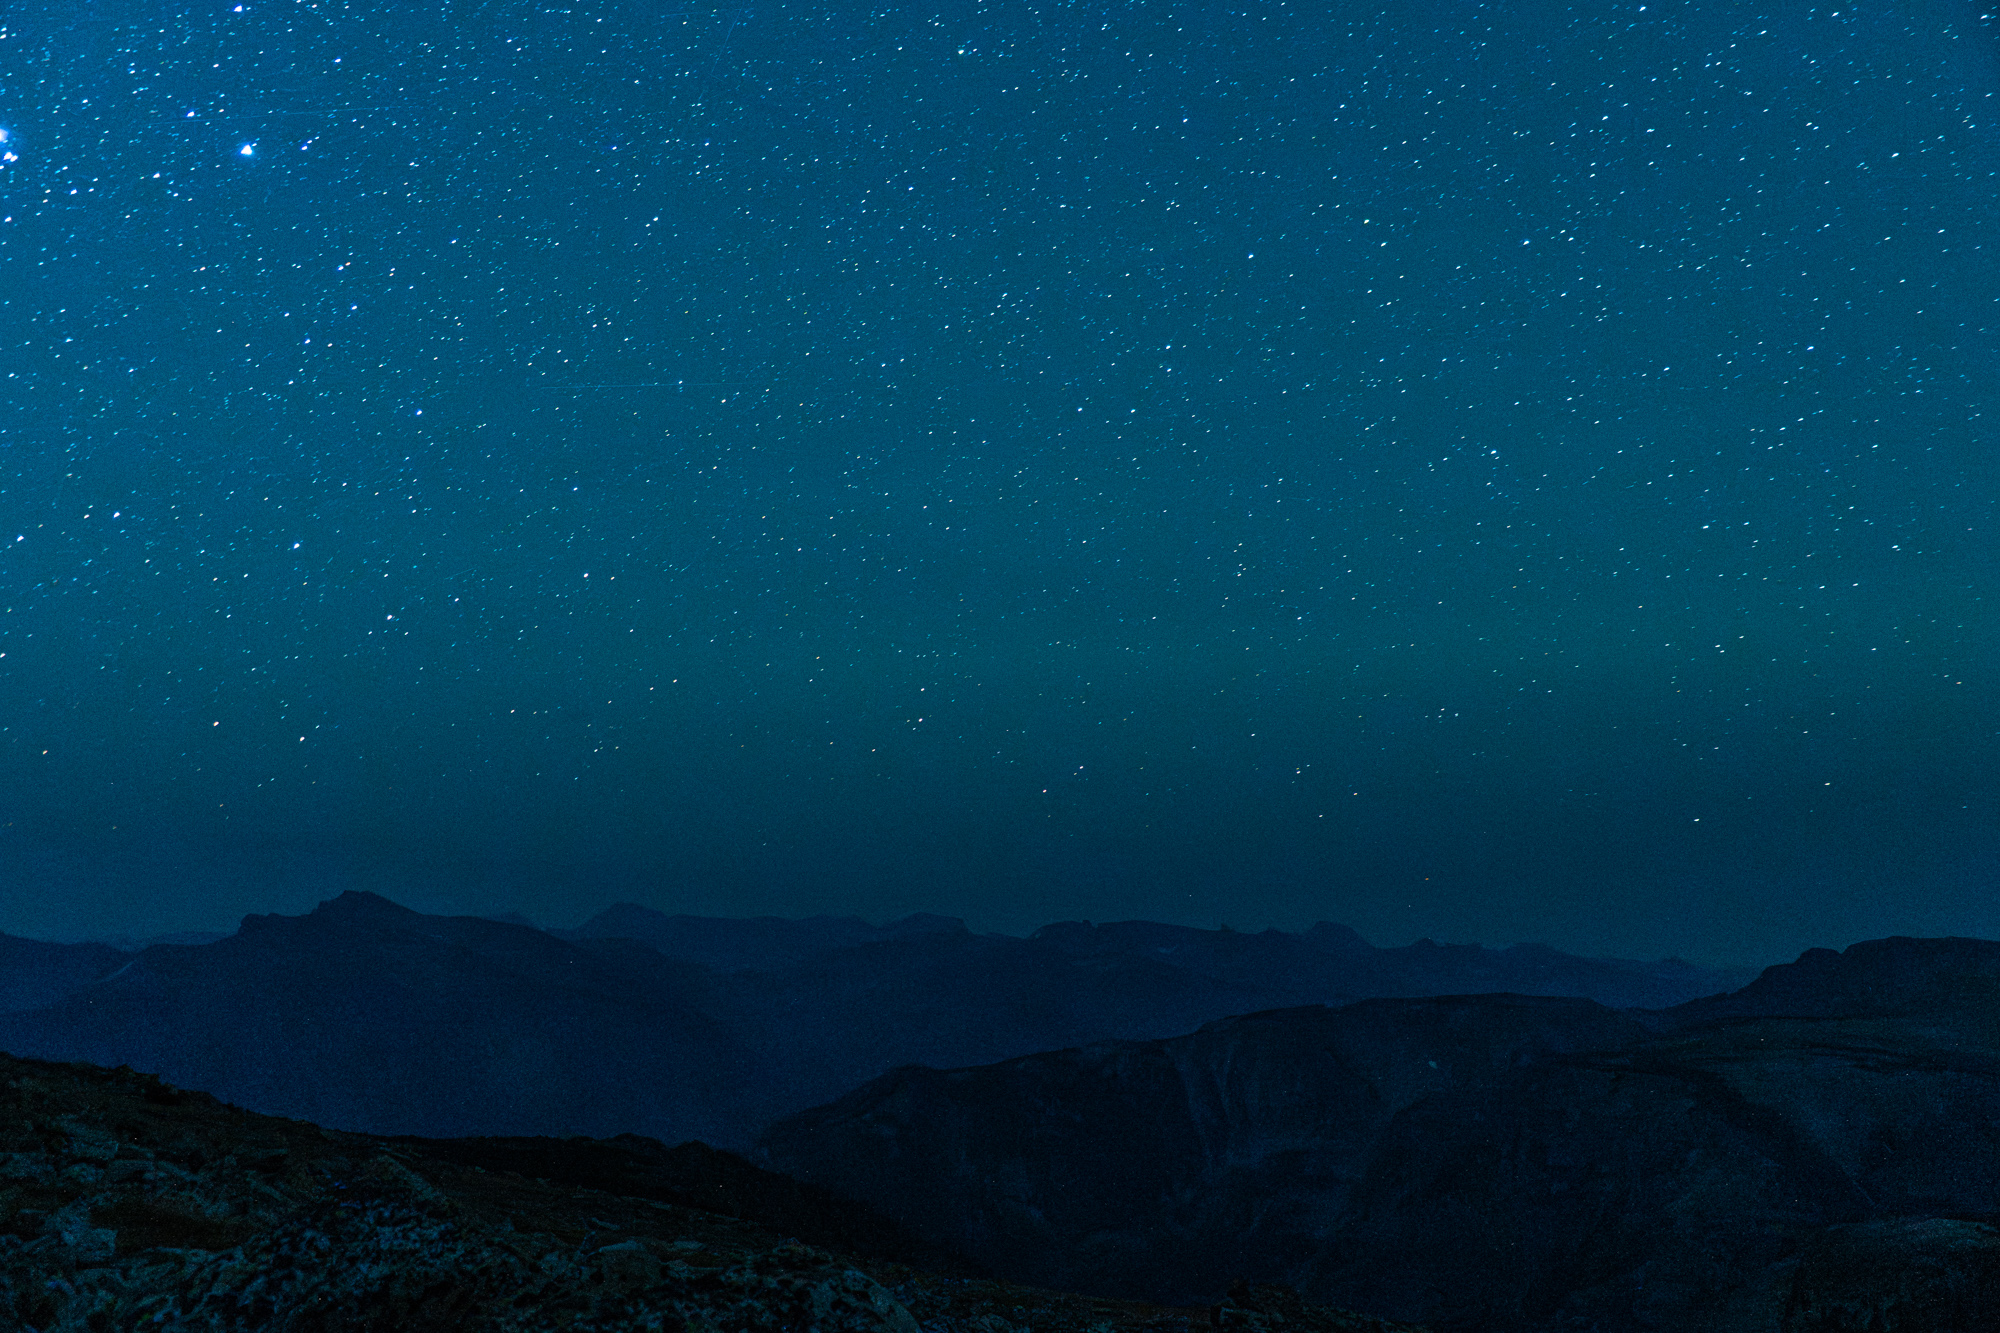
At these elevations it's going to get pretty cold at night any time of the year. Don't be surprised if you're water freezes, even in August over night.
Day 3: 11.5 miles
Summary: A couple of tricky parts on this one.
Head down past Snowbank Lake to Elpestrine Lake. Climbing out of Elpestrine to the west is the tricky part. I chose to climb up a snow-filled chute. It was mid-morning and the snow was still pretty hard. It hadn't had a chance to be softened by the sun very much yet, which meant I couldn't kick my micro-spikes in very far. It quickly started to feel dangerous, so I bailed and climbed the steep granite slab next to the snow. Luckily the rock was just barely climbable without being too steep. You may want to consider other routes out of Elpestrine Lake. You could follow the drainage down, then go back up the next drainage, which would be longer but maybe safer.
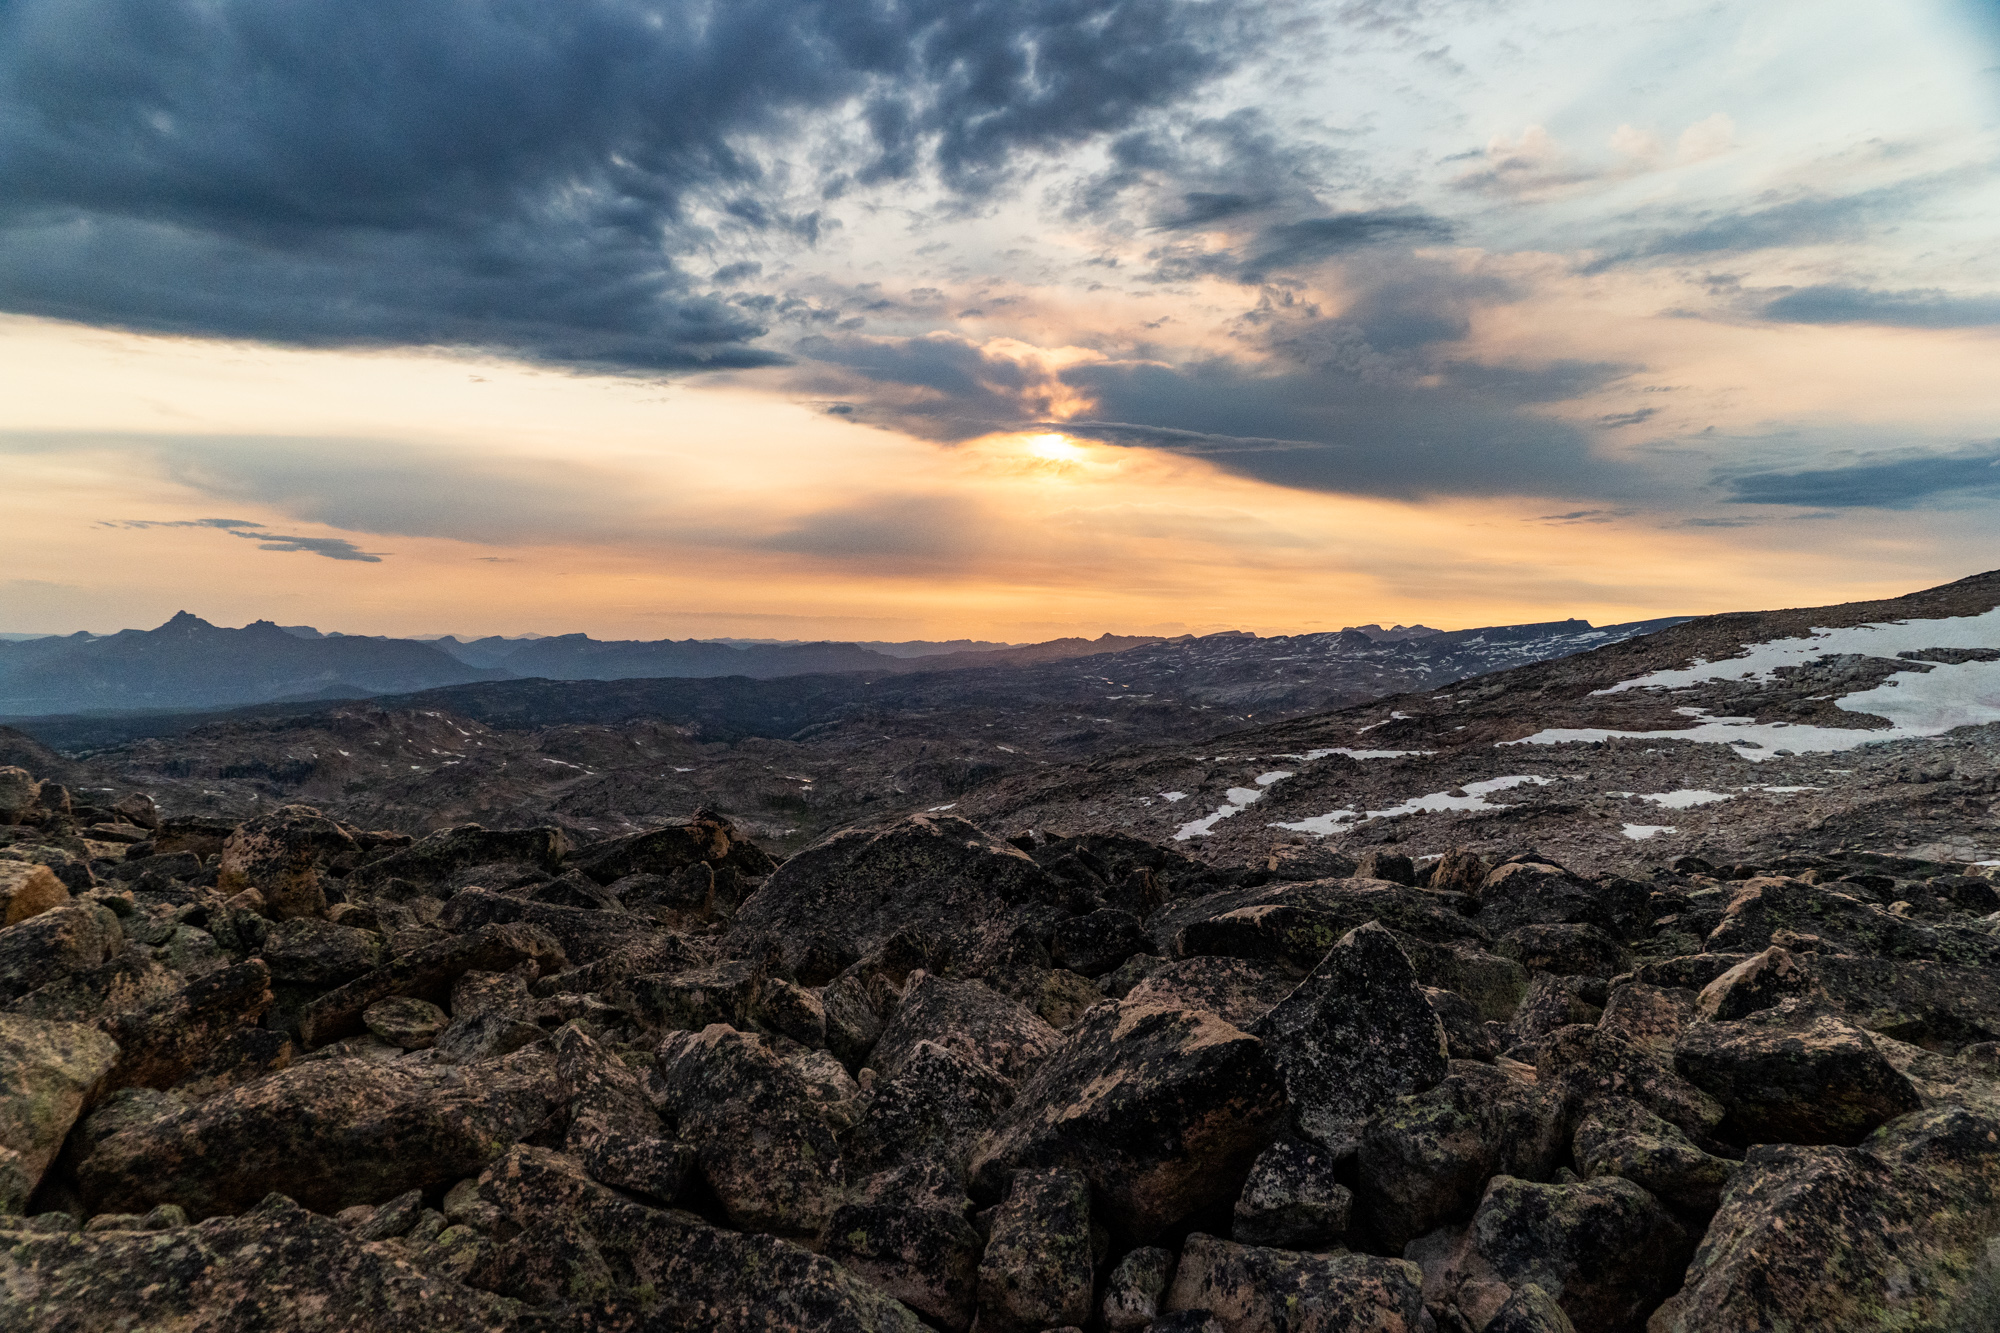
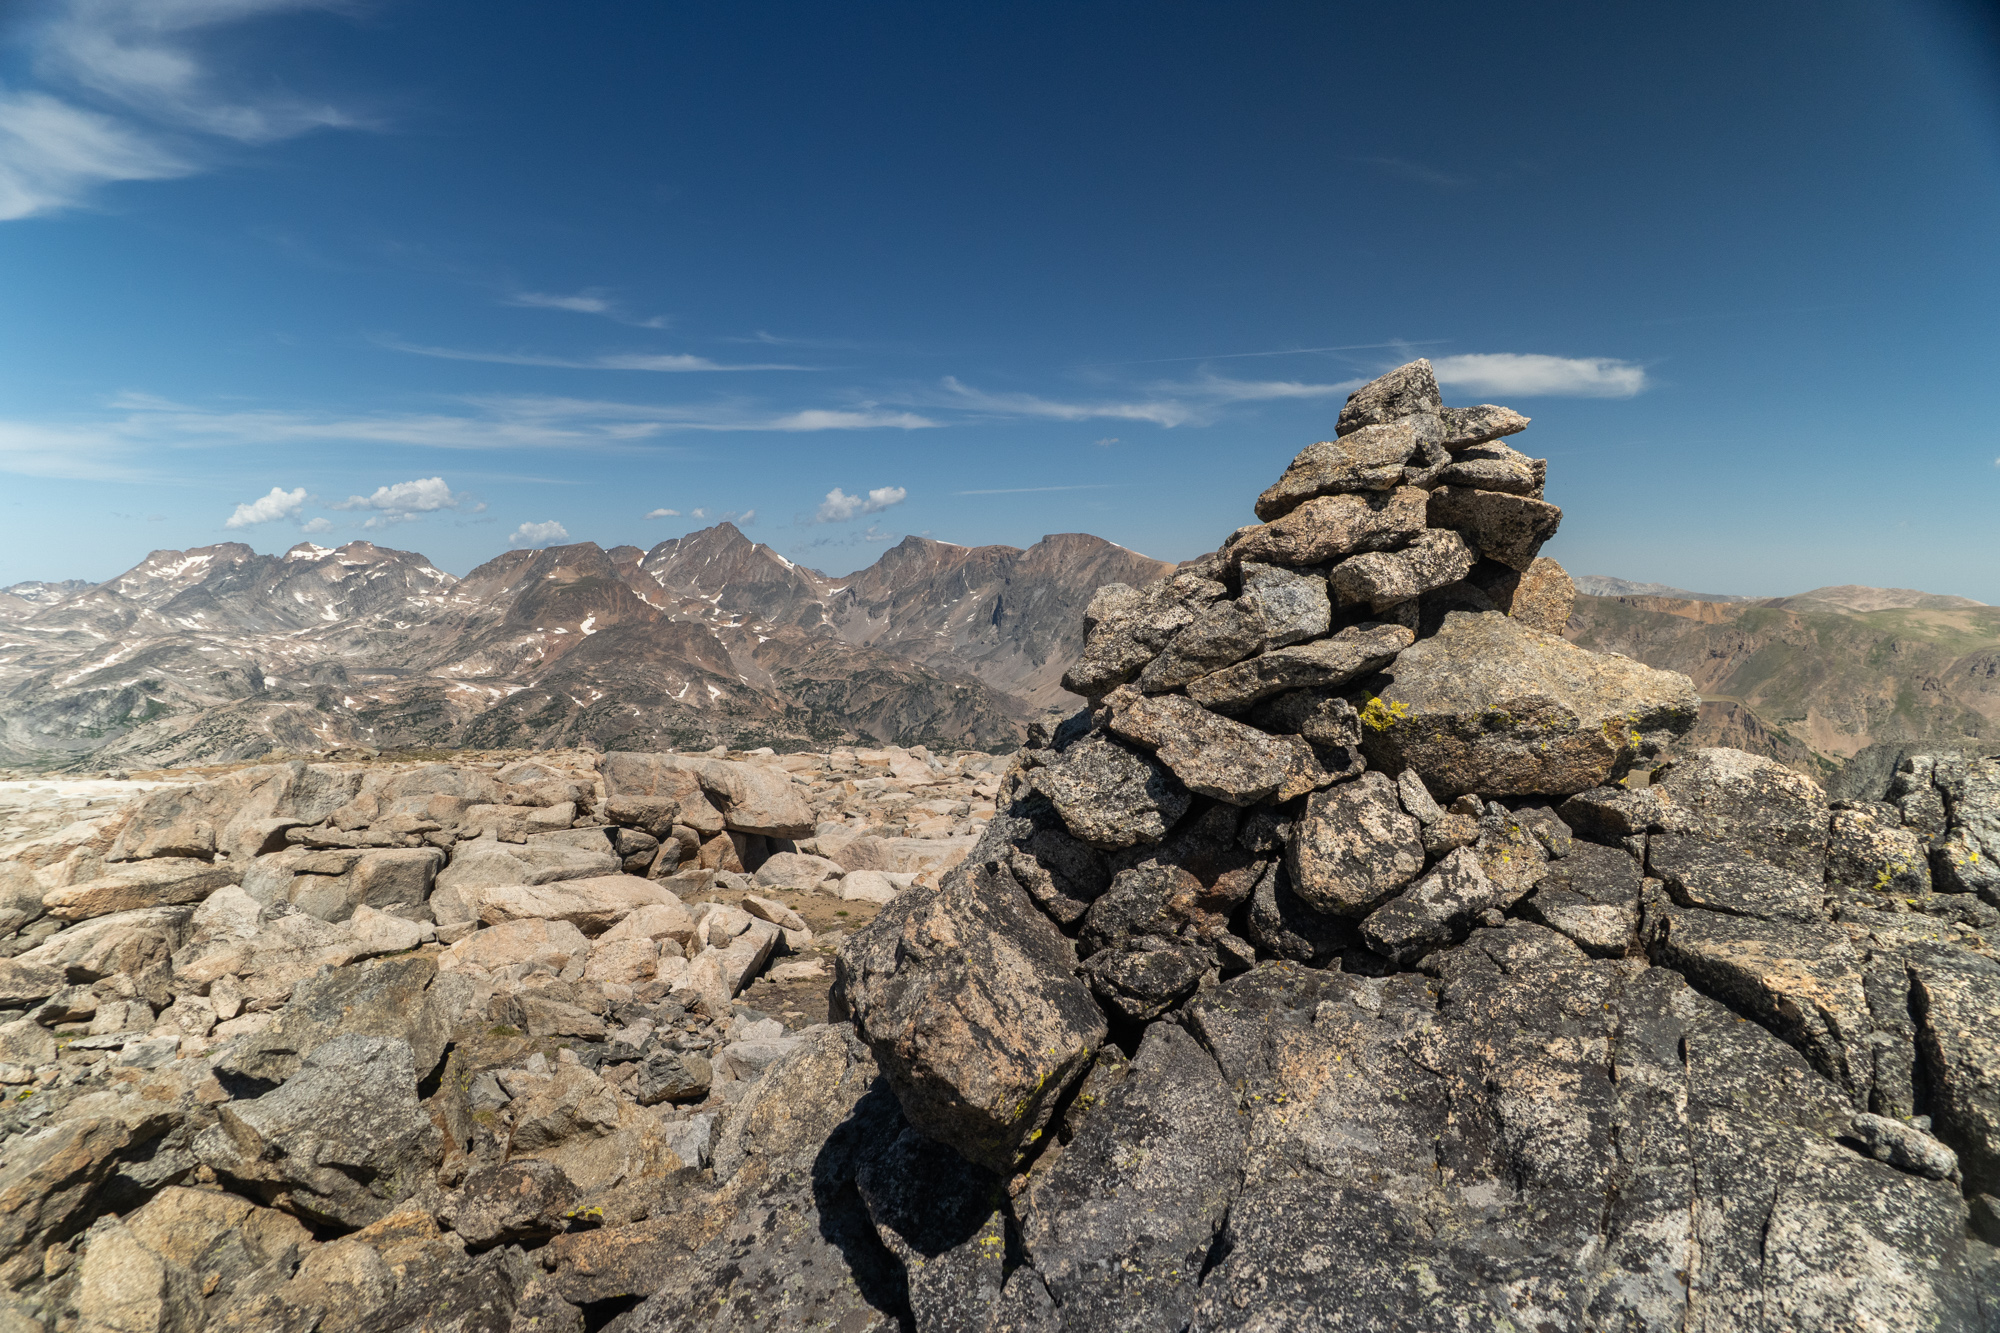
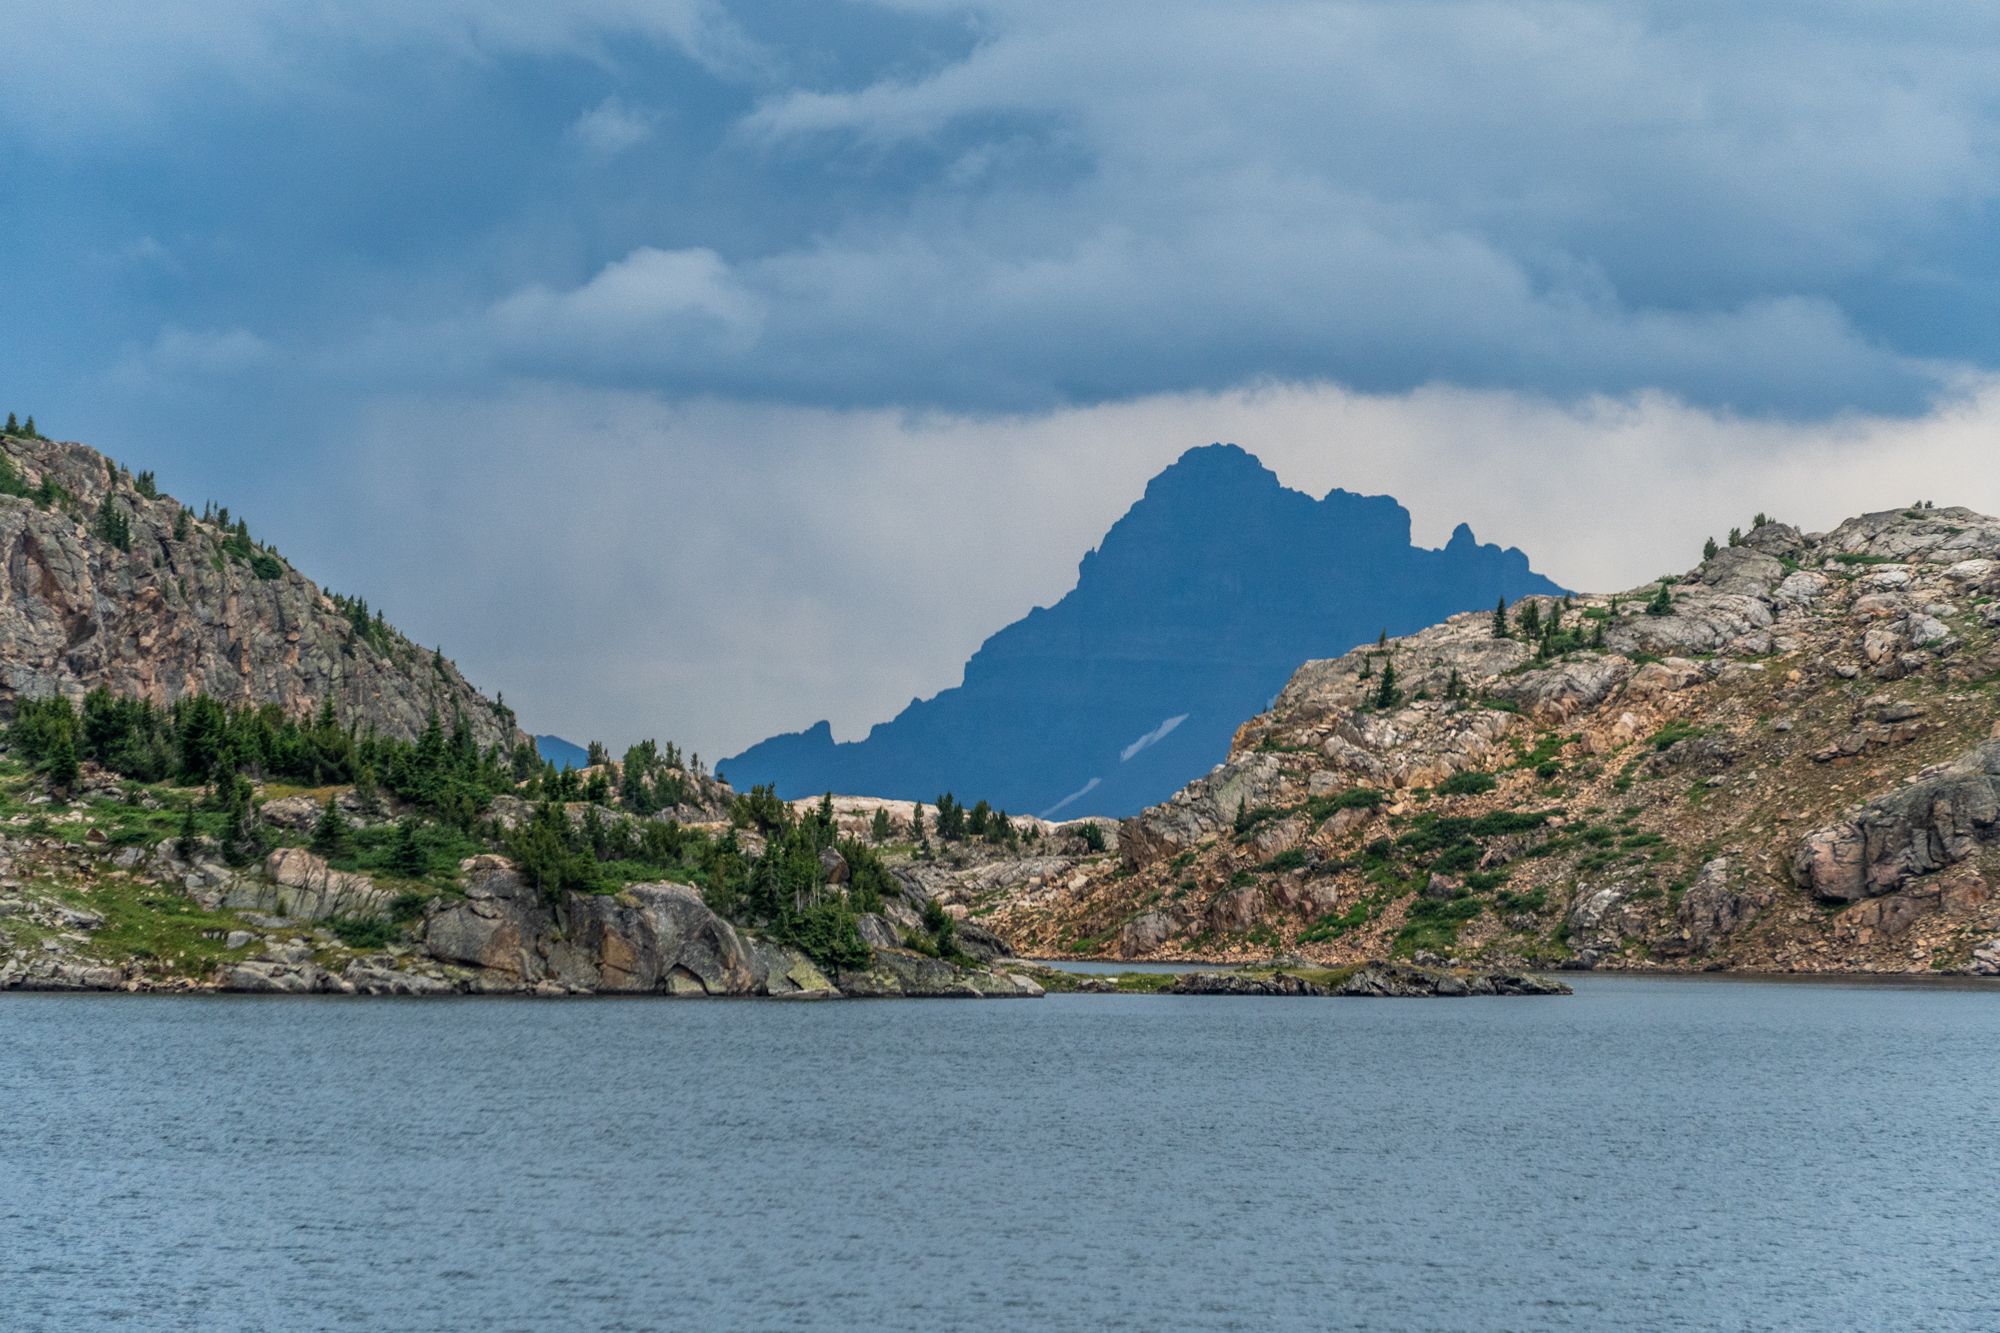
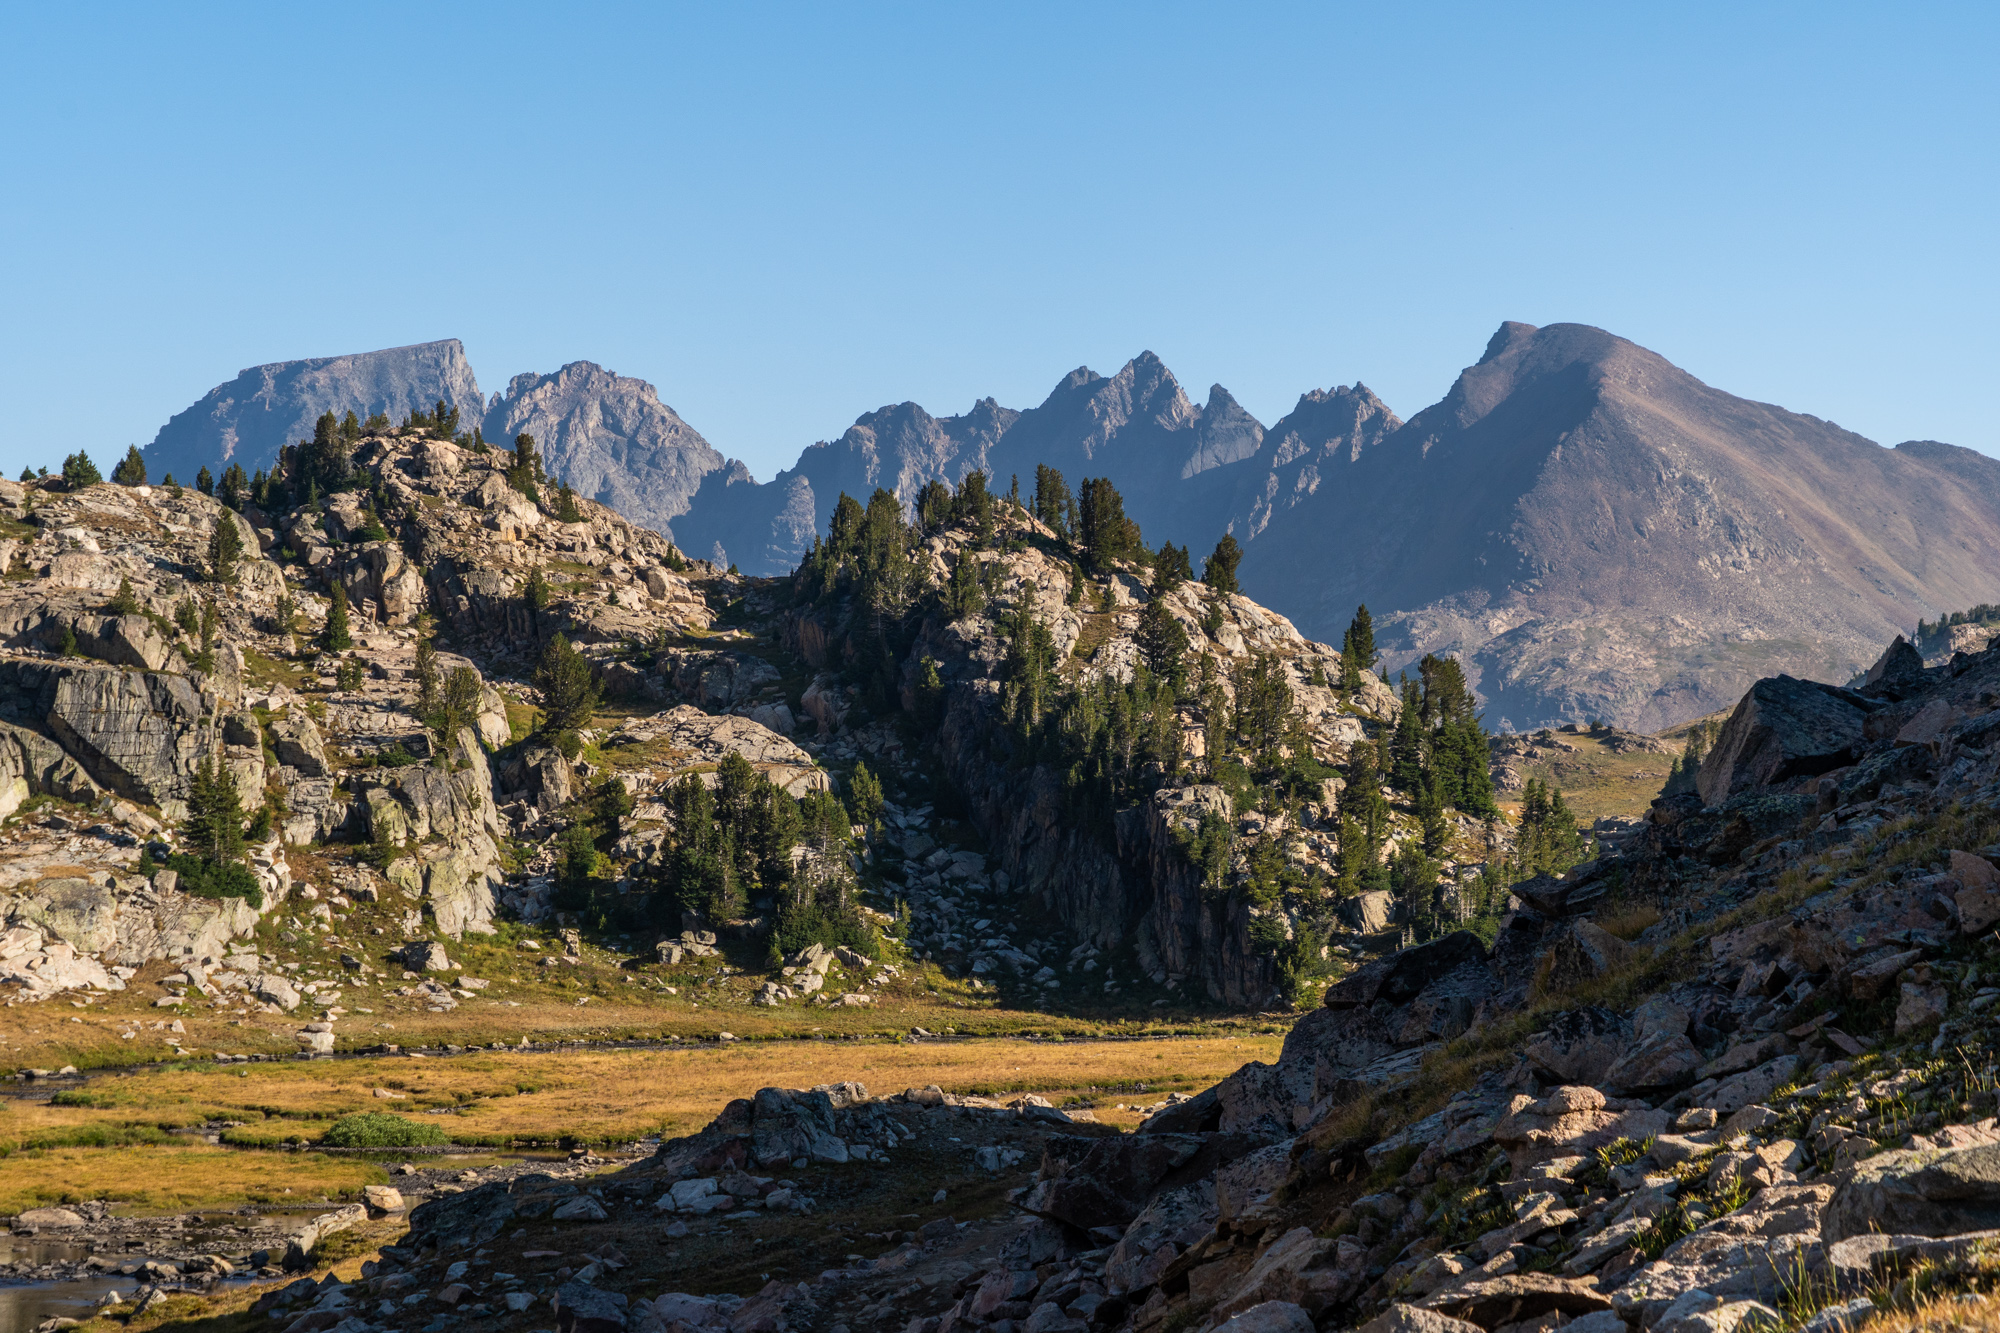
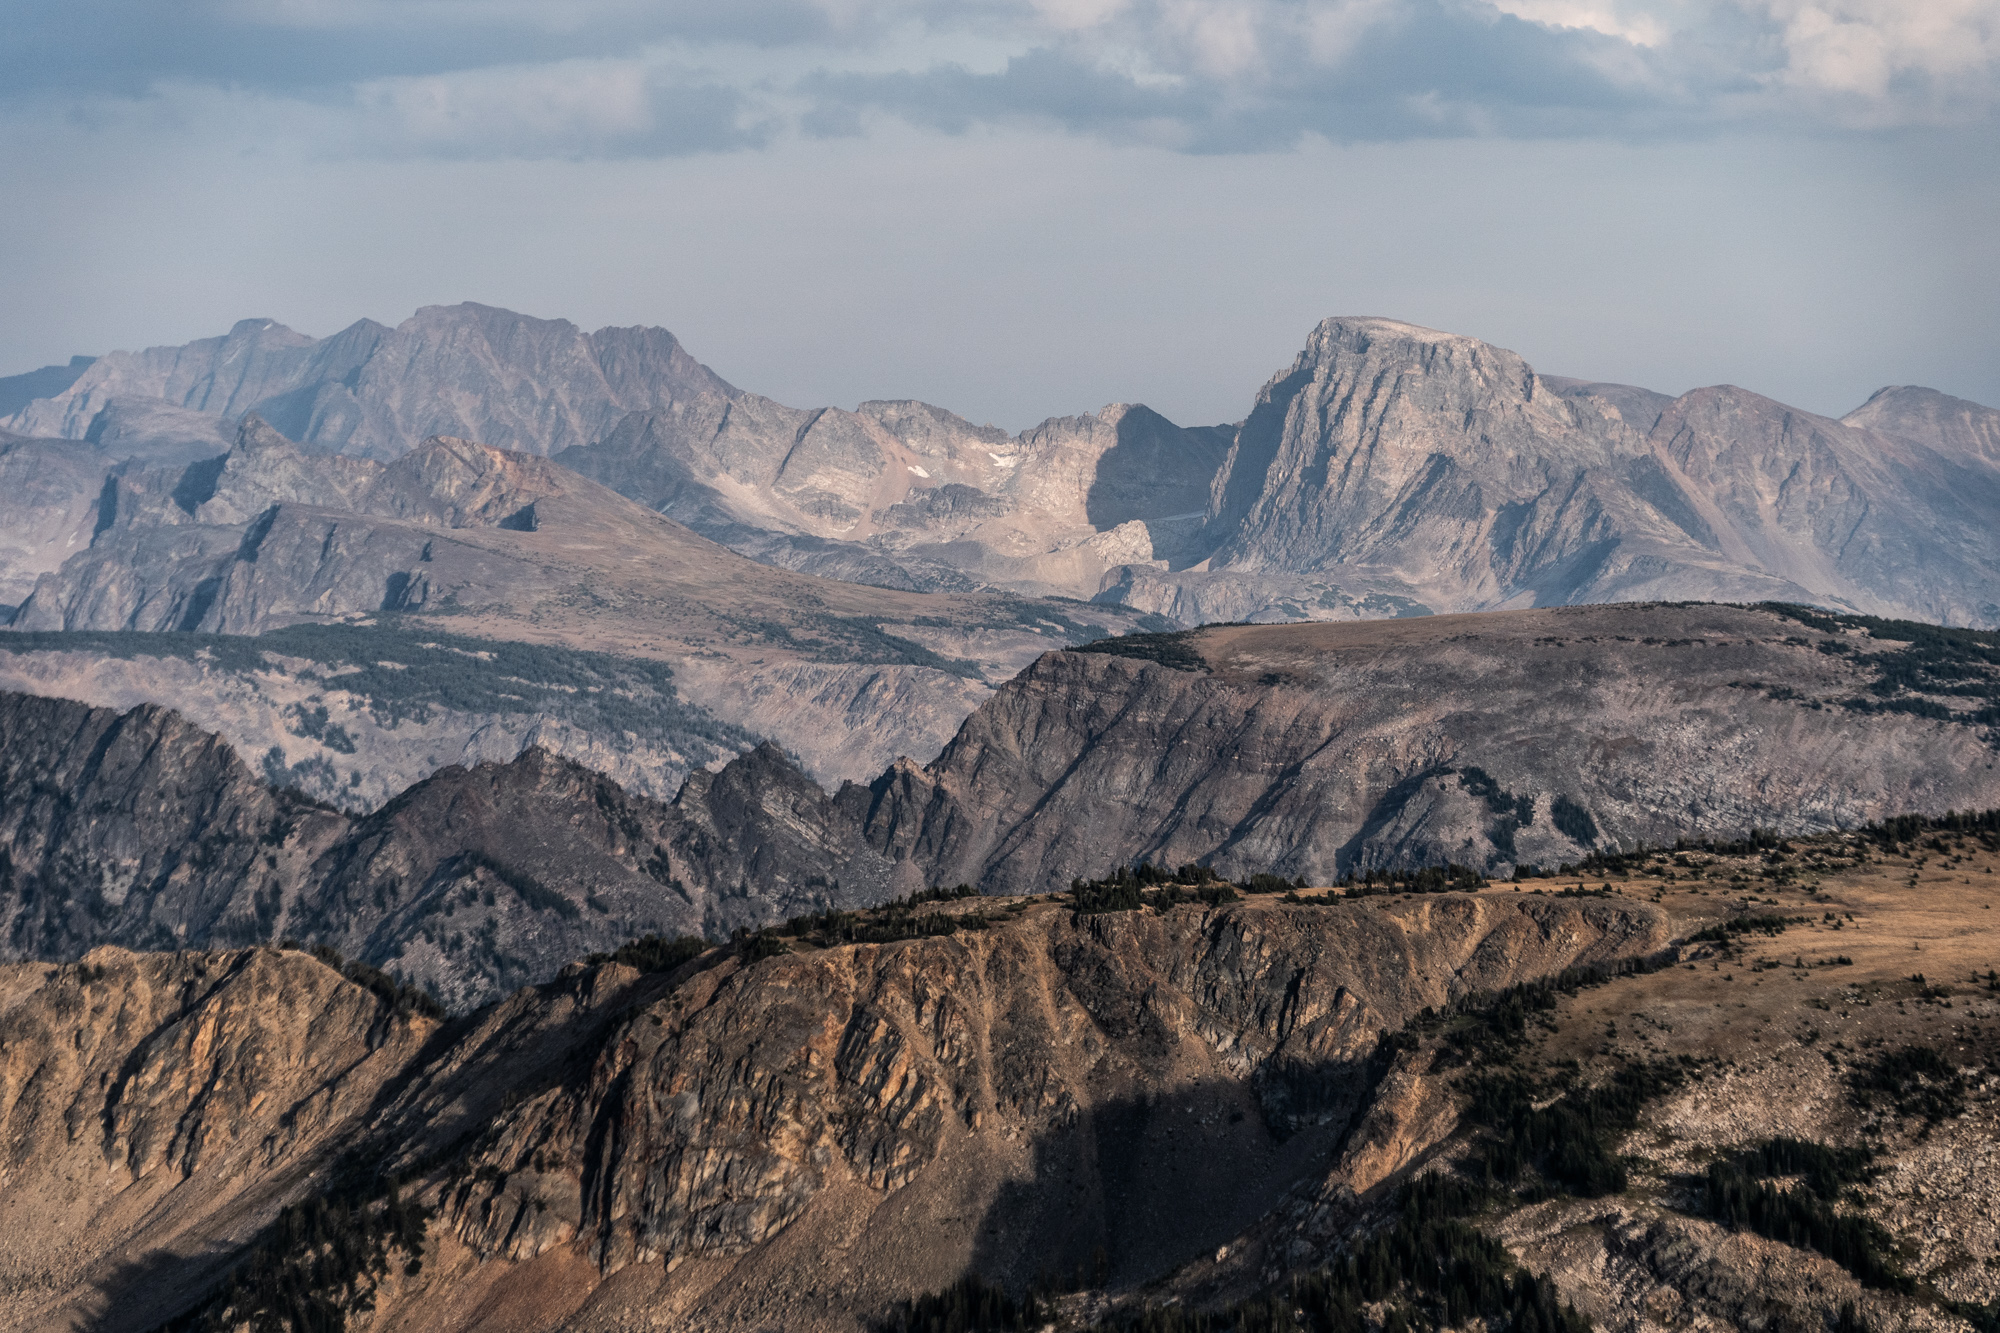
The ridge by Summit Mountain might have the best views of the whole Beartooth High Route. You're at about 11,500 feet and right in the middle of the most dramatic part of the plateau with gnarly rocky peaks in every direction. Look to your west and you'll see Granite Peak, Montana's highest peak.
Follow the ridge towards Mt. Dewey. Just before Mt. Dewey there is a steep chute down from the ridge going northeast. I went down this chute, by glissading, then boulder hopping. I do not recommend this route. It was probably the sketchiest part of the whole Beartooth High Route. The glissade it pretty steep. The most dangerous part was the boulder hopping afterwards. Those were the steepest and loosest boulders I dealt with on the hike and it felt pretty dangerous.
Instead, I recommend continuing along the ridge past Mt. Dewey and Mt. Rosebud, then down the drainage past an unnamed lake towards Fossil Lake. Where you will meet up with the East Rosebud trail AKA The Beaten Path for some of your only trail hiking of the whole high route. This way is longer but looks safer, although it is untested. Continue down the East Rosebud Trail to the drainage coming from Echo Lake. I went a little further to camp at Big Park Lake.

Day 4: 4.6 miles
Summary: Hike to the base of Montana's highest peak.
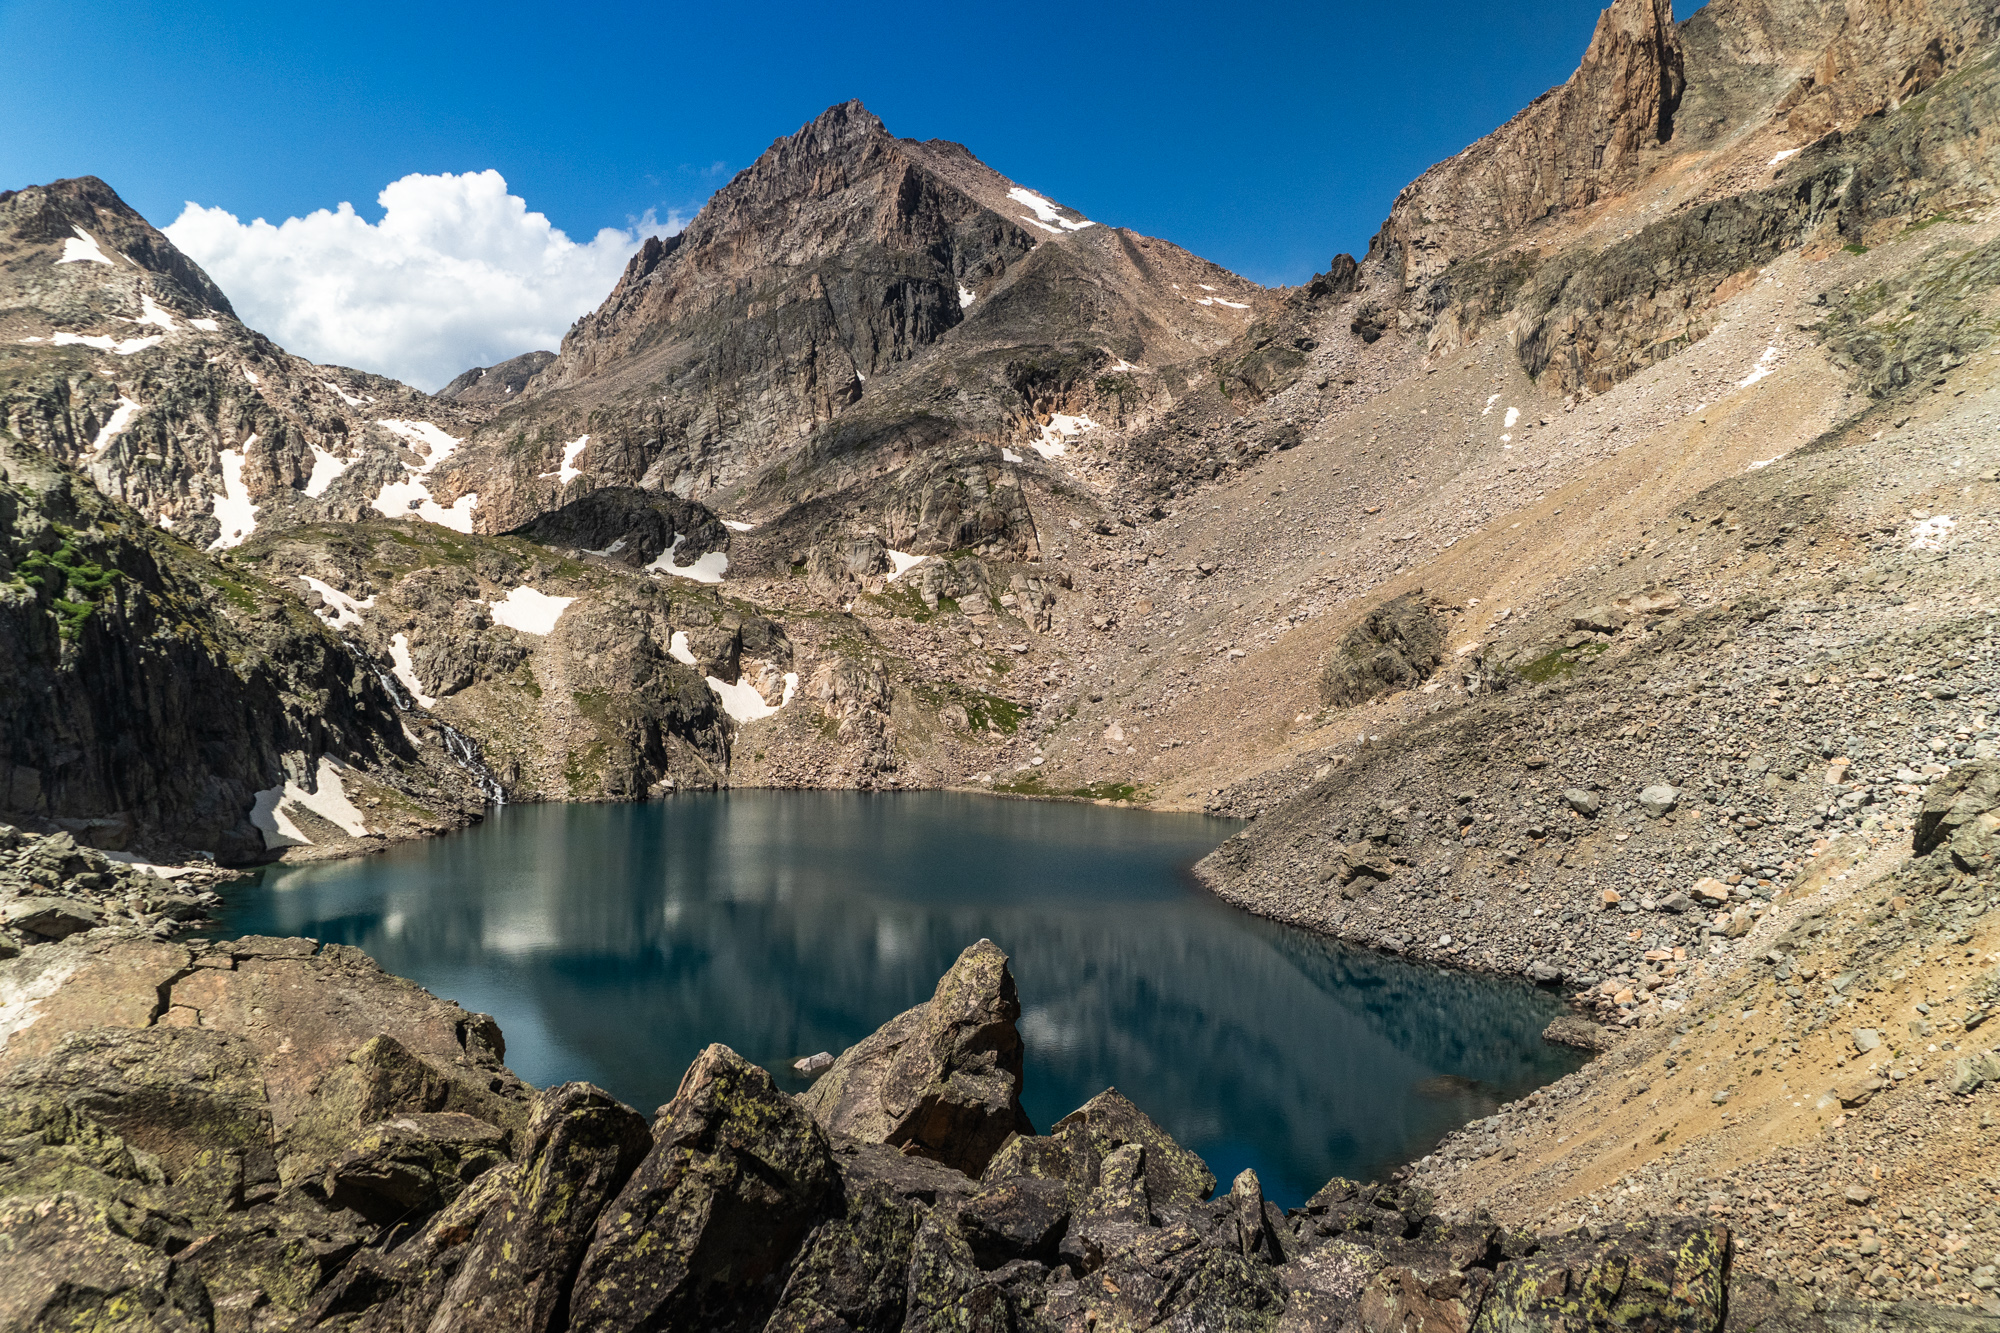
There is a faint trail leading to Echo Lake, but you probably won't see it from the East Rosebud trail. When you cross Granite Creek, look for anything resembling a path going west and head that way. Even if you are hiking off trail for a little bit, you should end up on a trail that goes to Echo Lake. Once at the lake you're on your own again. Bushwhack around the north side of the lake. Climb a steep hill in the thick brush to the first drainage that comes off of Granite Peak. Once out of the trees it's about 2 miles of big boulder hopping to get to the base of Granite Peak and Granite Lake. The views are stunning from the lake but there are no camping spots. You'll need to go up to Lowary Lake to find any flat ground, that's not rock.
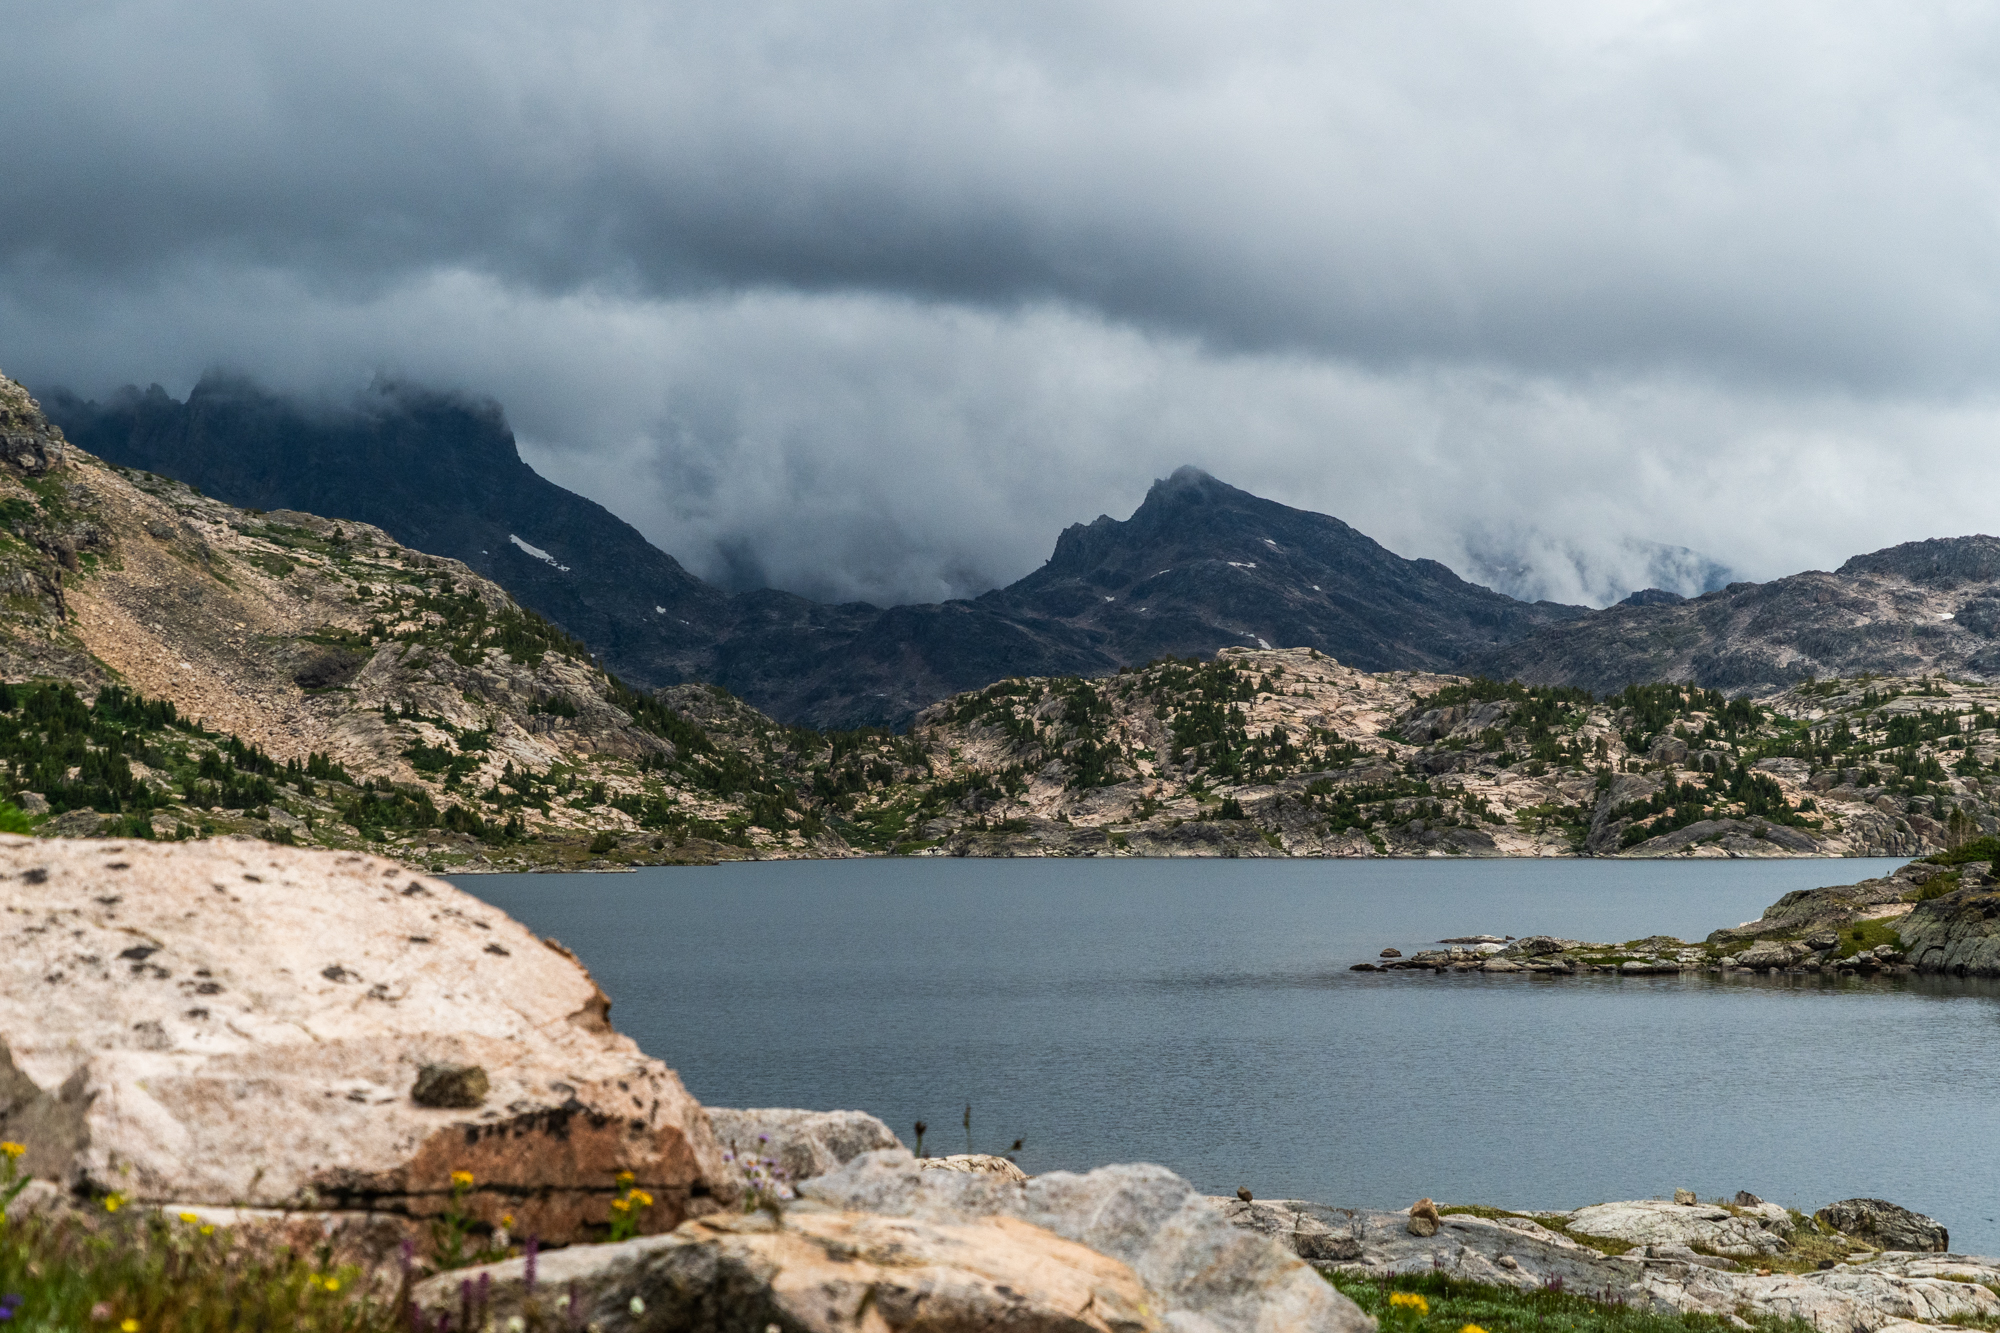
I wanted to have the option of summiting Granite Peak on this route. This is not the approach that most people take though. Most people summit Granite peak from Avalanche Lake or the Froze to Death Plateau. I haven't found any beta of someone sumitting from Granite Lake but I think it's possible. My timing and the weather didn't allow for an attempt.
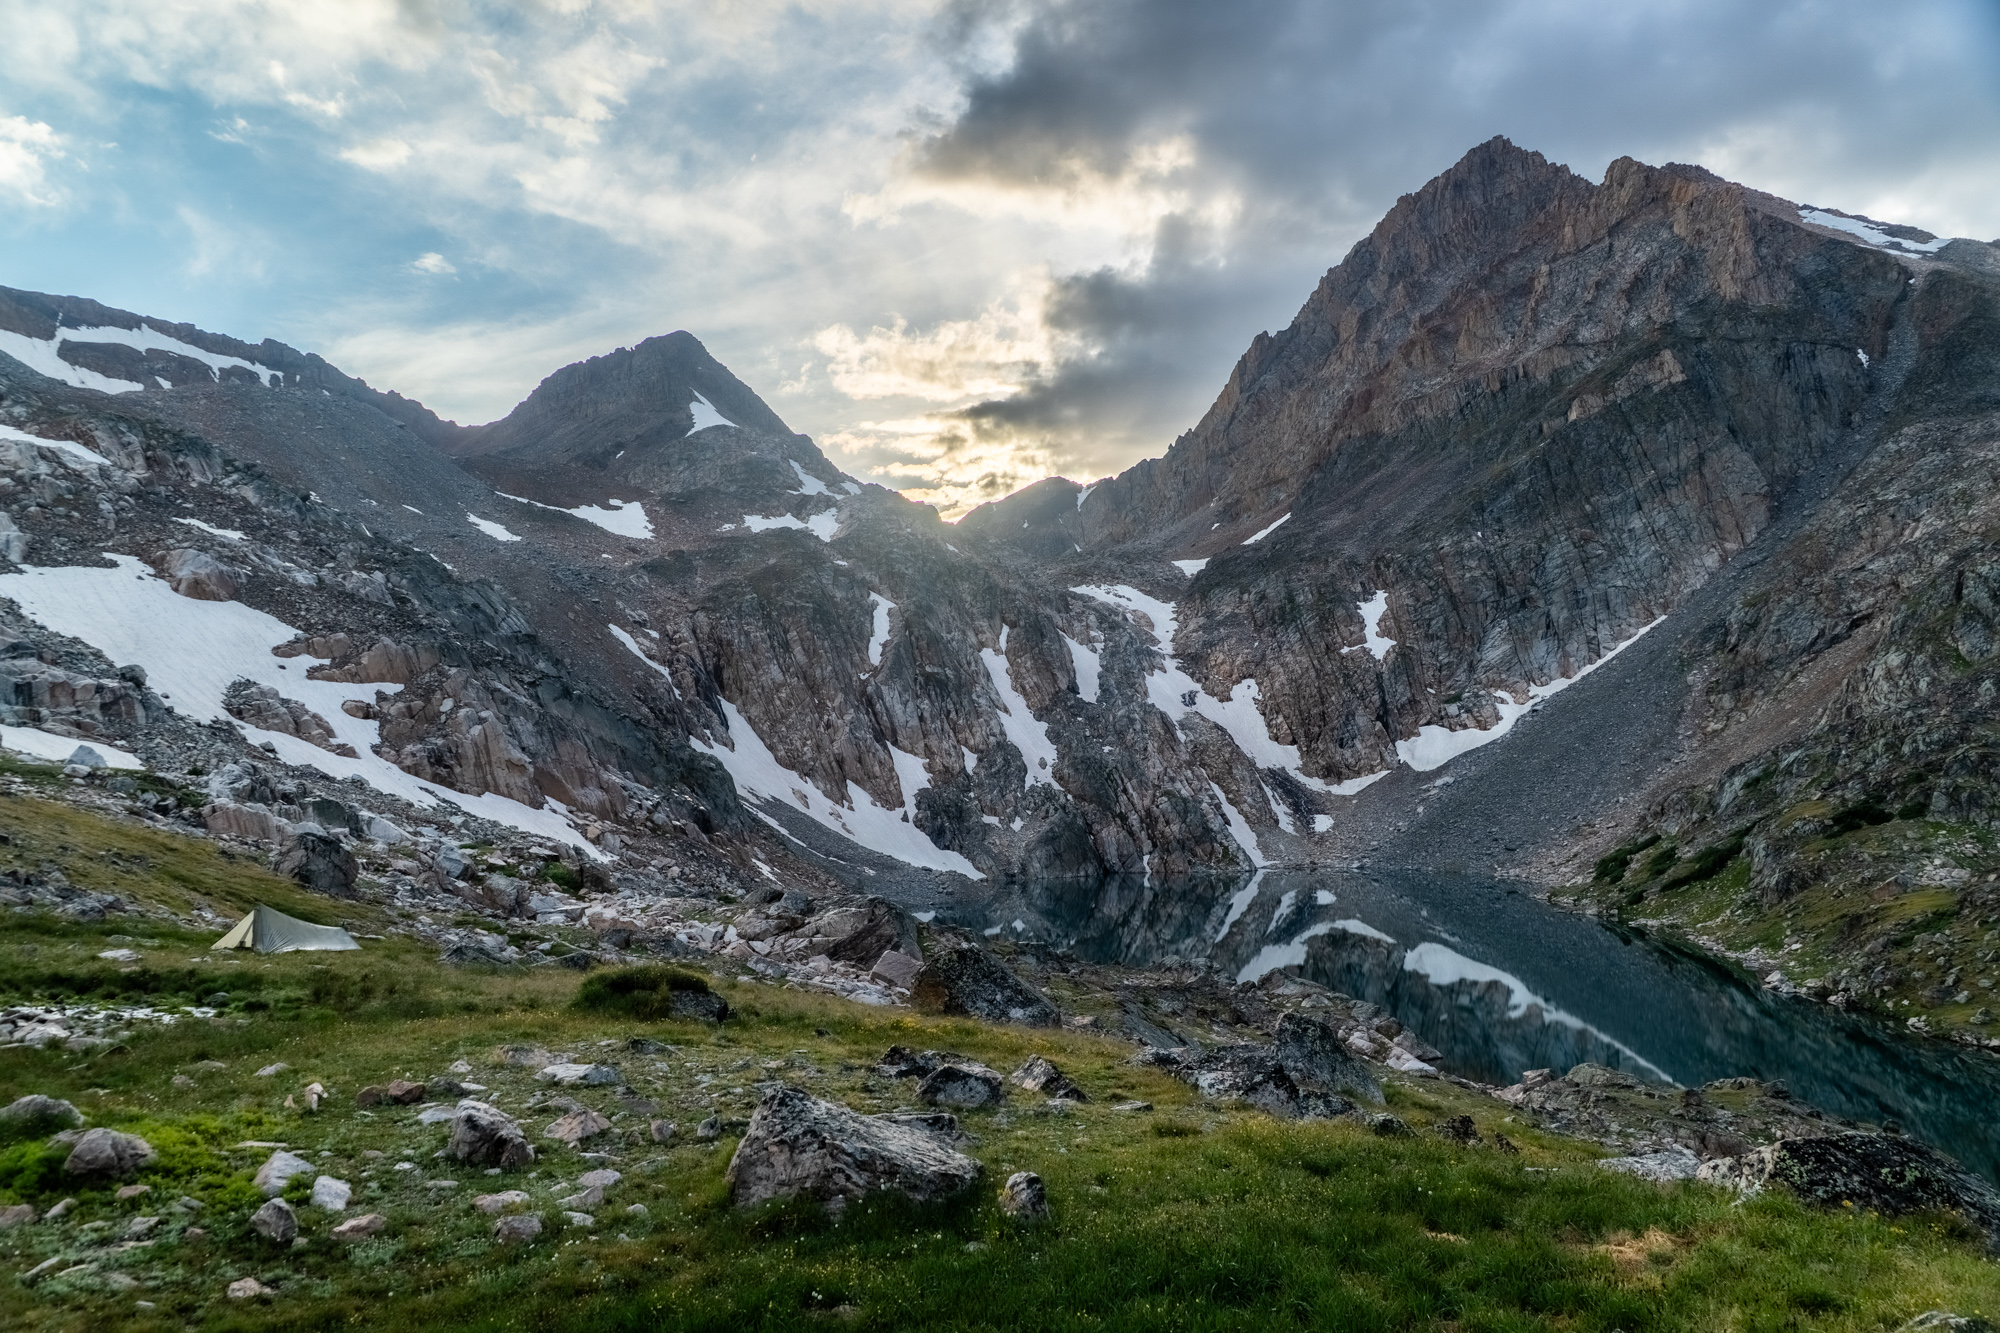
A thunderstorm came in so I ended the day early and set up camp south of Lowary Lake.
Day 5: 14 miles
Summary: Some deceptively difficult sections.
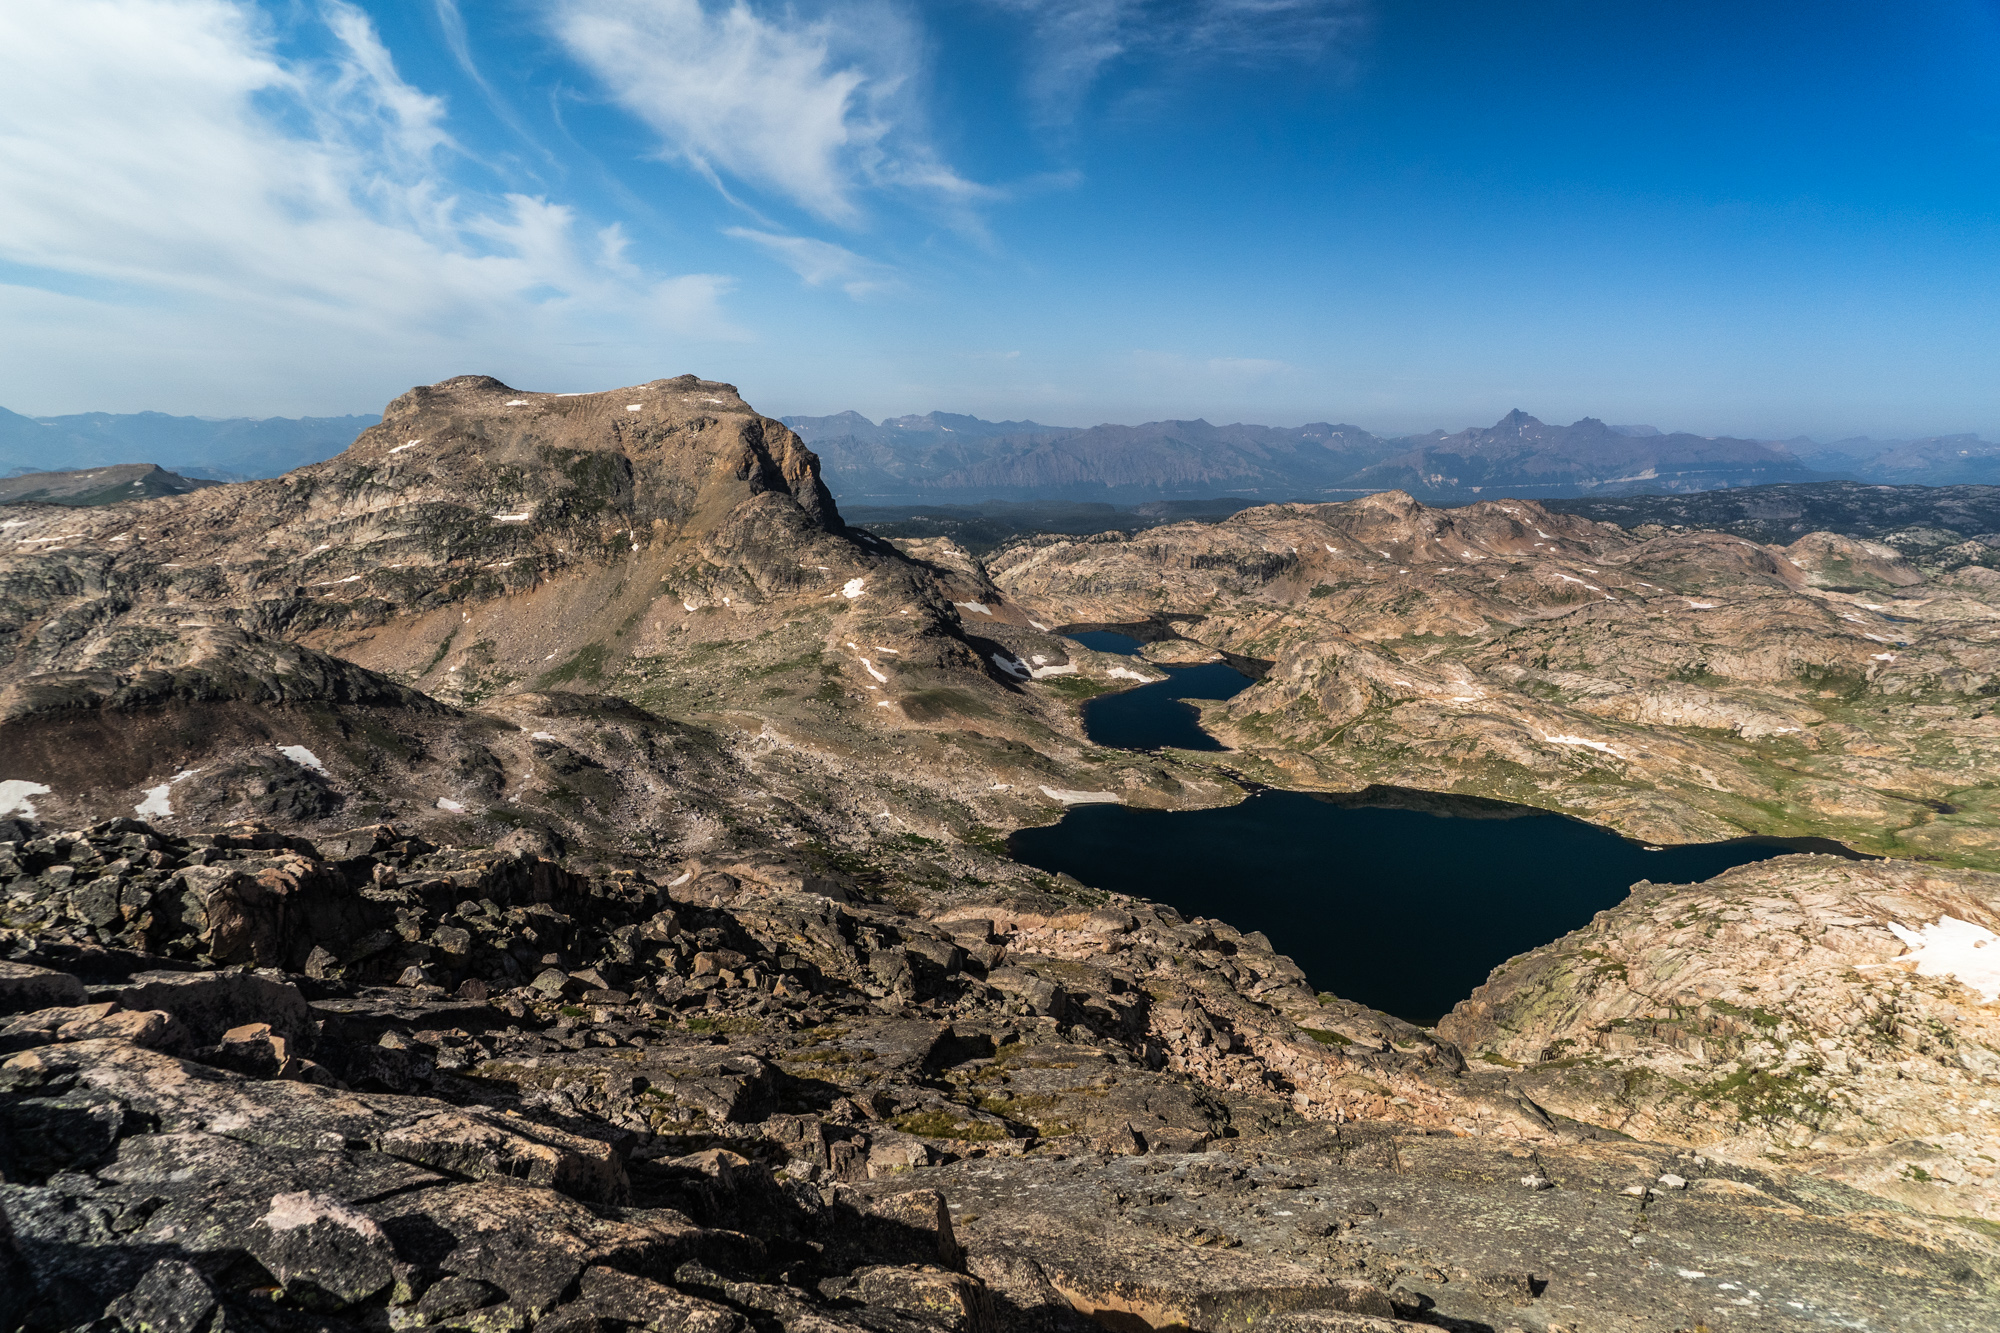
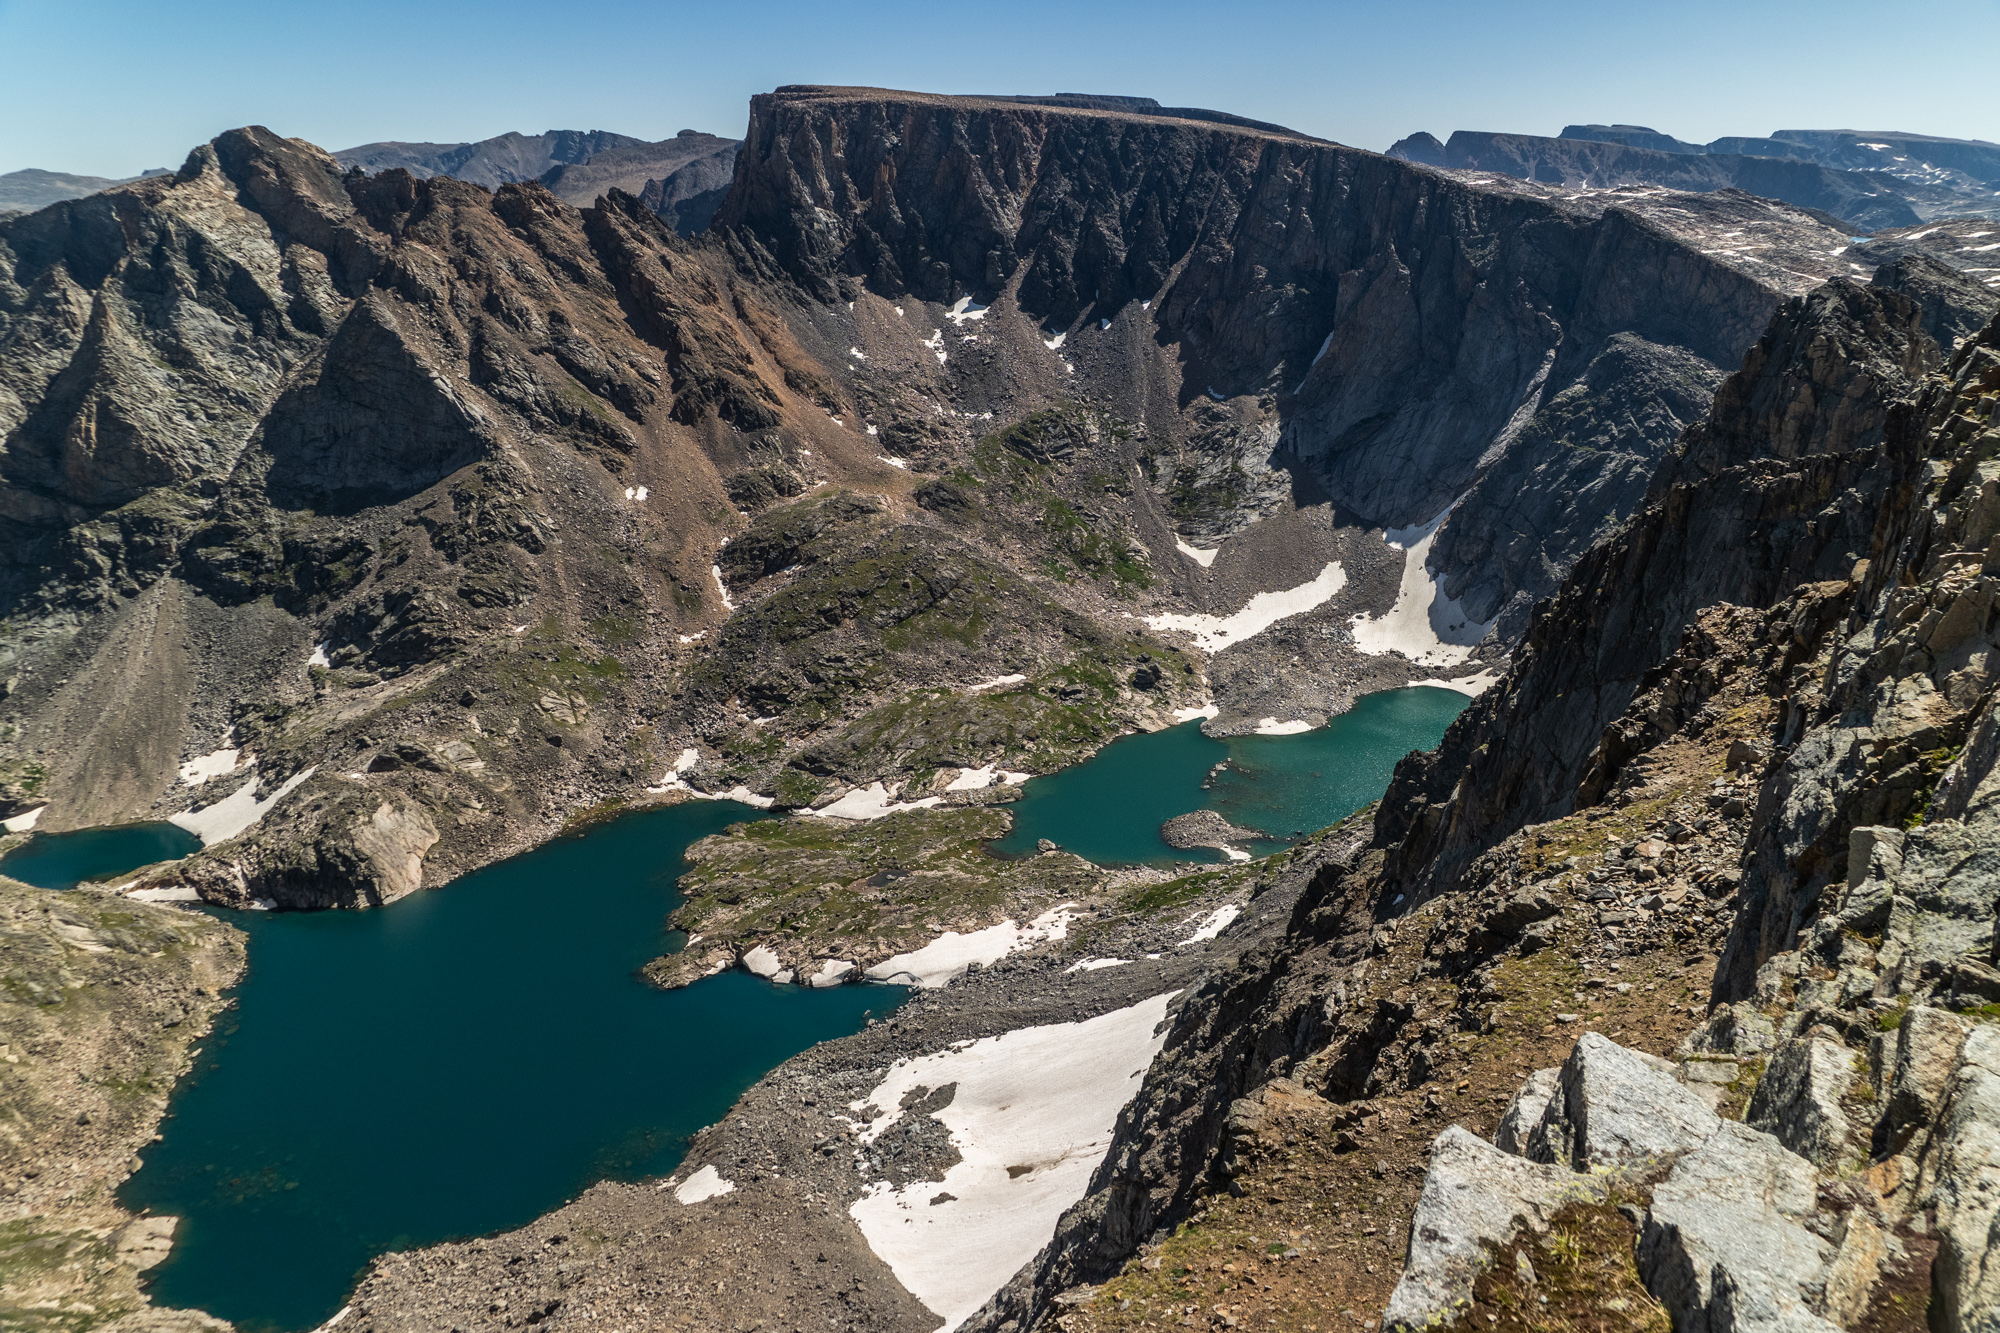
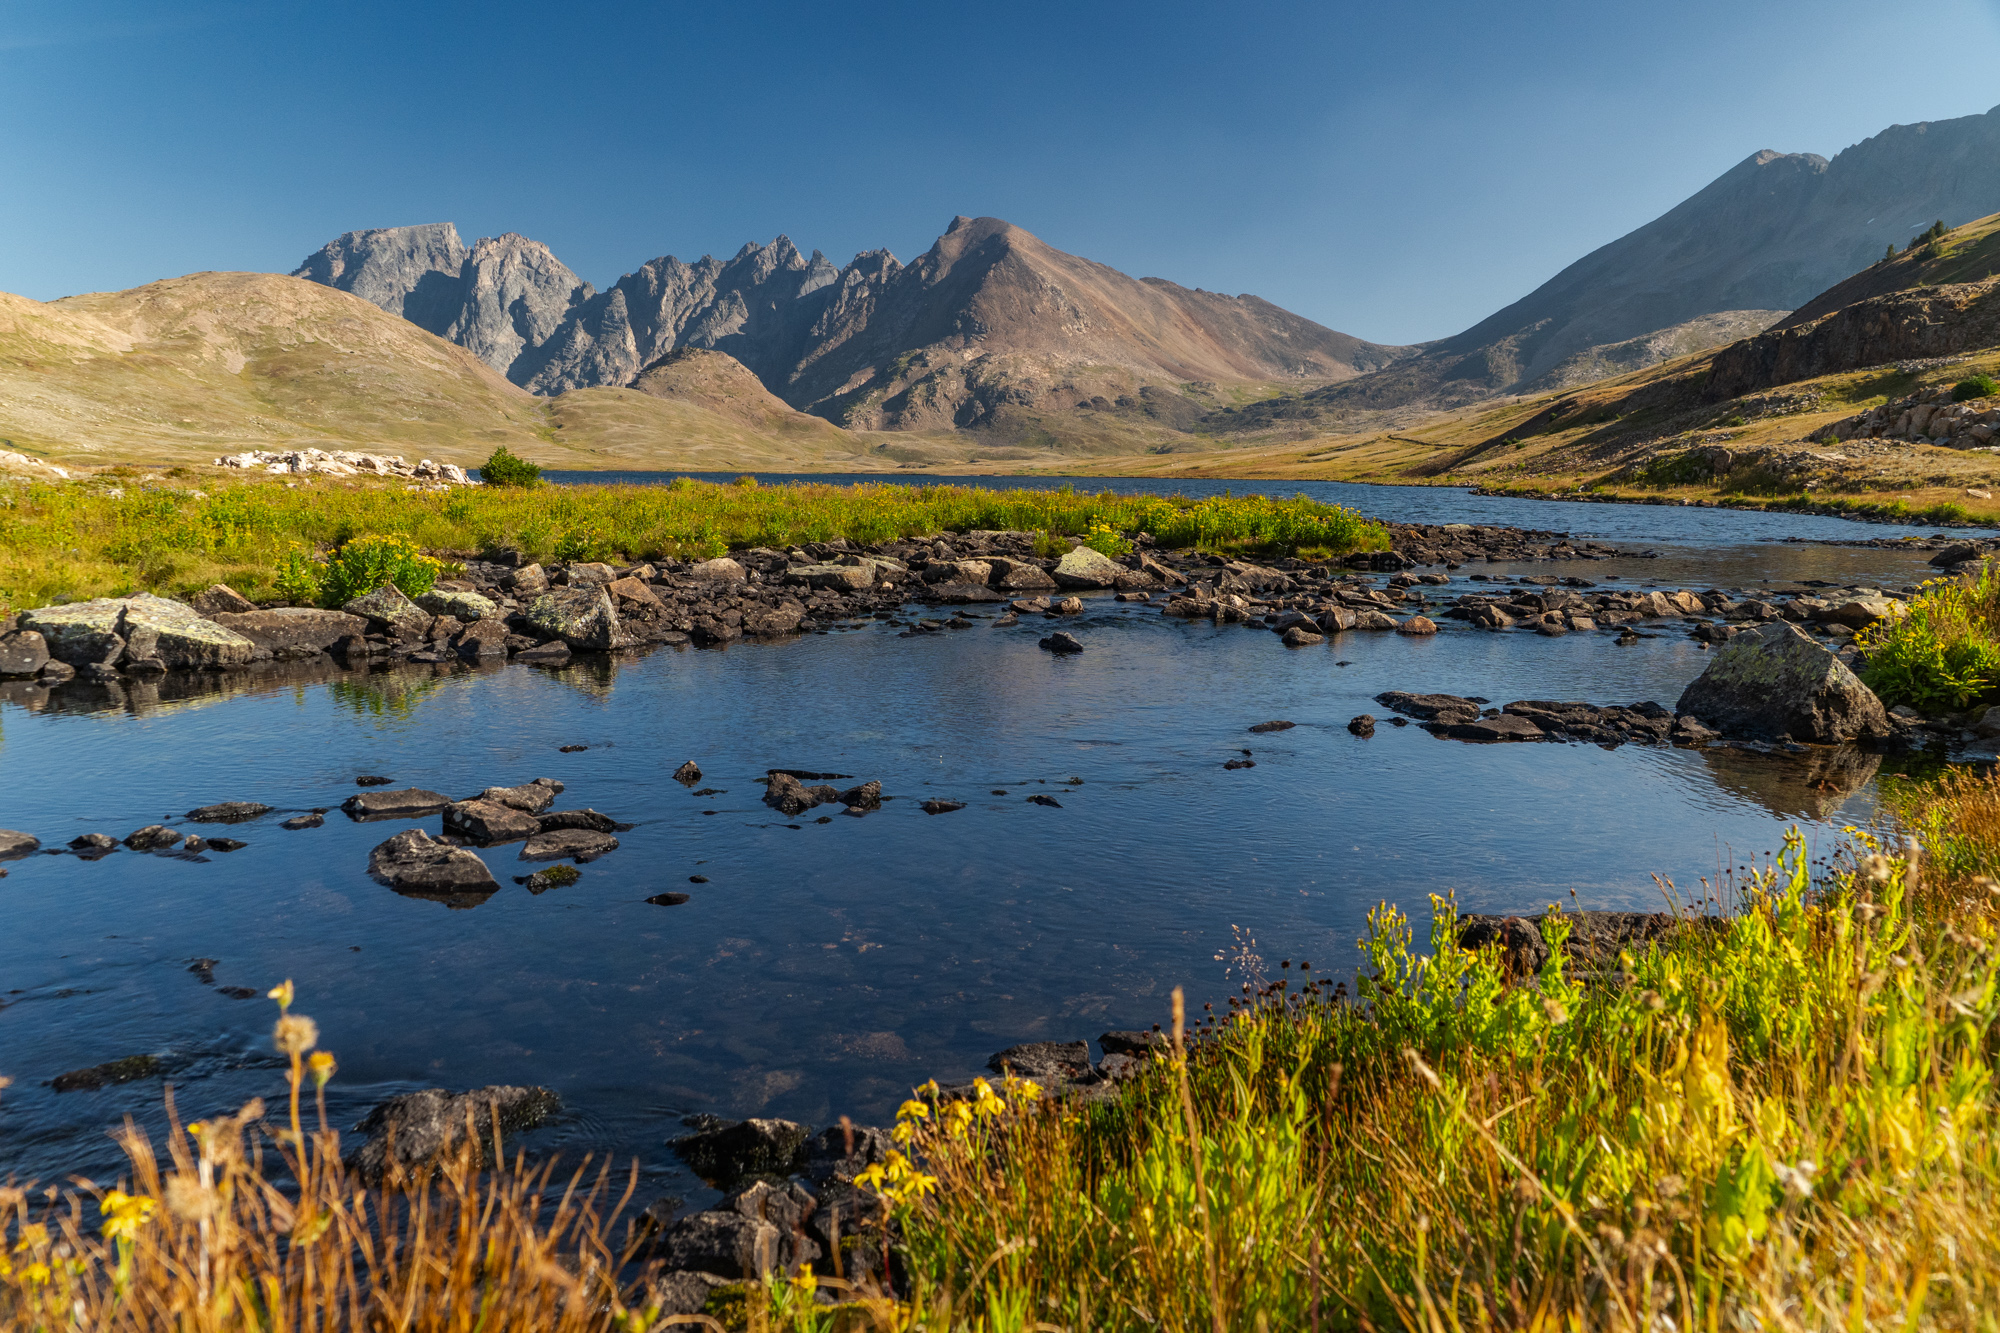
Leaving the Lowary Lake basin is like threading a needle. There's a very specific horizontal crease in the rock that you want to hike through. Otherwise you'll be dealing with pretty steep scree. Once over the pass and into the Sky Top Lakes area it gets easier. Anywhere around Sky Top Lakes would be incredible camping.
Head west over a small pass to enter a new zone where you'll see Aero Lakes. Getting down from this pass to Upper Aero Lake is more difficult than expected. There are a lot of cliffs where you can get cliffed out on. Don't go straight down to the lake. Stay high and wrap around the west side of the bowl. You won't get down to the water until near the end of the lake. There may be a faint trail to Lower Aero Lake, otherwise you're just following the drainage. Go around the north side of the lake. Keep going until you reach the Lady of the Lake Trail. From there you're on a trail the rest of the way. If you chose to do this route in two sections, then the best place to end the first section is at the Lady of the Lake Trailhead.
Day 6: 6 miles
Summary: This is the first day of Part 2. Starting at the Lady of the Lake Trailhead to catch back up to the Beartooth High Route.
If you're breaking the route up into two sections, this is the beginning of section 2. I started at Lower Lady of the Lake Trailhead because the upper trailhead is a rough road that the Subaru had a hard time navigating. The 6 miles I hiked were not a part of the Beartooth High Route, but they got me pretty close to being back on the route. I camped just before Star Lake.
Day 7: 10.6 miles
Summary: Goose Lake and then a long drainage to Stillwater River.
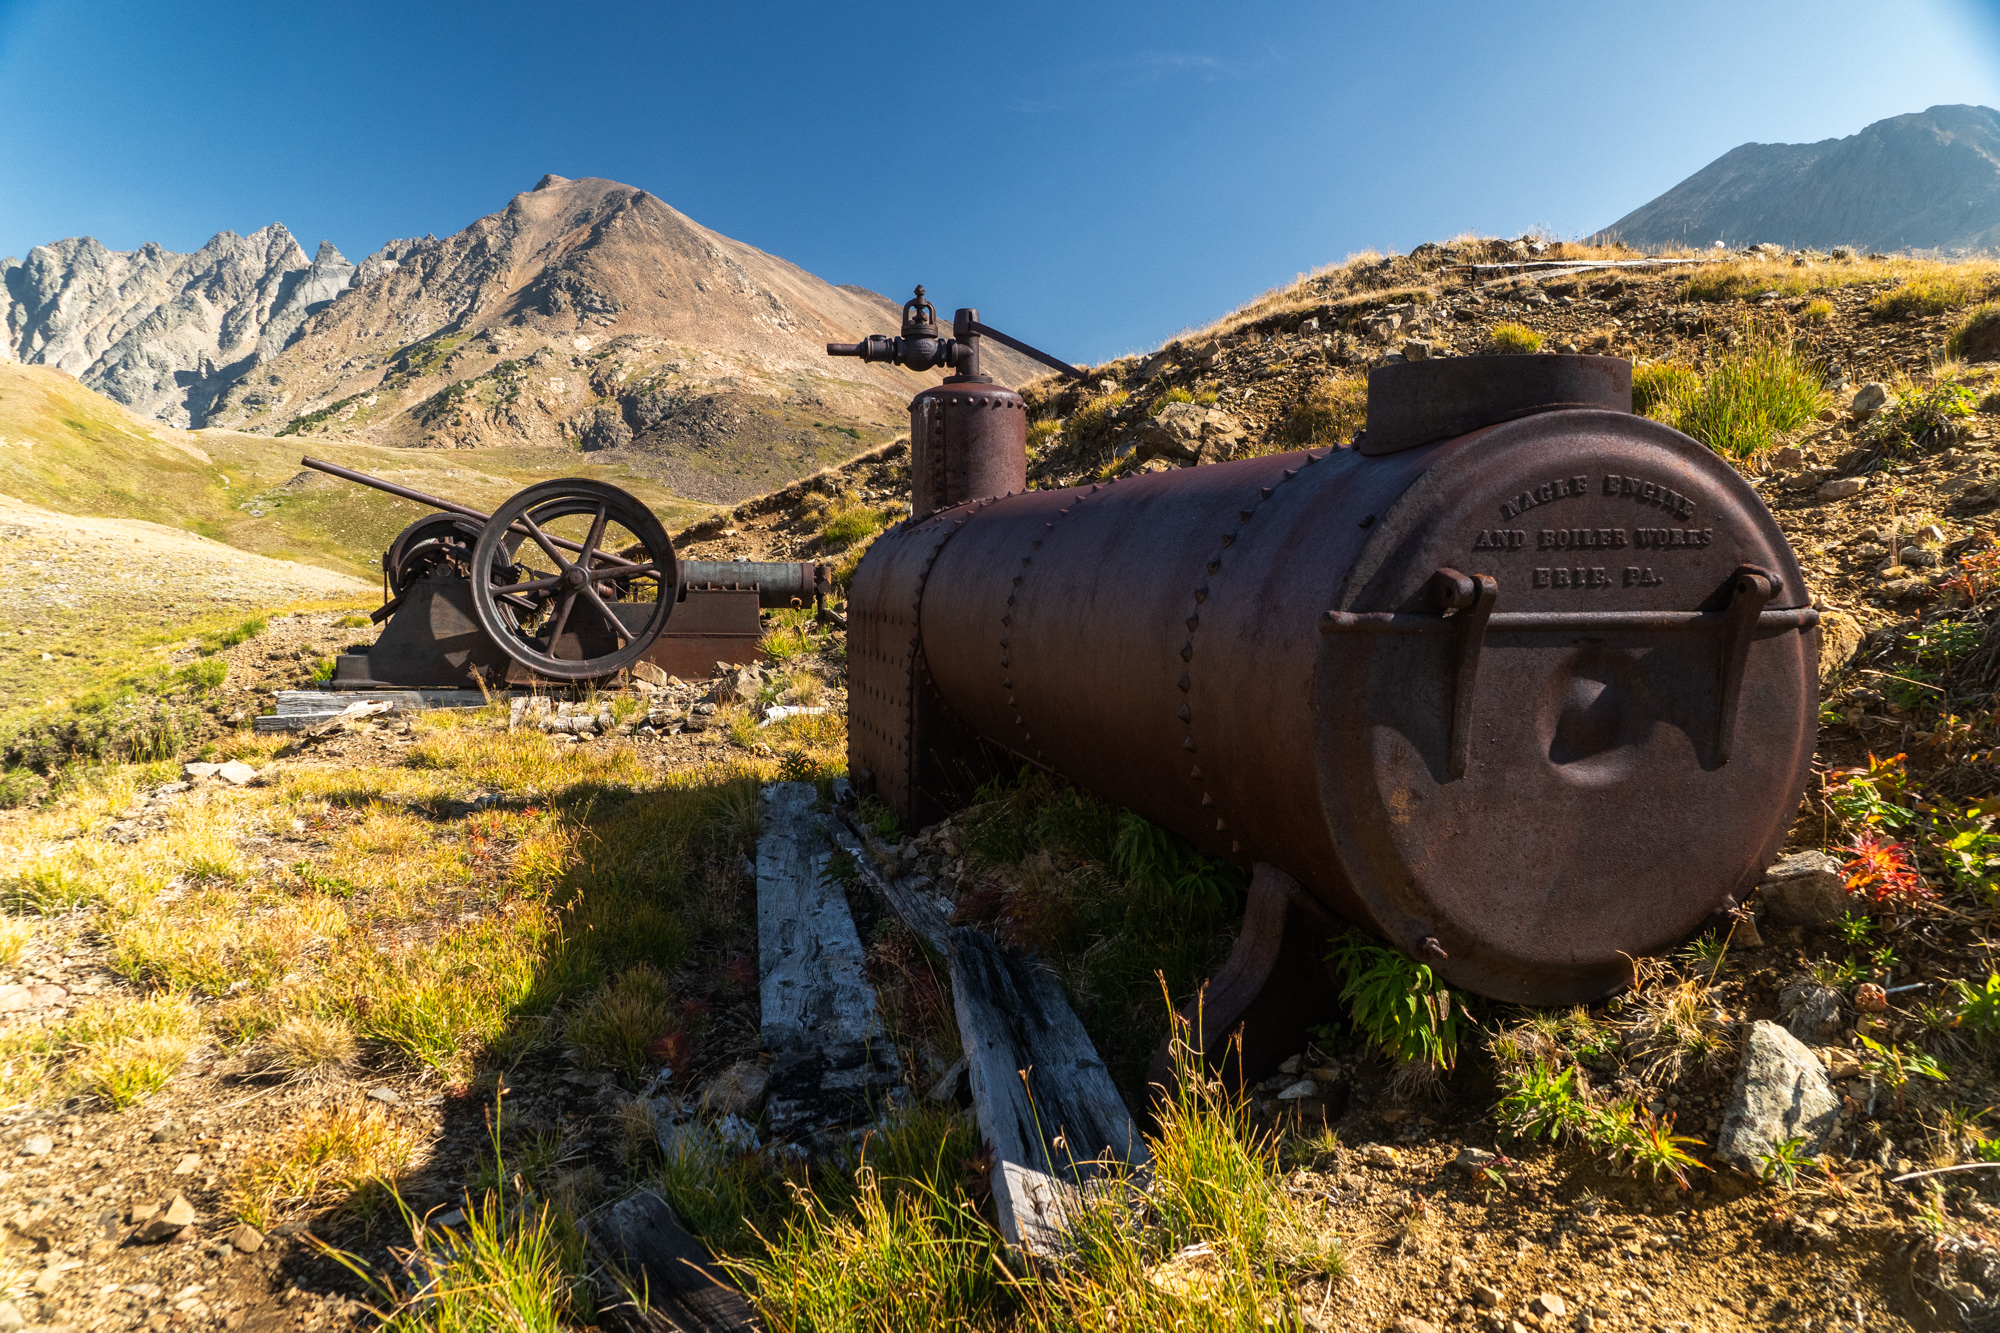
Goose Lake is a wonderful area to hang out and camp. On the north side of the lake there is an abandoned mine site that's interesting to check out. Some of the old equipment is still there.
From there, it's a long descent down a drainage, past a series of lakes. It's all off trail and the bushwhacking can be frustrating at times. When you are about 1.5 miles away from Stillwater River there is a steep pour off that Glacier Creek flows over. Don't follow the creek here, you'll want to go north a bit, where the land isn't as steep and then descend.
When I hiked this at the end of August, the Stillwater River was low and very easy to cross, didn't even get my feet wet. I imagine that earlier in the year this might be more of a river ford.You'll need to cross the river then follow it north. I wanted to camp by the river so I did not climb up to the Main Stillwater Trail. There are plenty of nice spots to set up camp along the river.
Day 8: 11.6 miles
Summary: Climb out of Stillwater drainage to get back on the ridge.
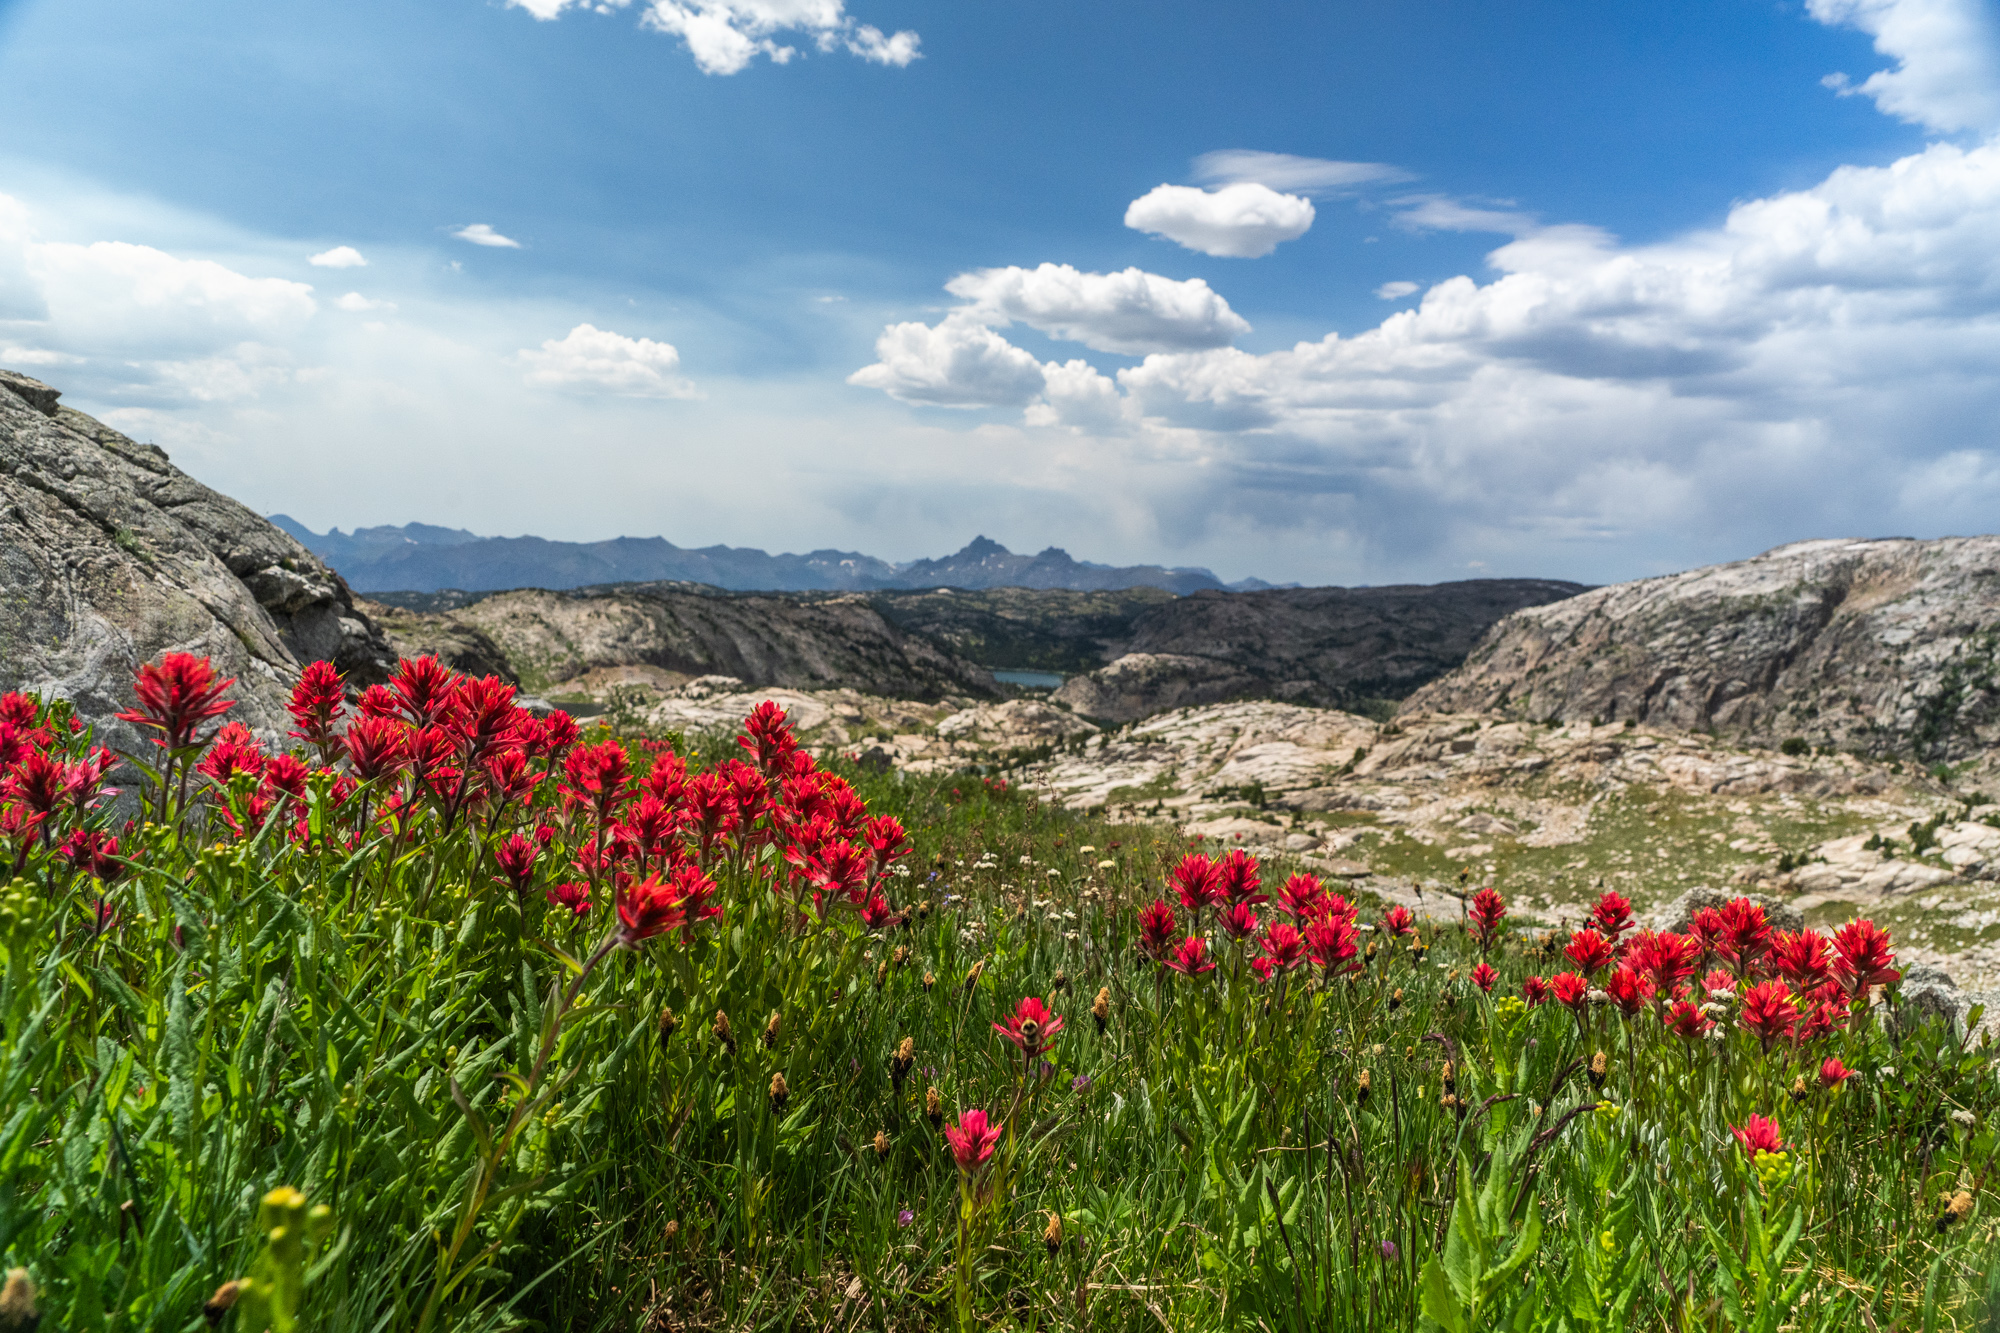
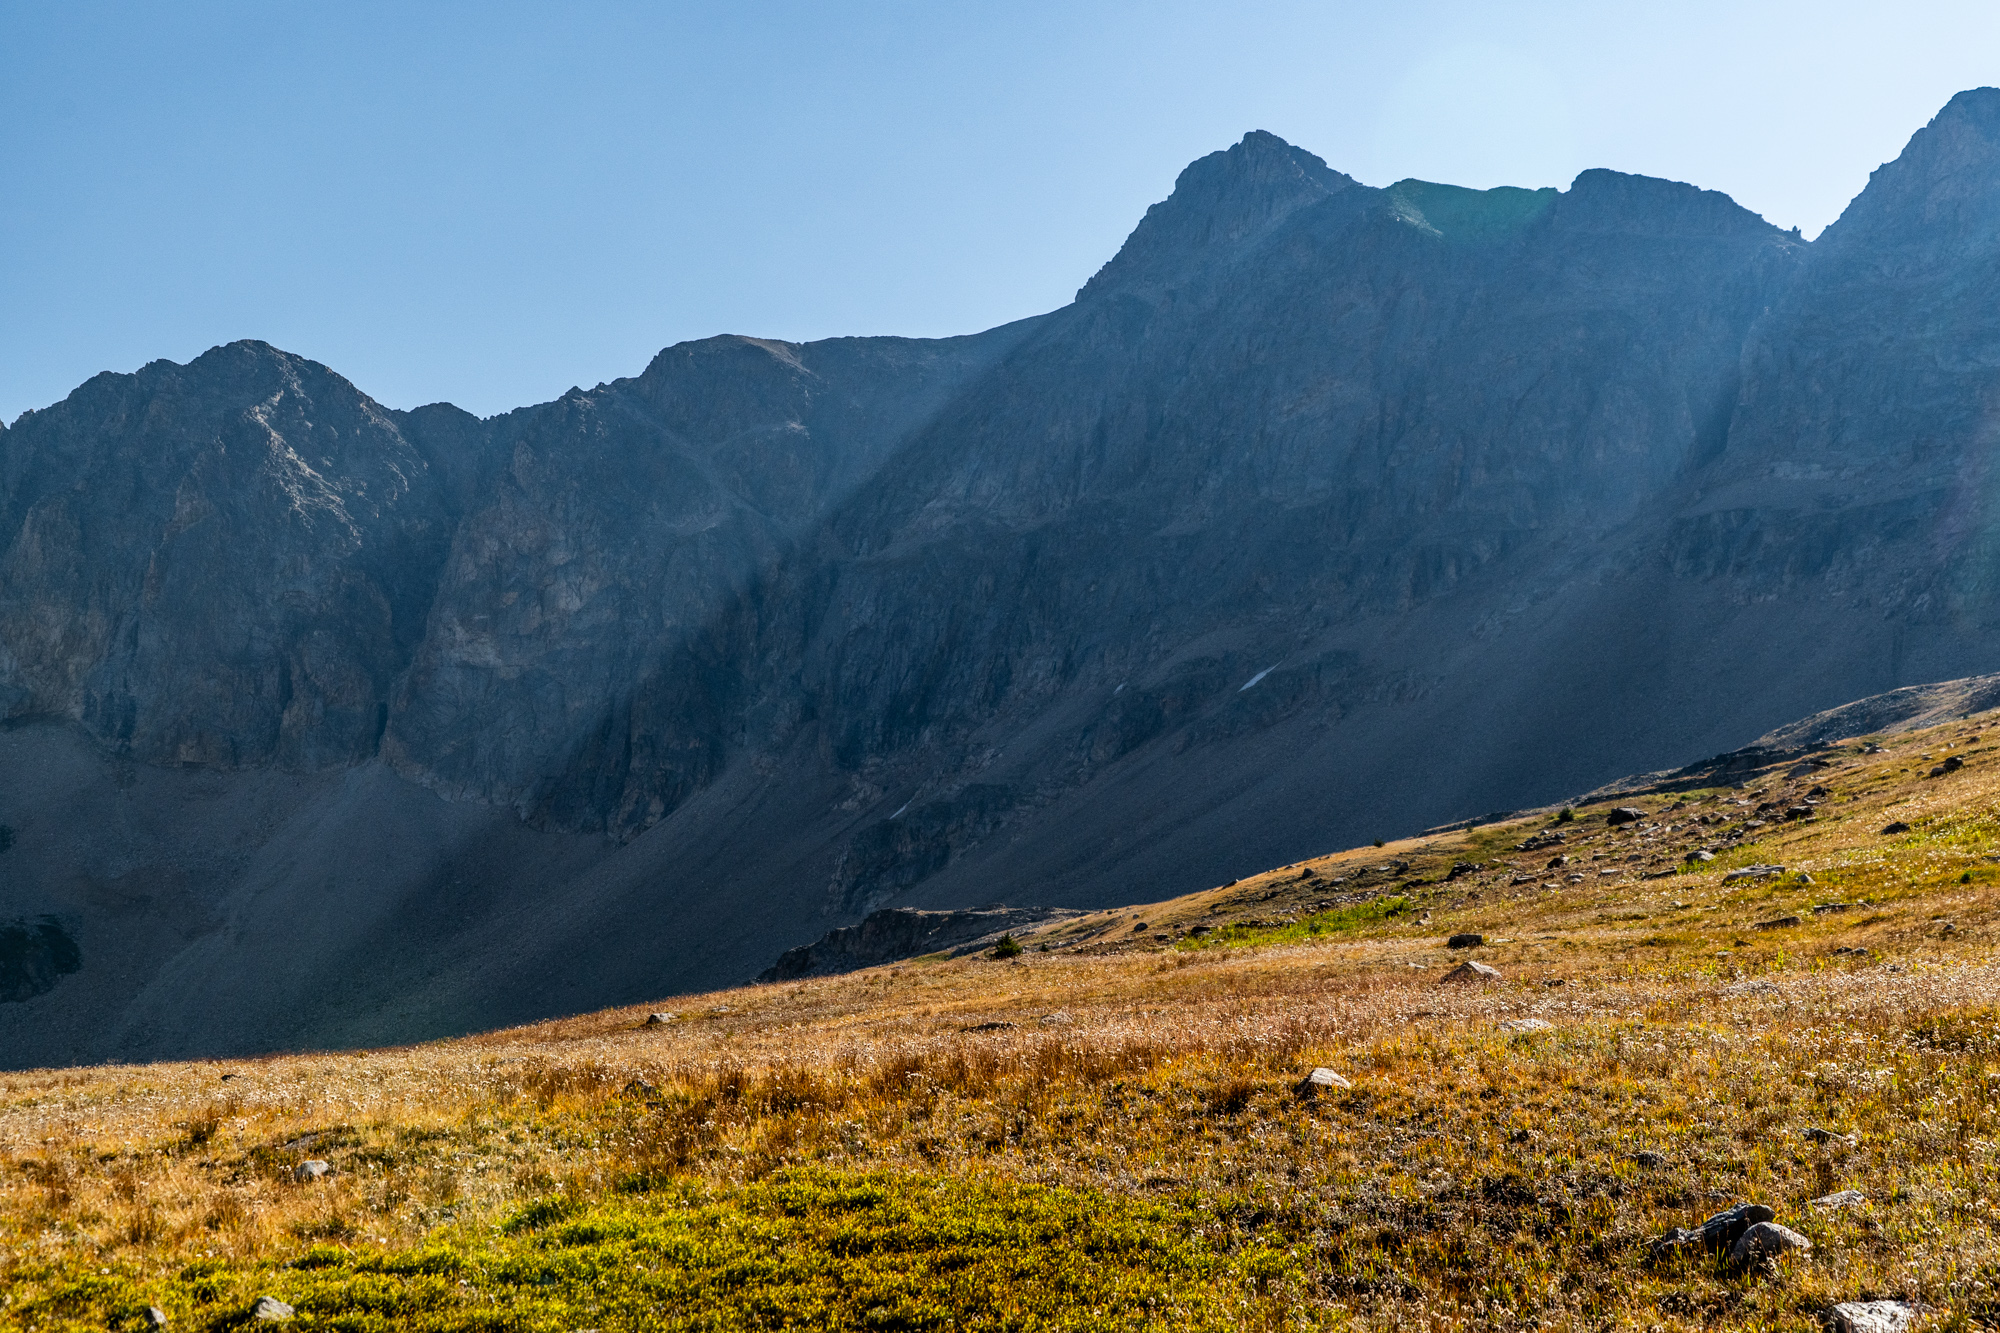
You've been descending for a while and it may not feel like a high route, but today you'll be getting back into the high country. Take the Main Stillwater Trail going north. then take the Lake of the Woods Trail all the way up to Lake of the Woods. Once at the lake, the trail disappears. Keep going cross country, pass another unnamed lake then head north to leave the current drainage that you are in. The goal is to gain the ridge to your north. You'll pass another unnamed lake and the route up the ridge will be obvious. Fill up on water before you get up there, it's about 4 miles till the next water source.
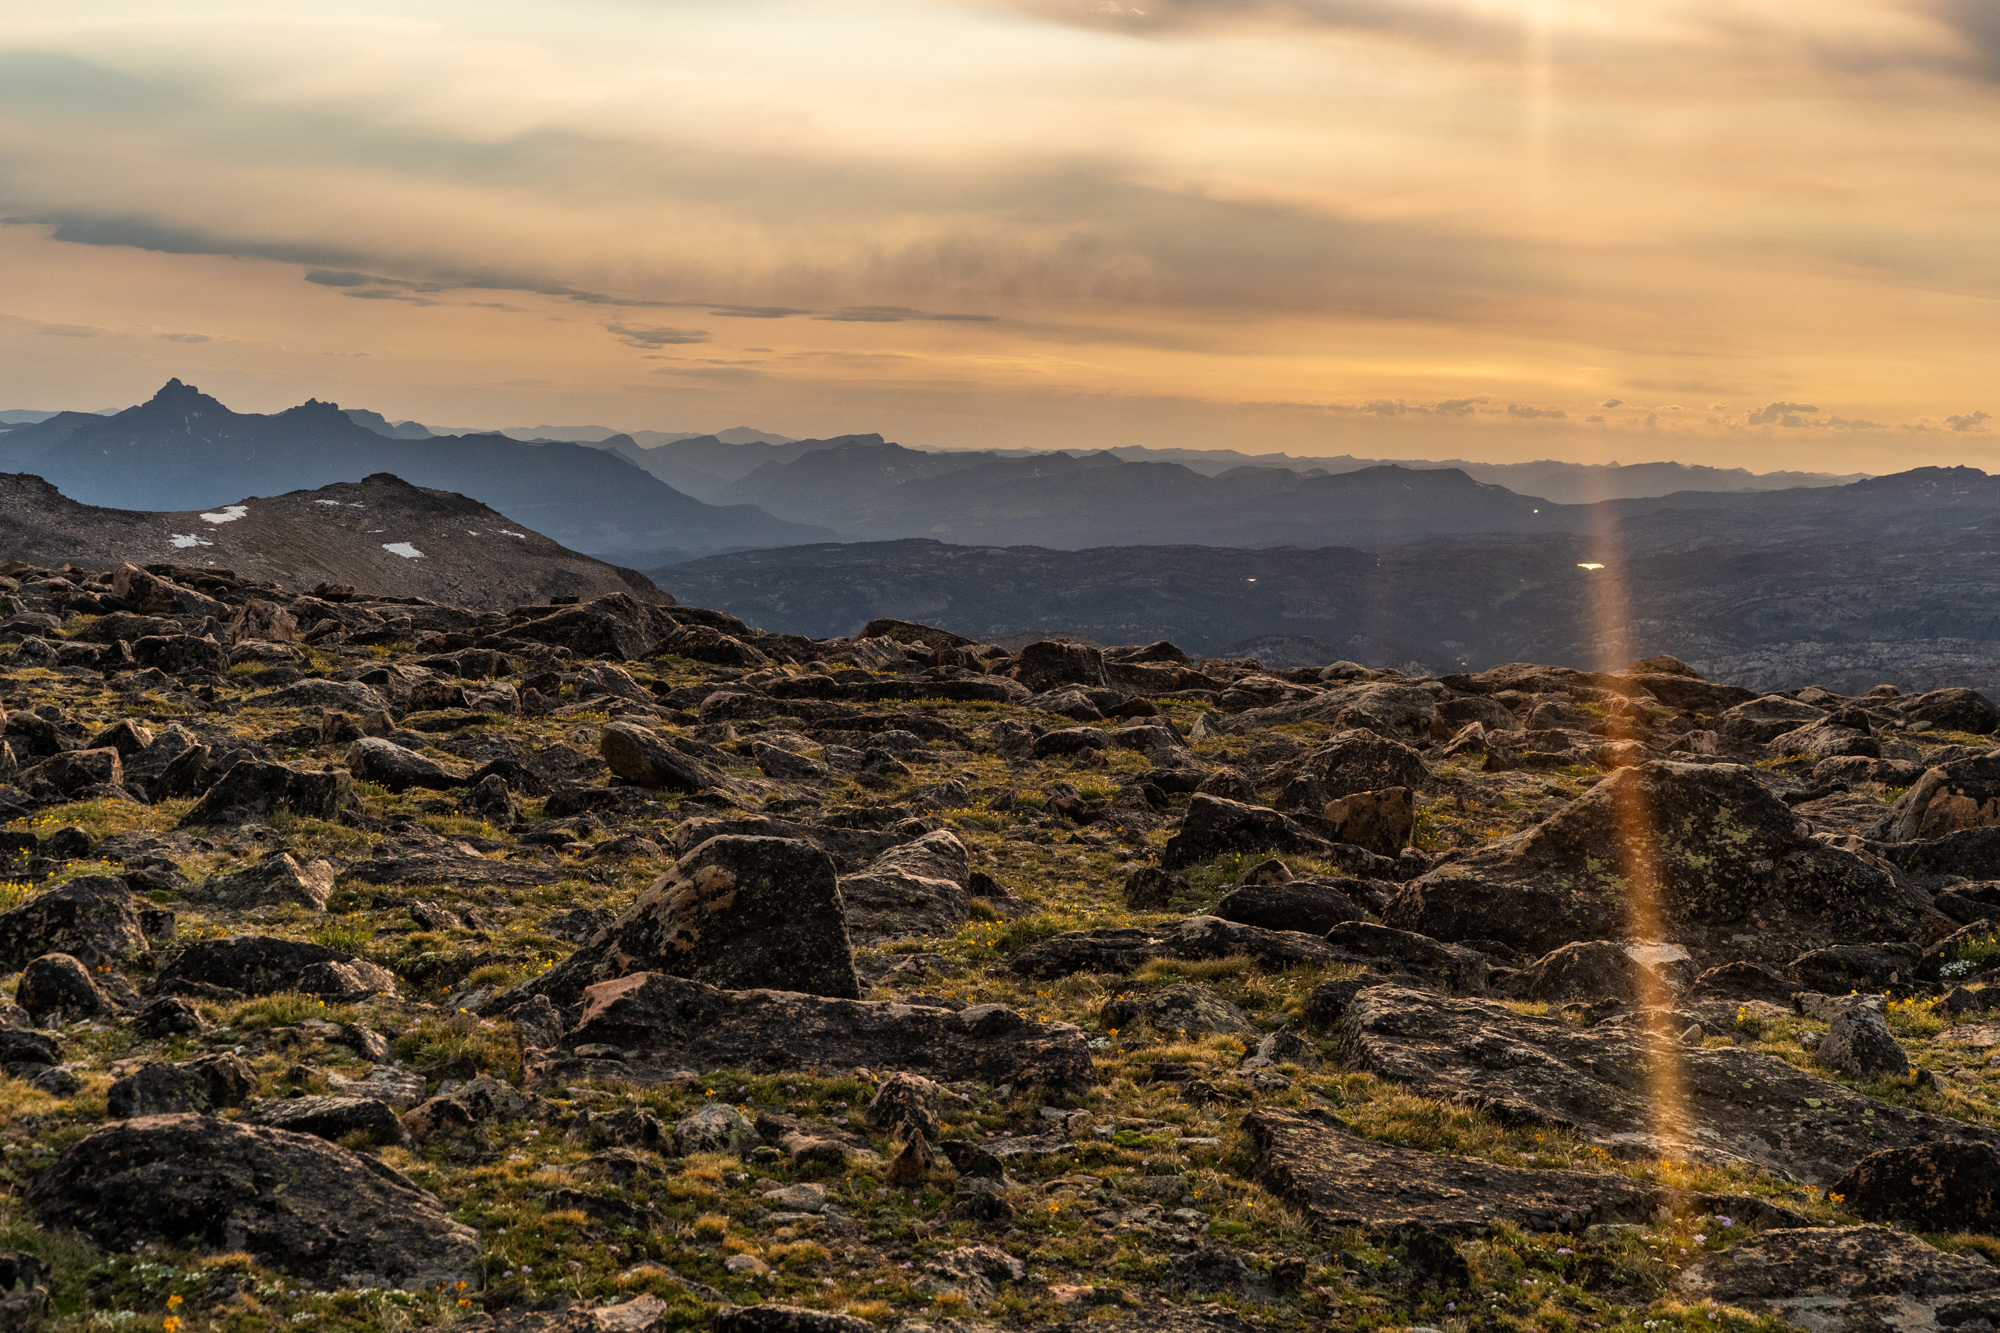
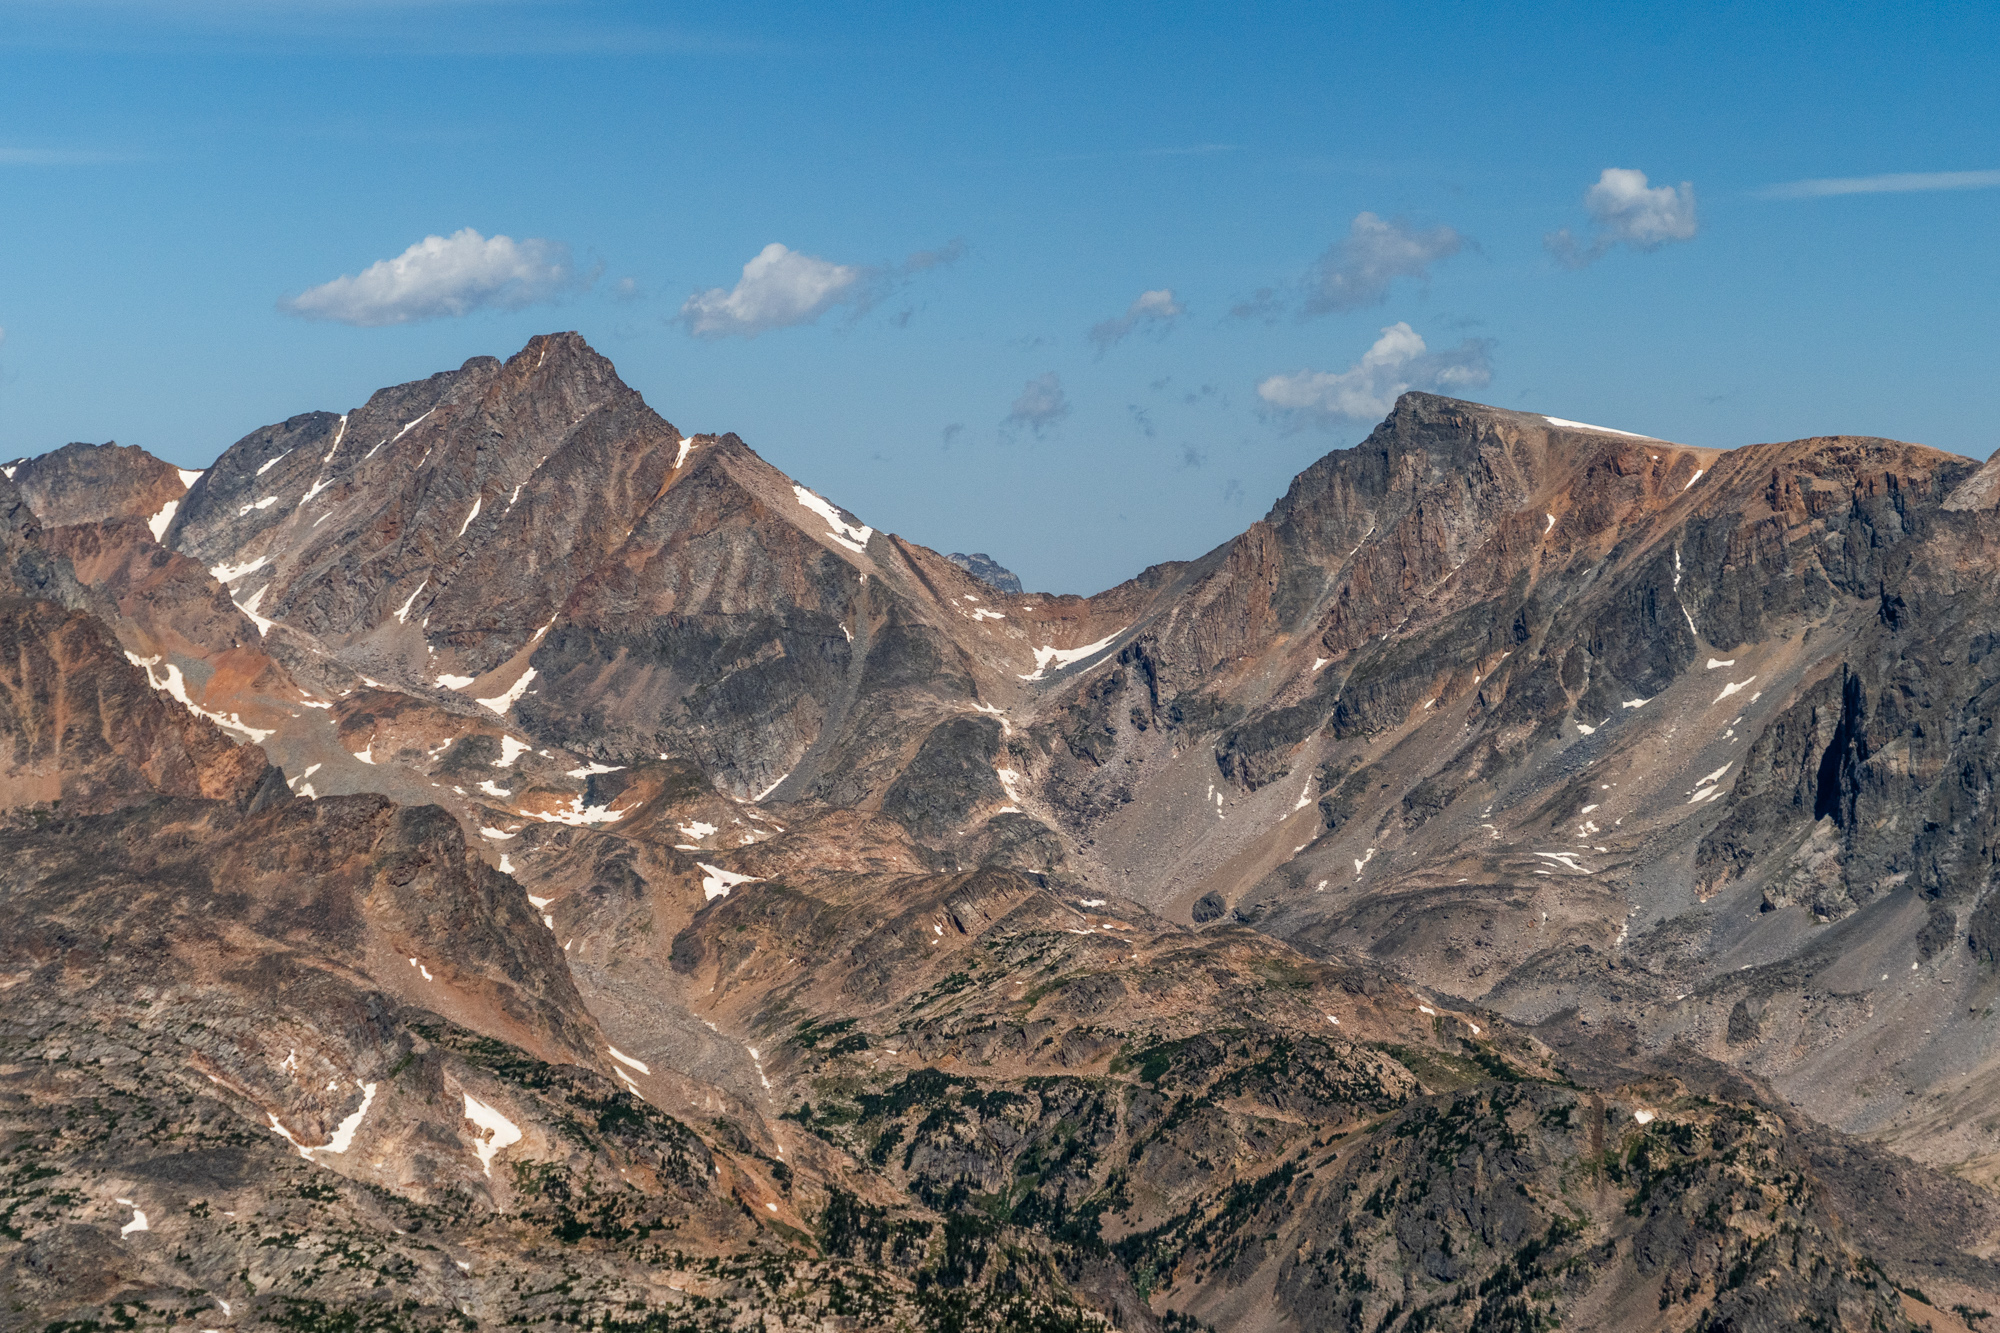
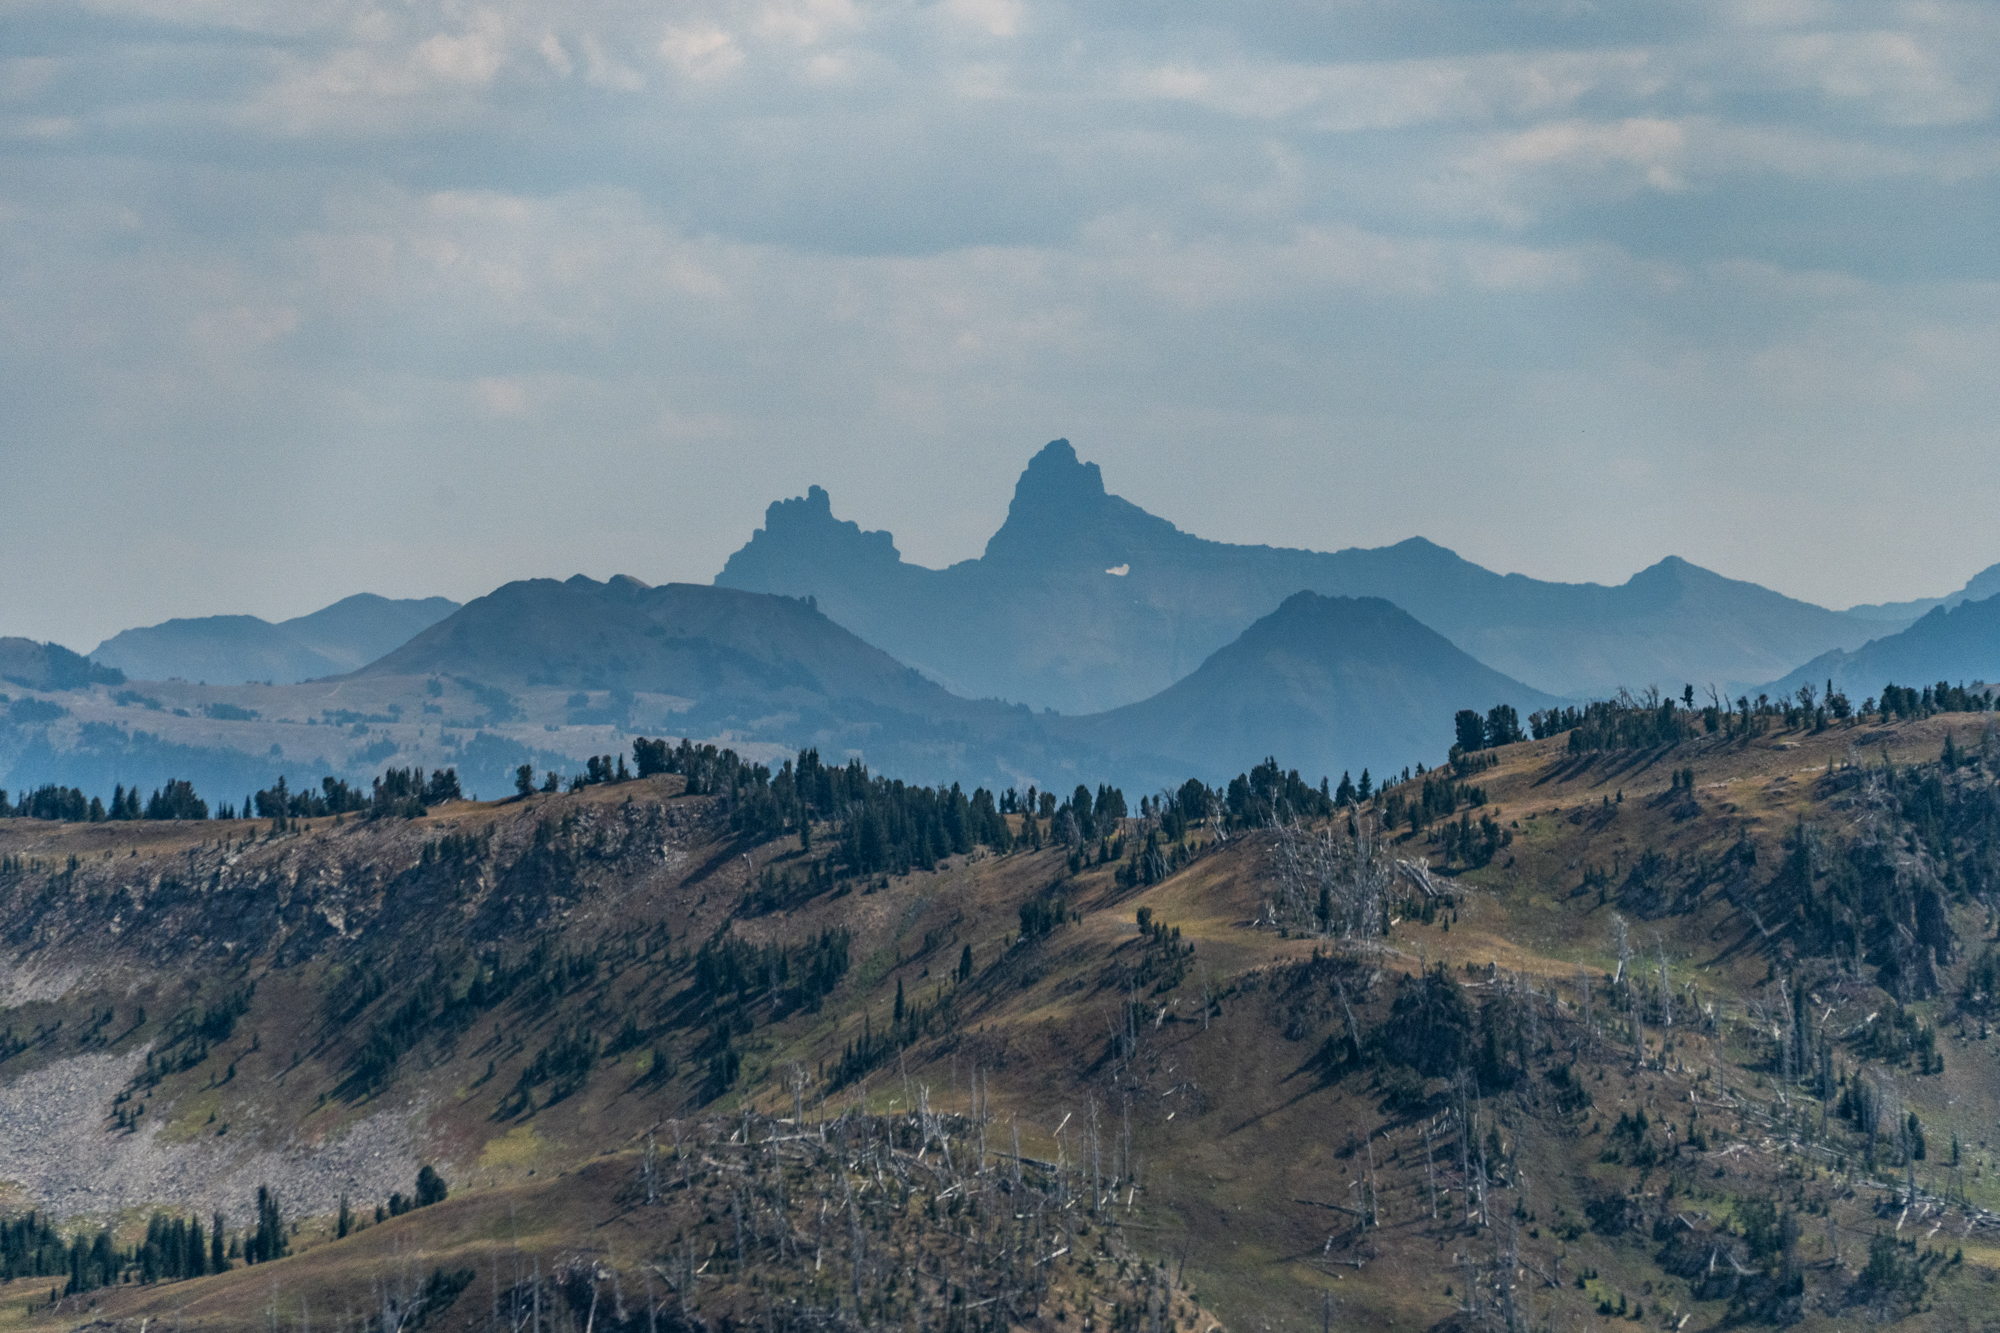
The views up there are awesome again. You'll see Pilot and Index Peak. When you started the Beartooth High Route you were looking at their east side, now you're looking at their west side.
Columbine Pass would be a nice place to camp. The map doesn't show water there, but I found some shallow lakes. I kept going up the next ridge because I wanted to camp up high.
Day 9: 13 miles
Pleasant ridge and meadow walking.
The ridge here is grassy and really nice walking. You can save some effort by walking around the unnamed lake above Fish Lake instead of staying strictly to the ridge. Descend down to the Fish Creek Trail. In a rare turn of events, you'll be walking on a trail for a few miles now. There's a lot of trails in this meadow area so pay attention to the junctions. Take Fish Creek Trail to Rainbow Creek Trail, to West Fork Stillwater Trail, to an unmaintained trail past Lake Diaphanous. At this point the trail disappears. Gain the Ridge to Chalice Peak. Fill up on water for the next 9 miles or so. There won't be any until you come down from the ridge.
Day 10: 10 miles
Summary: A long steep descent out of the mountains.
The rest of the Beartooth High Route is a long descent. From Cathedral Peak it's all down hill, over 4,000 feet. At around 9,800 feet the map shows a seasonal creek. Even in September, I found a snowbank here and good water flowing from it. Stay on the east side of the creek as you descend. The map does not show a trail, but there is one here. Keep an eye out for it. I picked it up around 9,300 feet. You'll take that trail all the way down to the Rabbit Gulch Trailhead.
Around 8,800 feet there are some old road and trails that can make things confusing, just make sure you keep going in the same northeast direction.The trail gets really steep at times. It's nice to be descending rather than ascending here. Then you're at the Rabbit Gulch Trailhead. Congratulations on completing the Beartooth High Route!
The road to the Rabbit Gulch Trailhead requires a high clearance vehicle.
Best time to hike
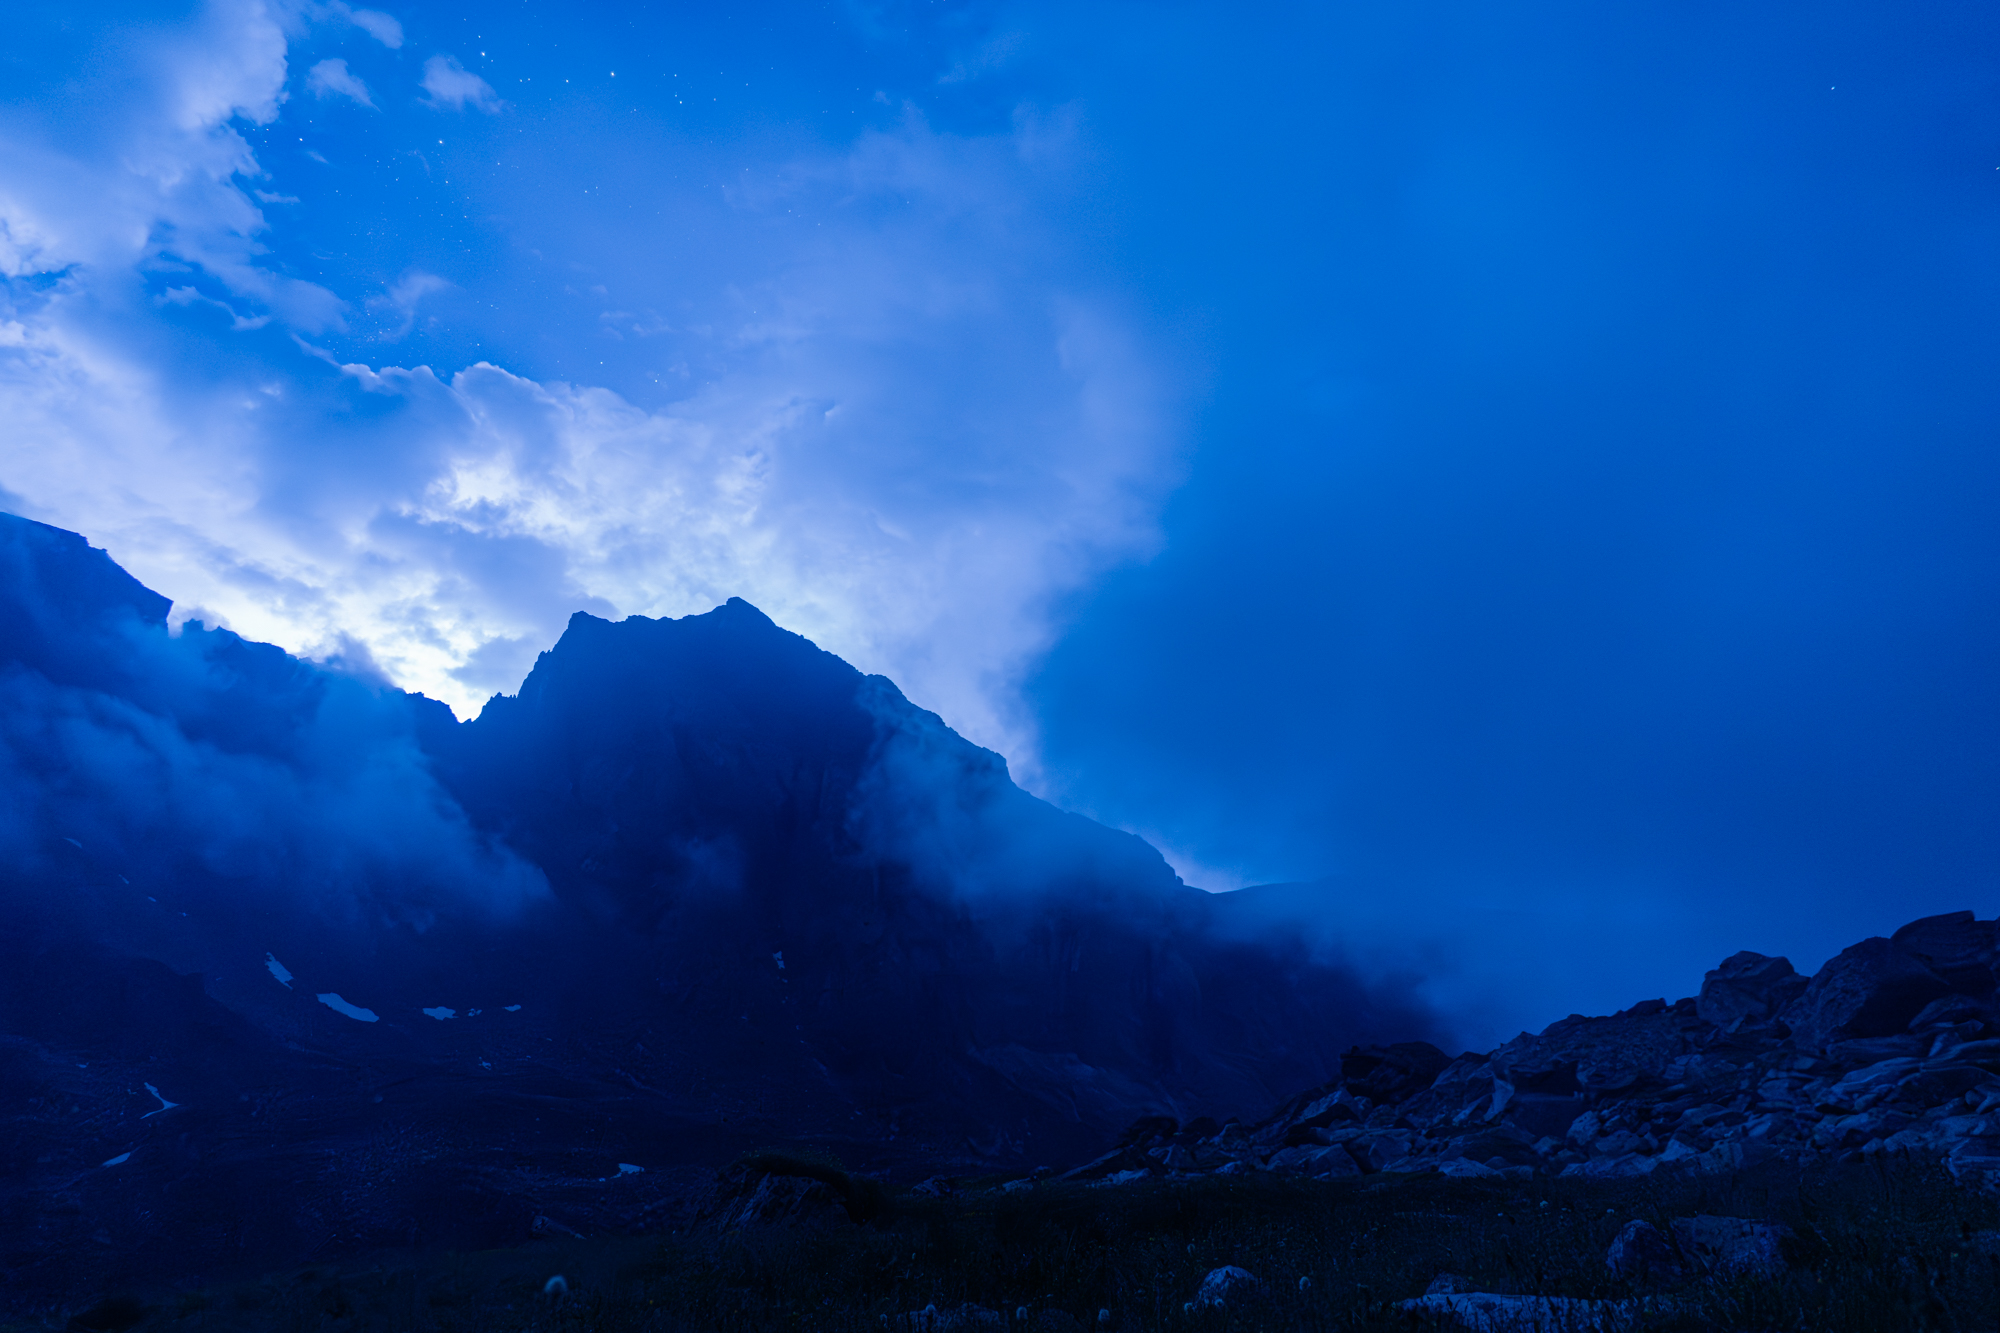
Late July through September. The later in summer the better. Even early fall would be a good time. You are spending the majority of your time above the tree line and, therefore, very exposed to thunderstorms. Later in the year, there are typically fewer storms. Don’t wait too long, though, since this is such a high elevation, these areas will be the first places to see snow.
What to bring
Be prepared for the cold up here. Be prepared to be caught in a thunderstorm or even snow. Be prepared to deal with steep snow-covered slopes. I didn’t bring my ice axe, but I wished I had it on the first section.