
North Absaroka Wilderness Loop
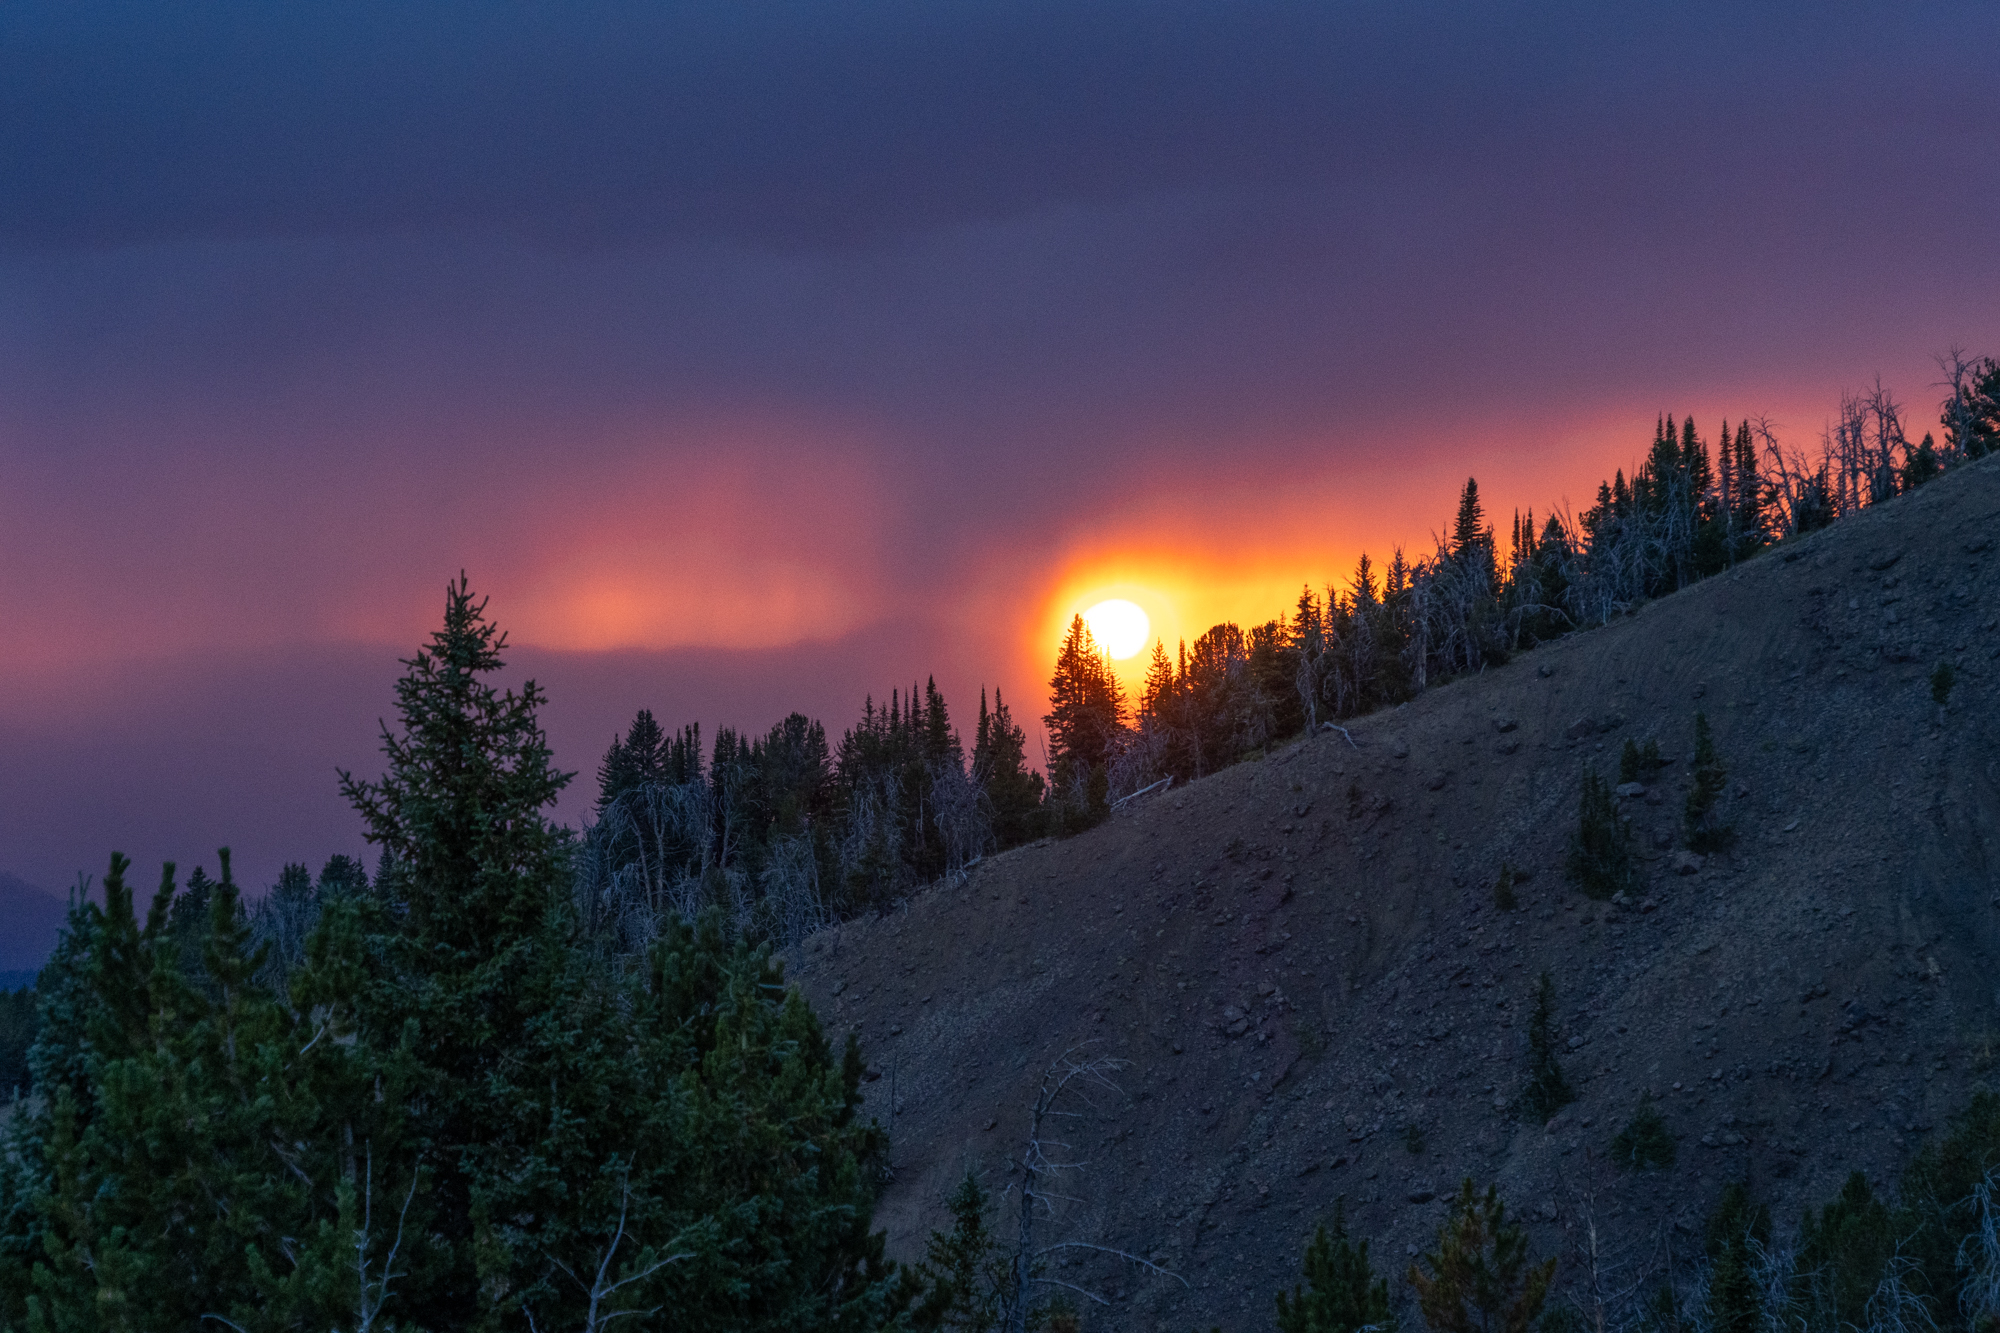
The North Absaroka Wilderness is a forgotten wilderness zone just outside of Yellowstone National Park. It share's a border with the park on the park's east side. Because of its proximity with the park, you're likely to see all the same wildlife that you might find inside of Yellowstone, grizzlies, bison, elk, moose, etc. Hiking in this wilderness area feels very remote. It feels like you are taking a step back in time to see what the west was like before it was settled. Very little has changed here over time. The remoteness and wildlife may scare some and excite others.
Difficulty Rating: Hard
Stats

Getting There
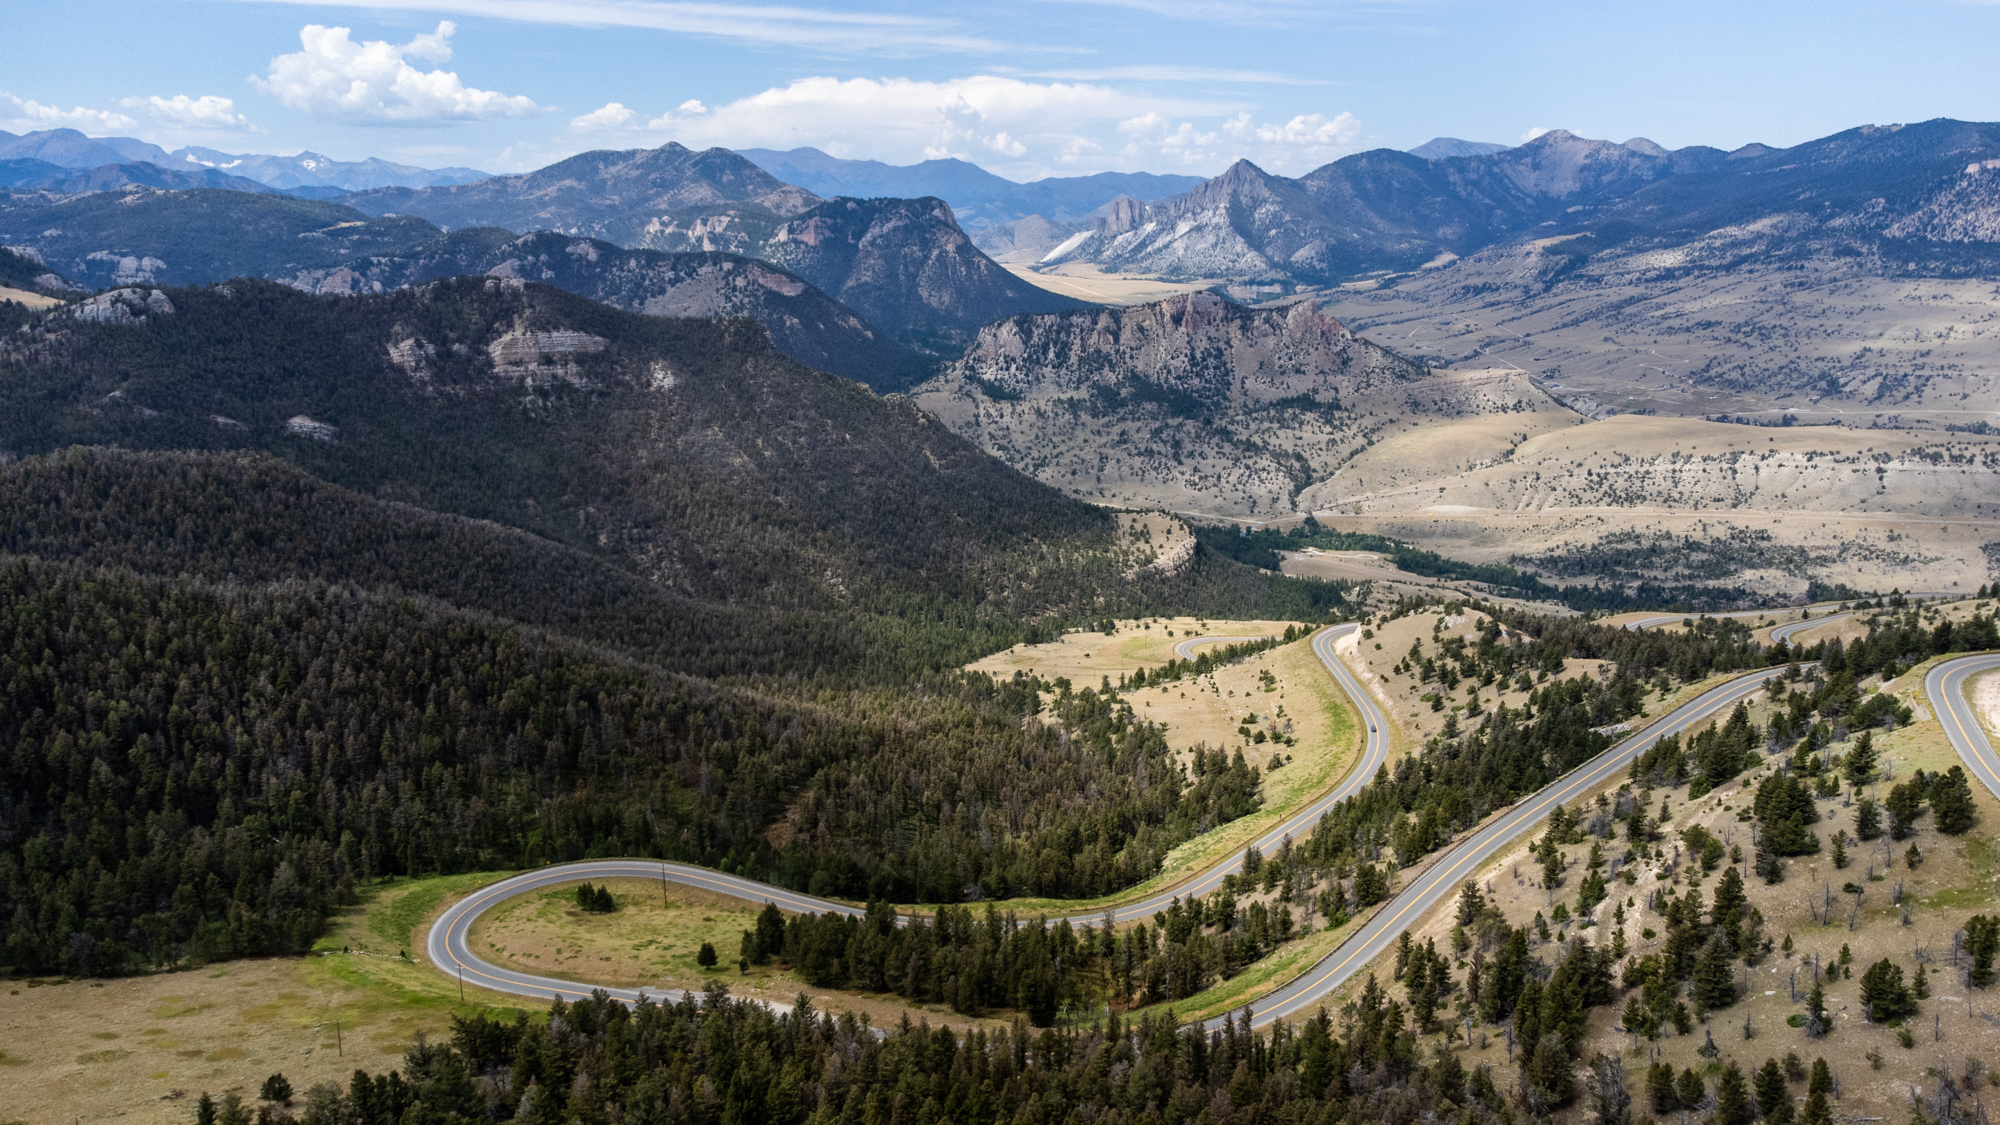
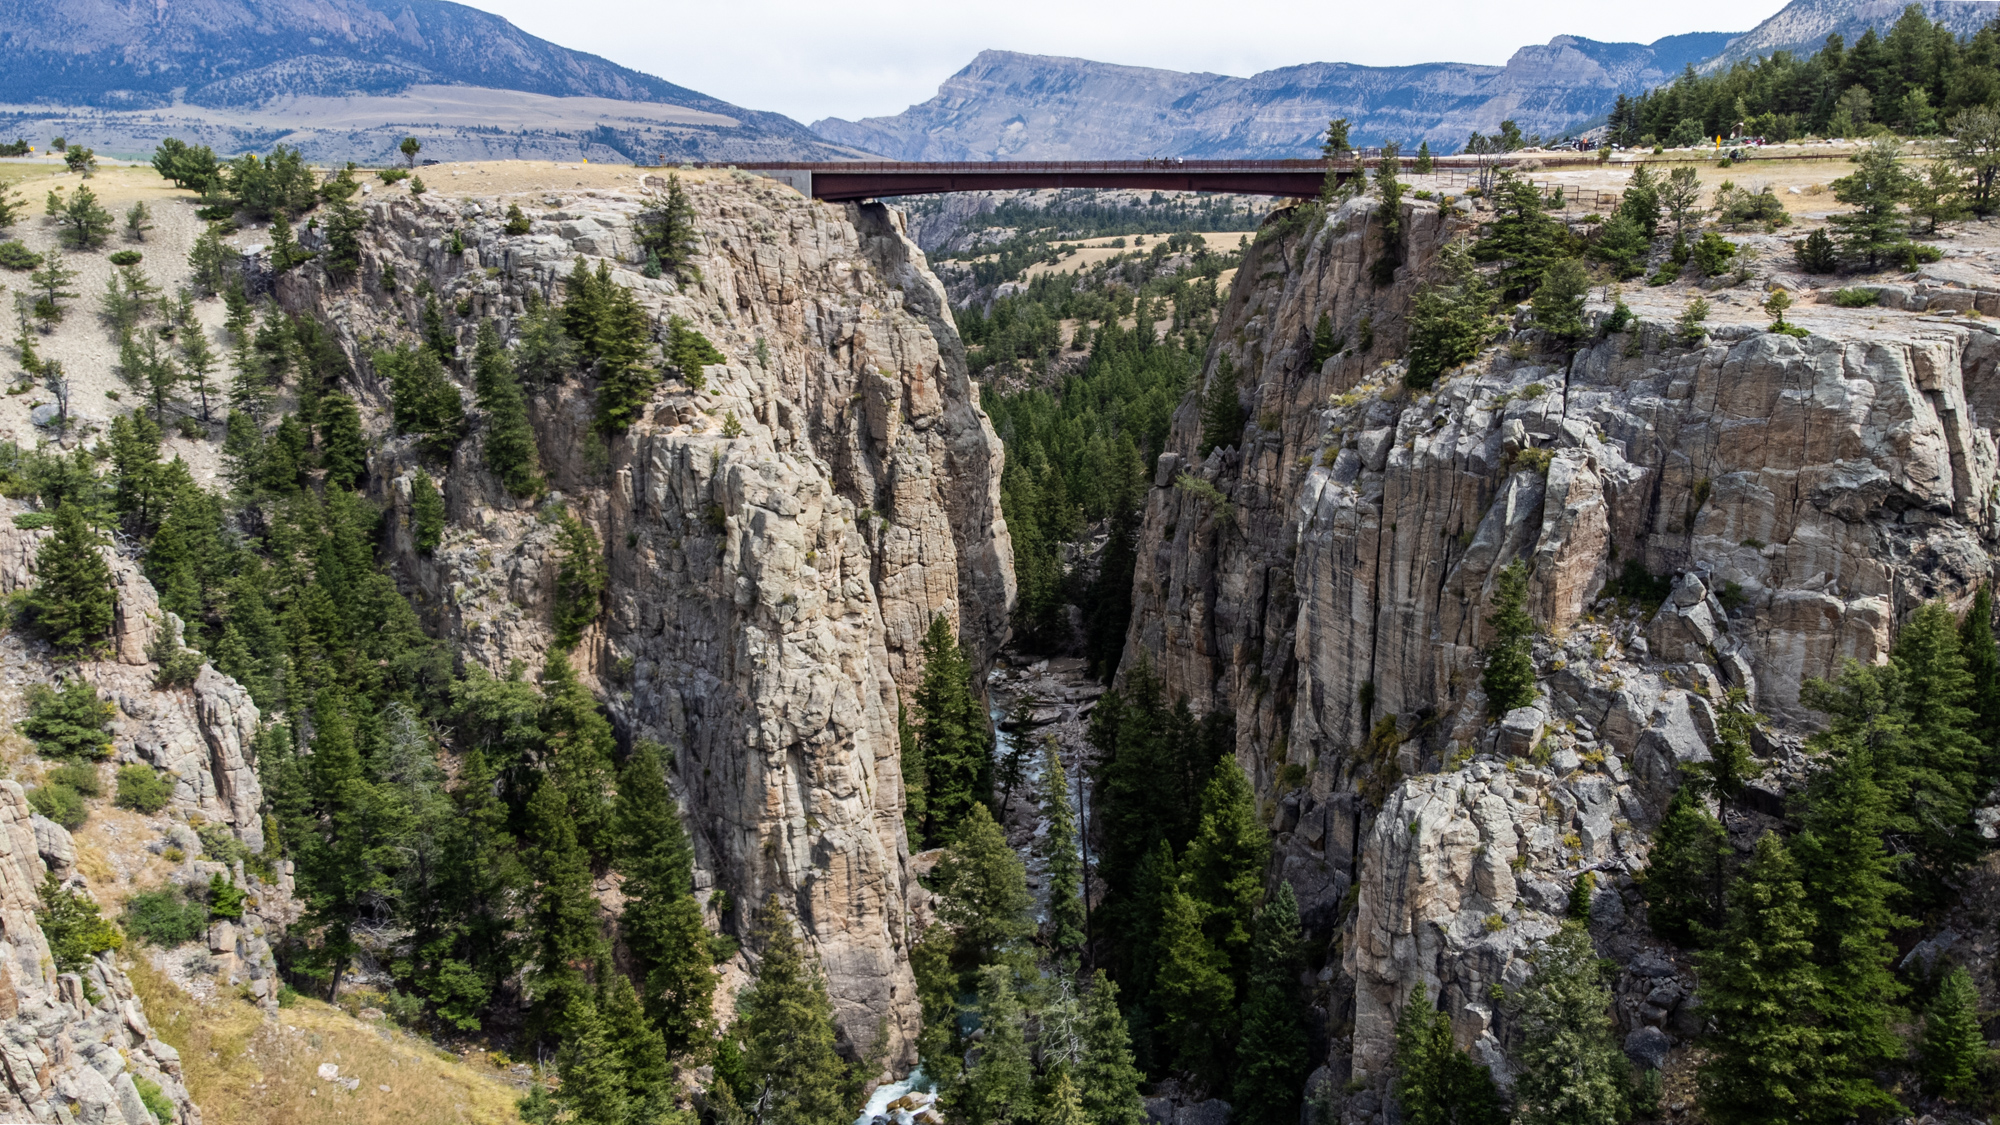
This is a loop route so you can conveniently start and end at the same location, the North Crandall Trailhead. Getting to the trailhead requires a drive on the Beartooth Highway or the Chief Joseph Highway. Both roads are stunning high altitude drives and worth it for the drive alone. They are paved roads and accessing this trailhead is very easy.
The days described below are the way I hiked it, you're experience, miles per day, and campsites will probably differ.
The Route
Loop routes are nice because there is no car shuttling required. Start and end in the same spot. There is very little overlap on this route too, meaning you'll be seeing something new the whole time.The loop could be done in either direction. Going counter-clockwise is the way I went and offers more of a gradual start.
Day 1: 9.5 miles
Summary: Long and flat trail with very easy hiking.
Entering the wilderness on the North Crandall Trail is a very easy way to go. The trail is in good shape and it's flat for about 15 miles. You'll follow the North Crandall Creek to it's source. I set up camp about half way up the drainage.
Day 2: 17.9 miles
Summary: This is where the hike gets interesting. Long water carries and a fun but challenging ridge line.
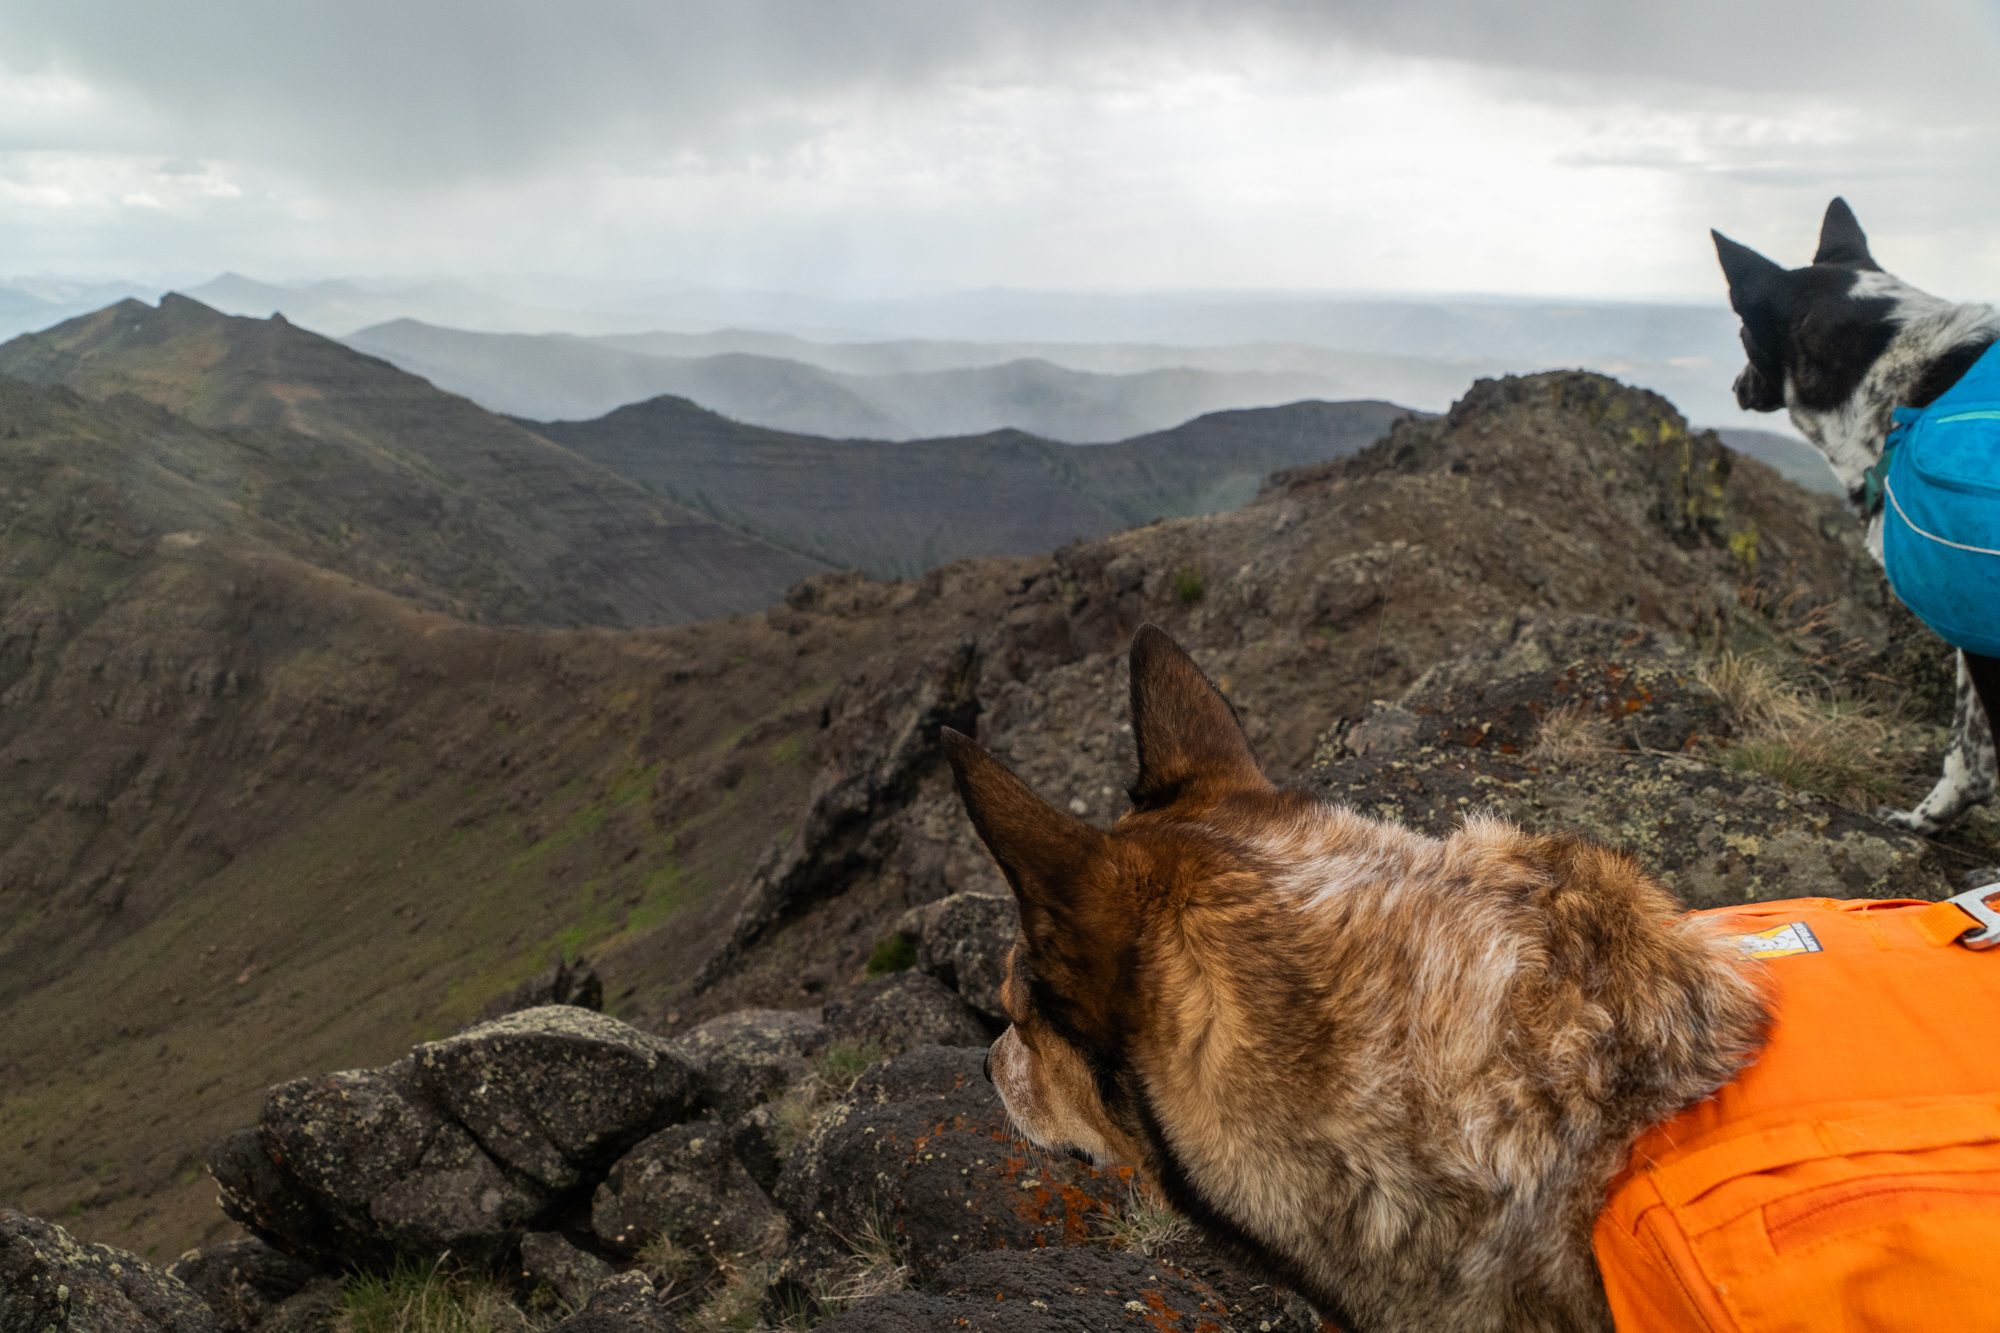
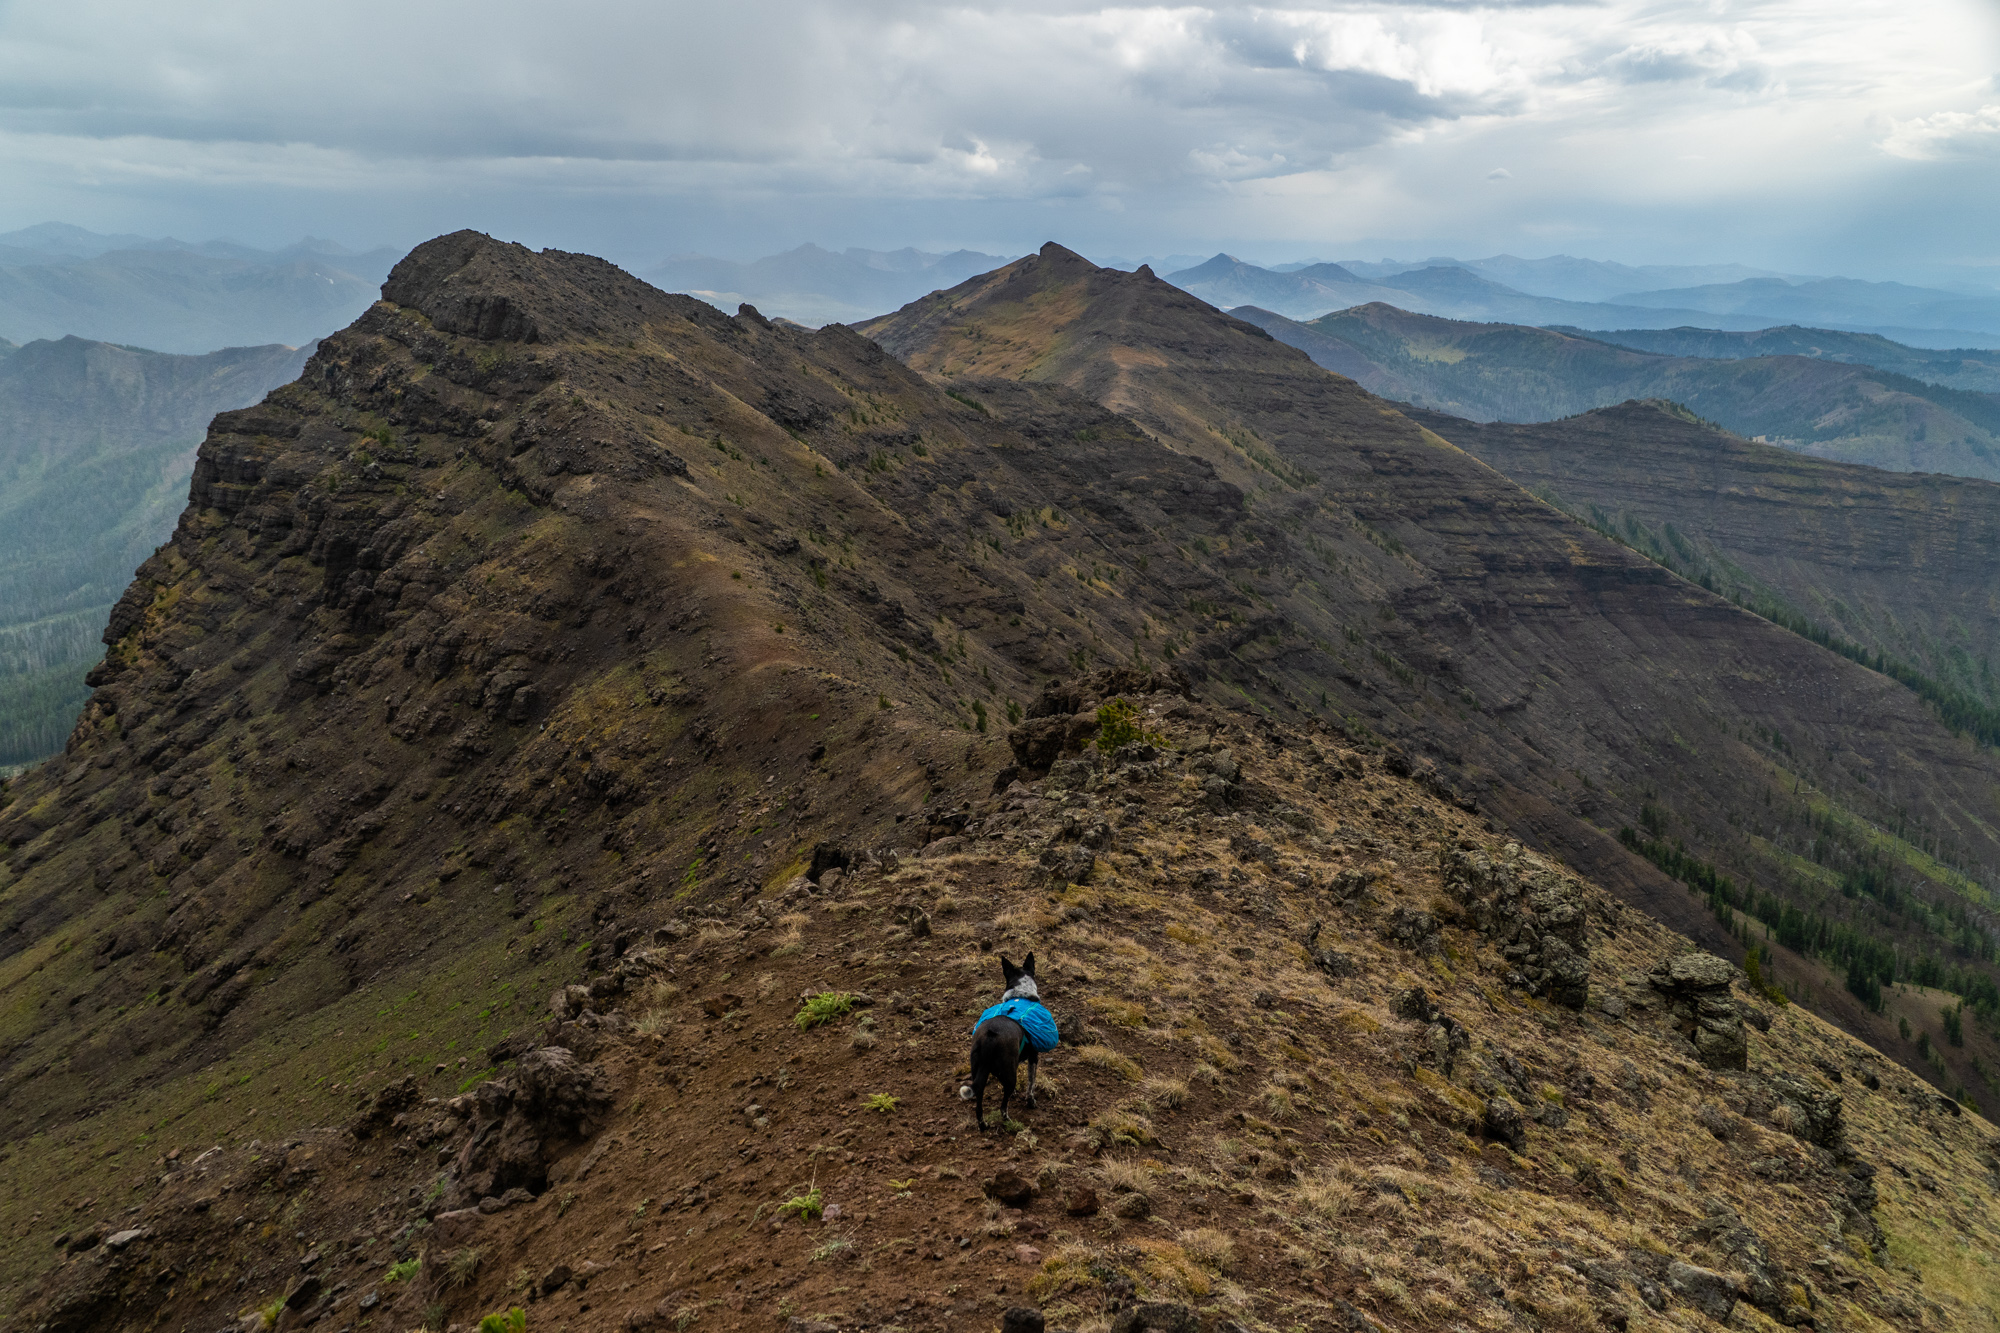
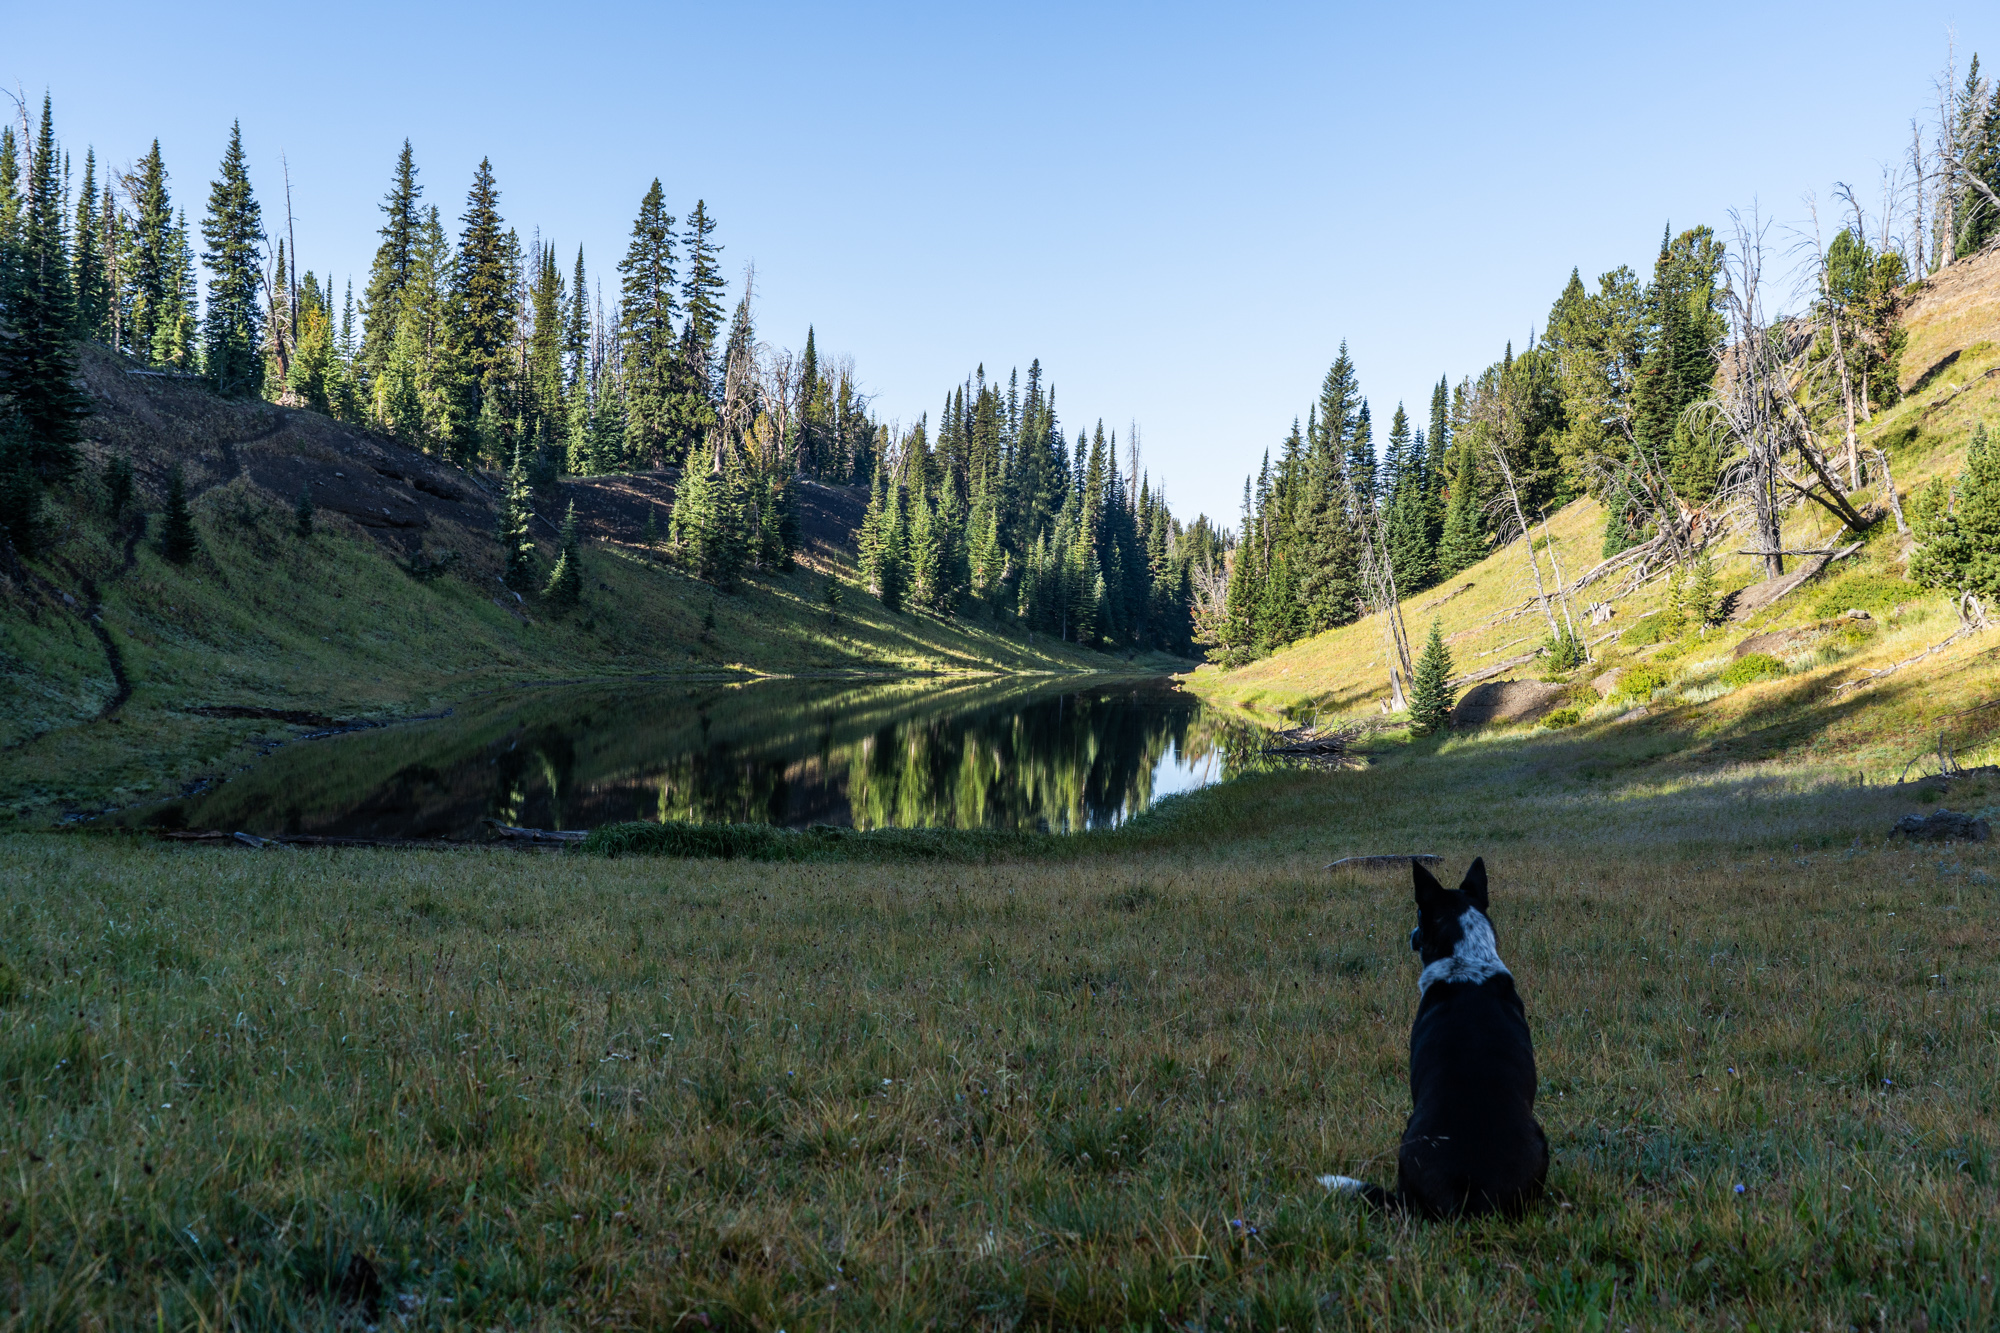
The North Crandall Trail takes you all the way up to the ridge line. From there, there is no trail but navigation is easy. Just follow the very well-defined ridge to the south. Before you begin climbing the ridge, fill up on water to get you through the next 11 miles. The only water source on the ridge is Canoe Lake. You are exposed up there, so pay attention to the weather. Have a backup plan in mind if you see lightning.
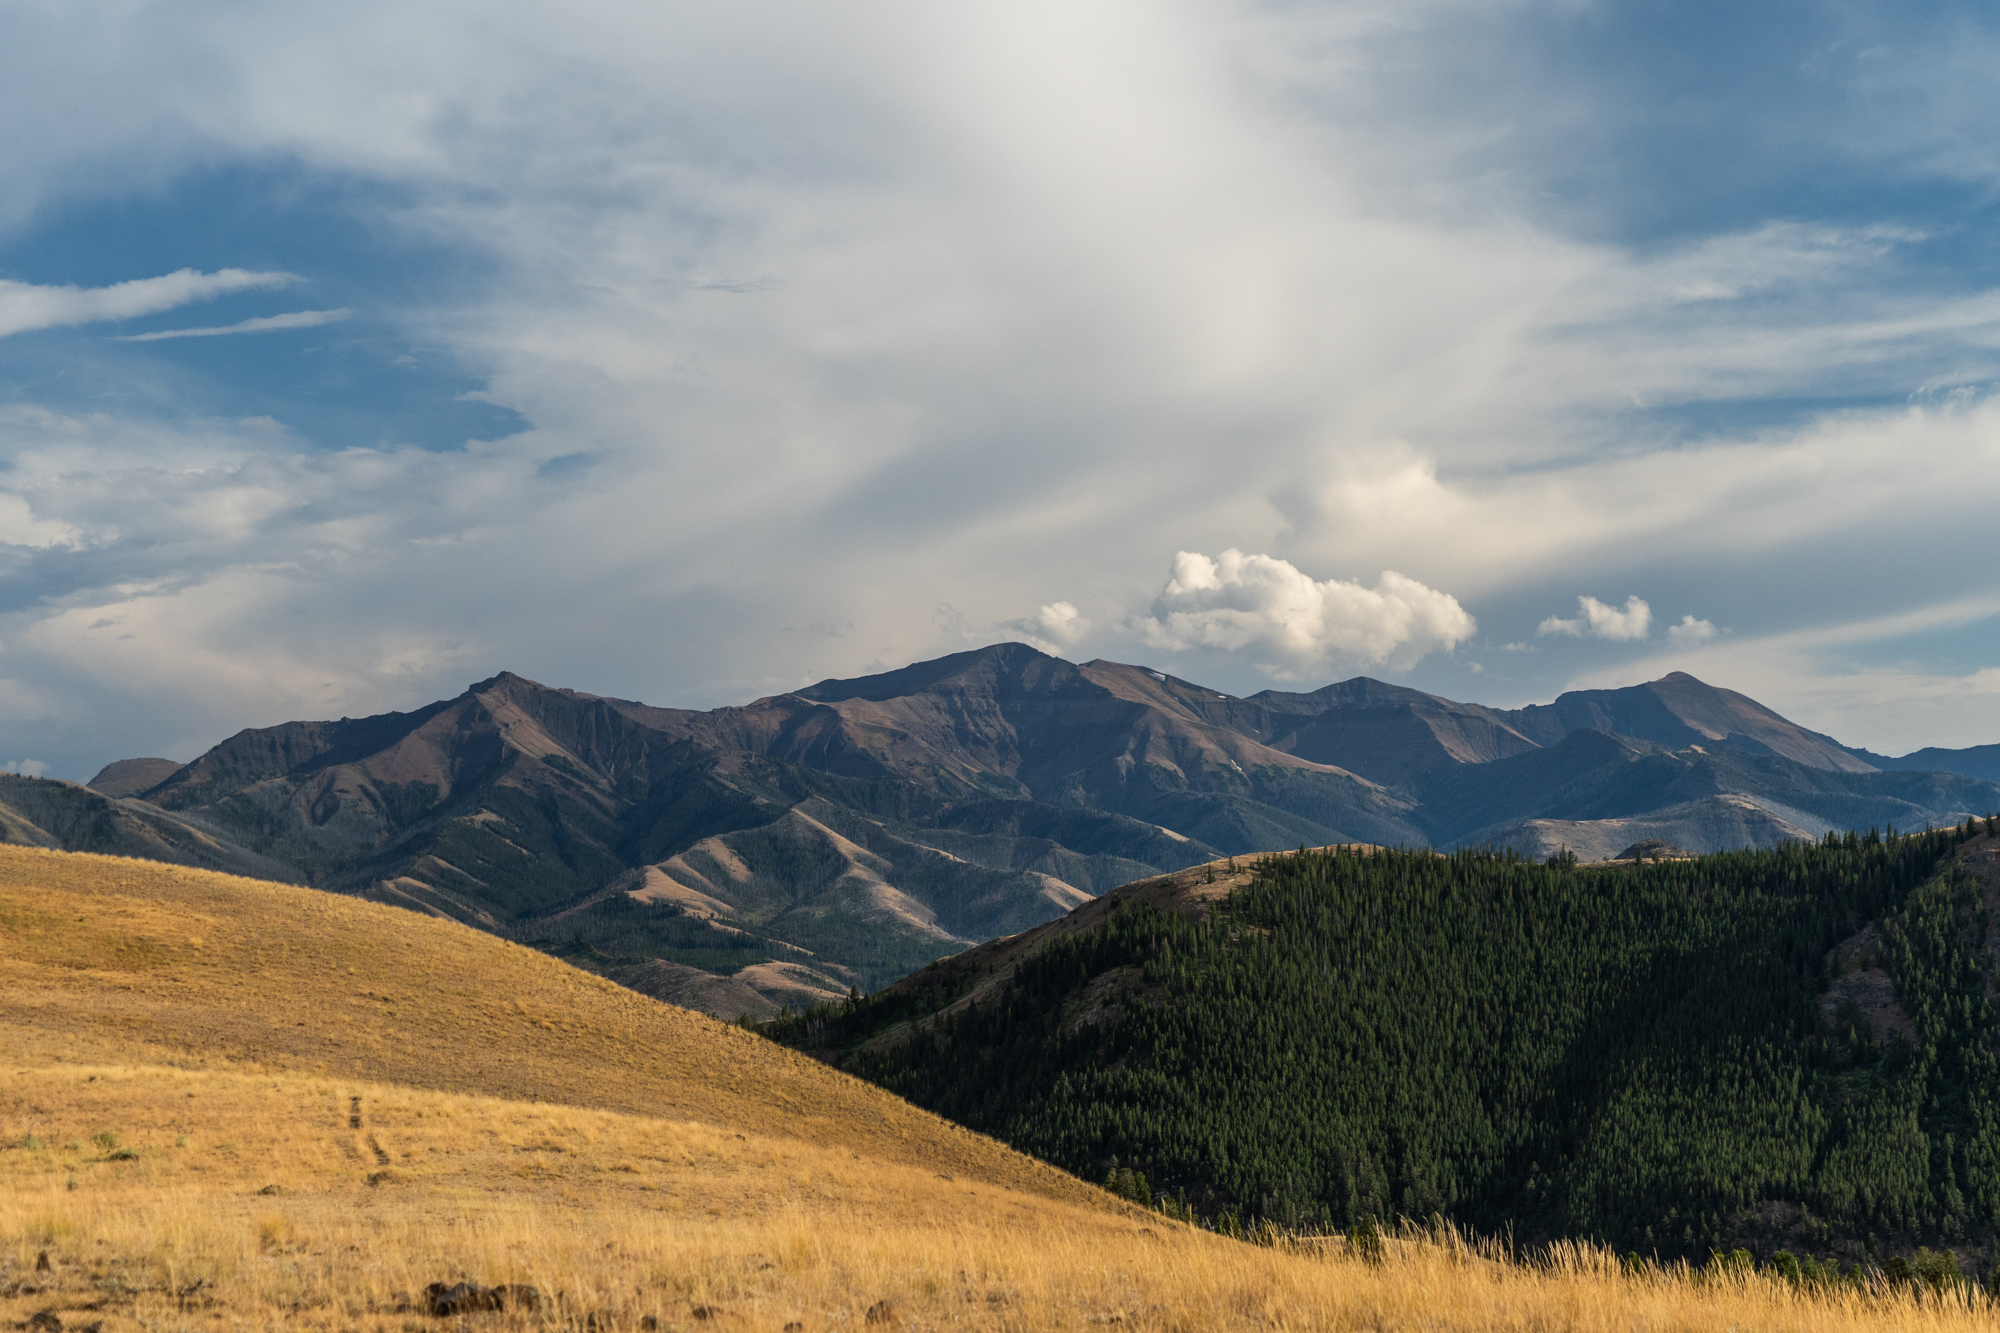
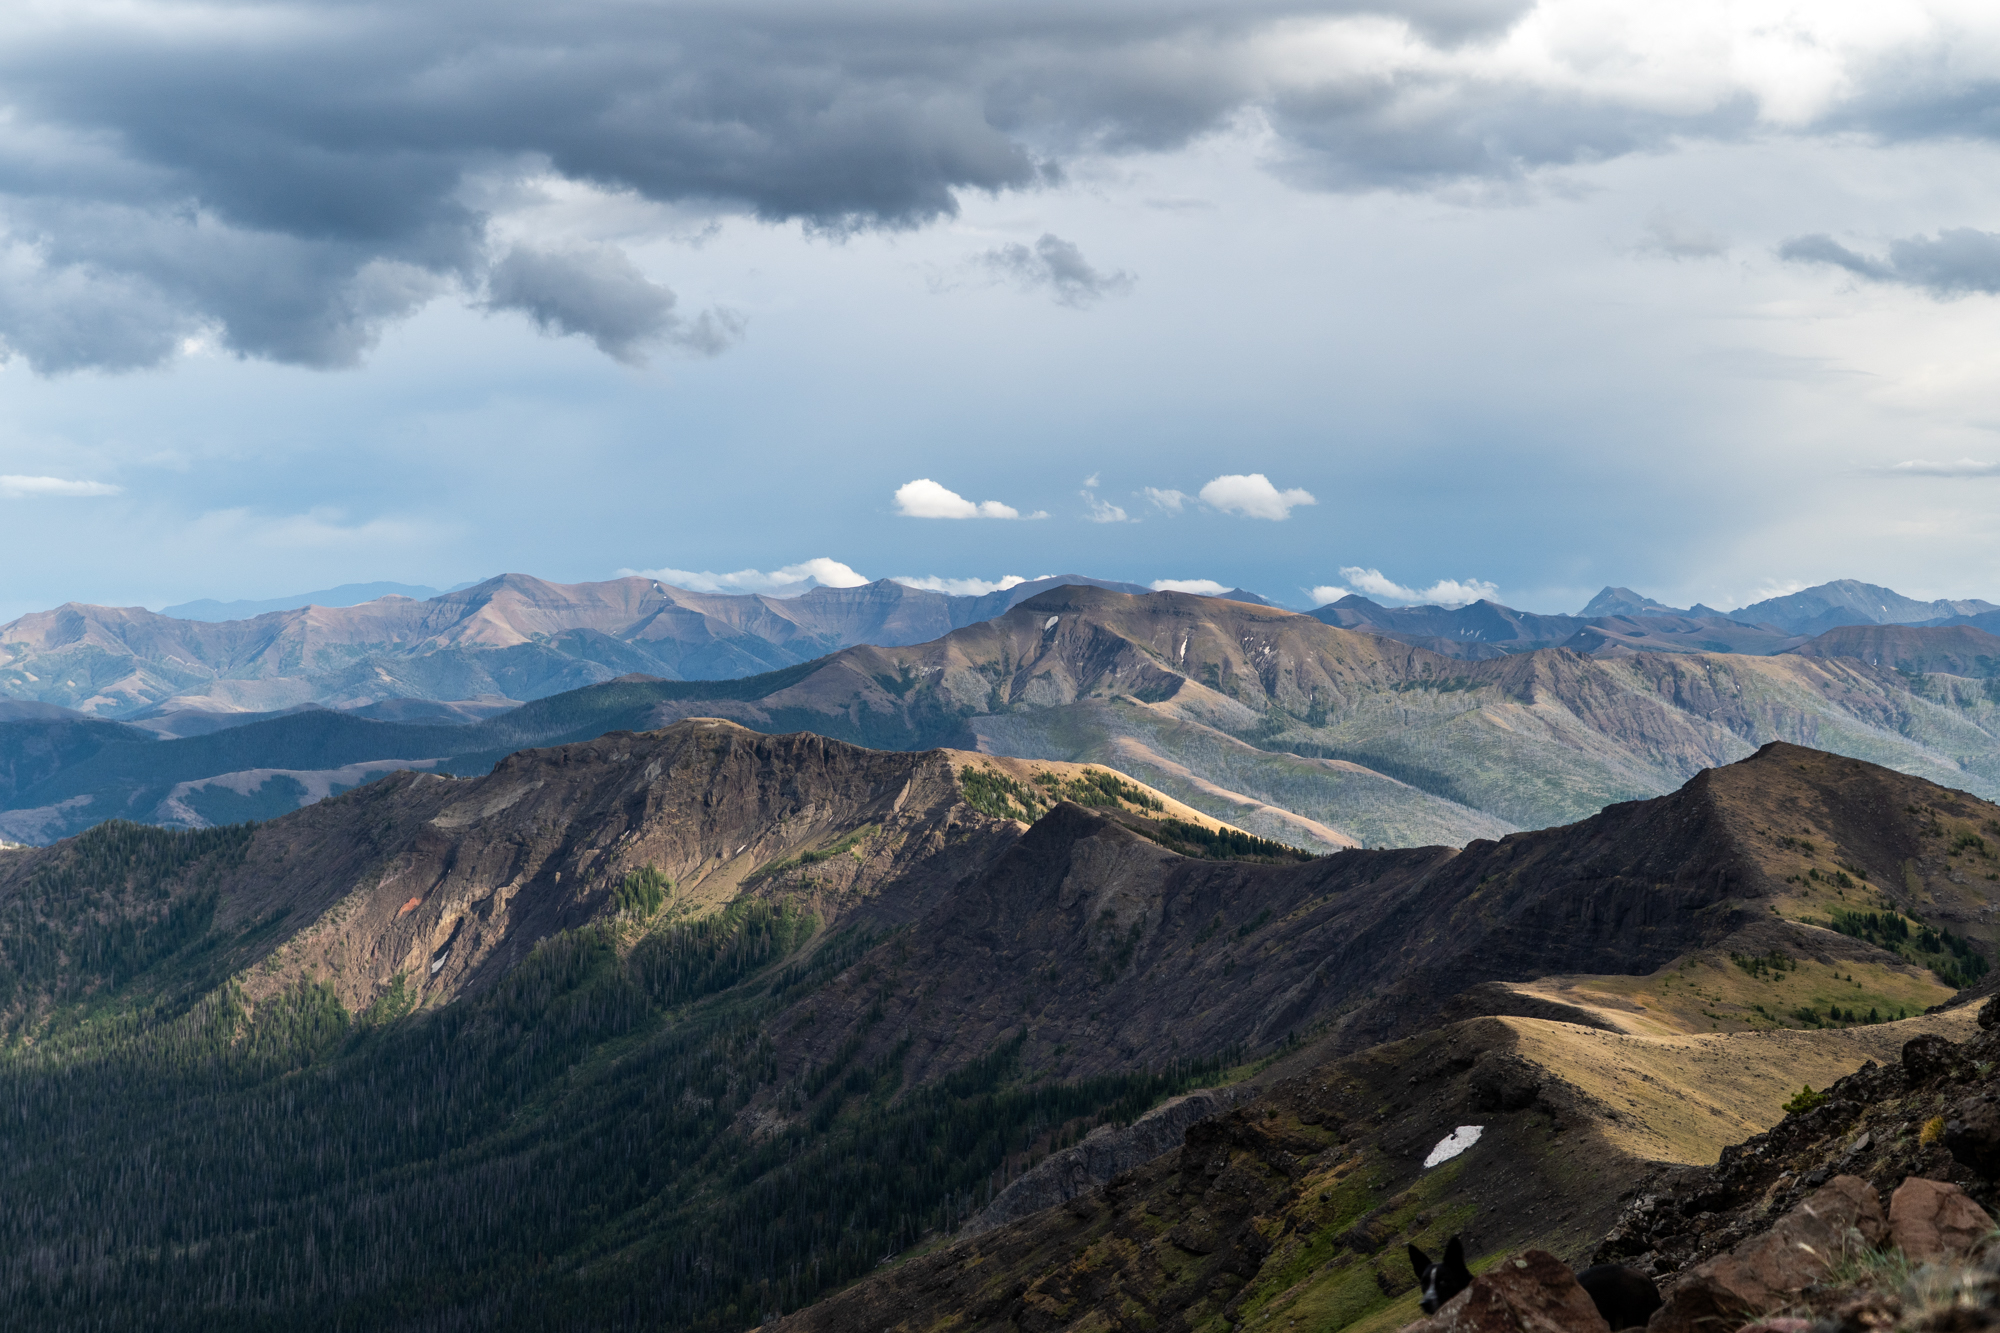
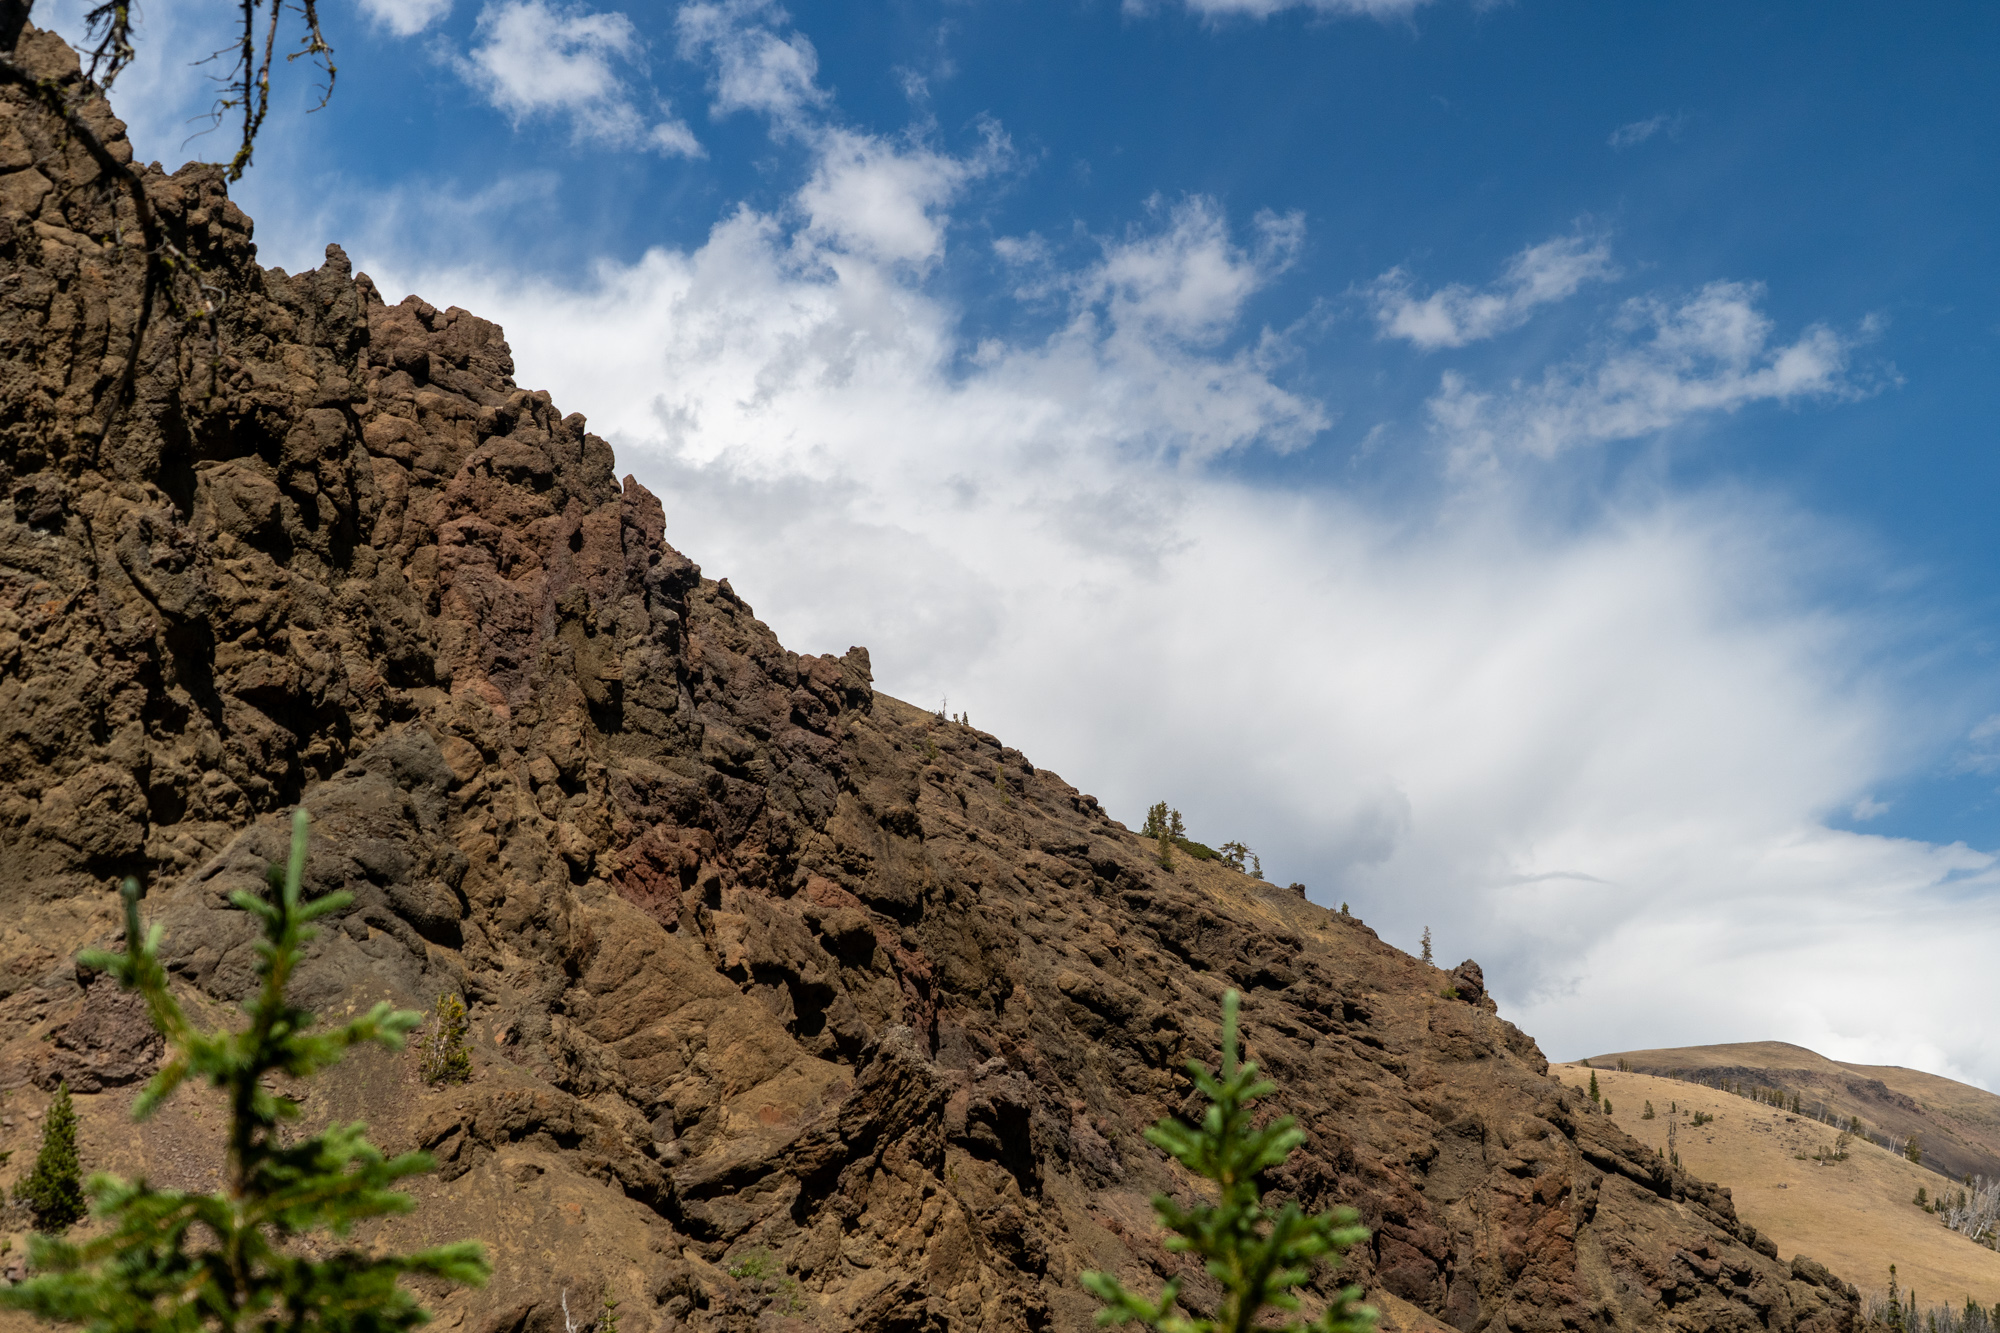
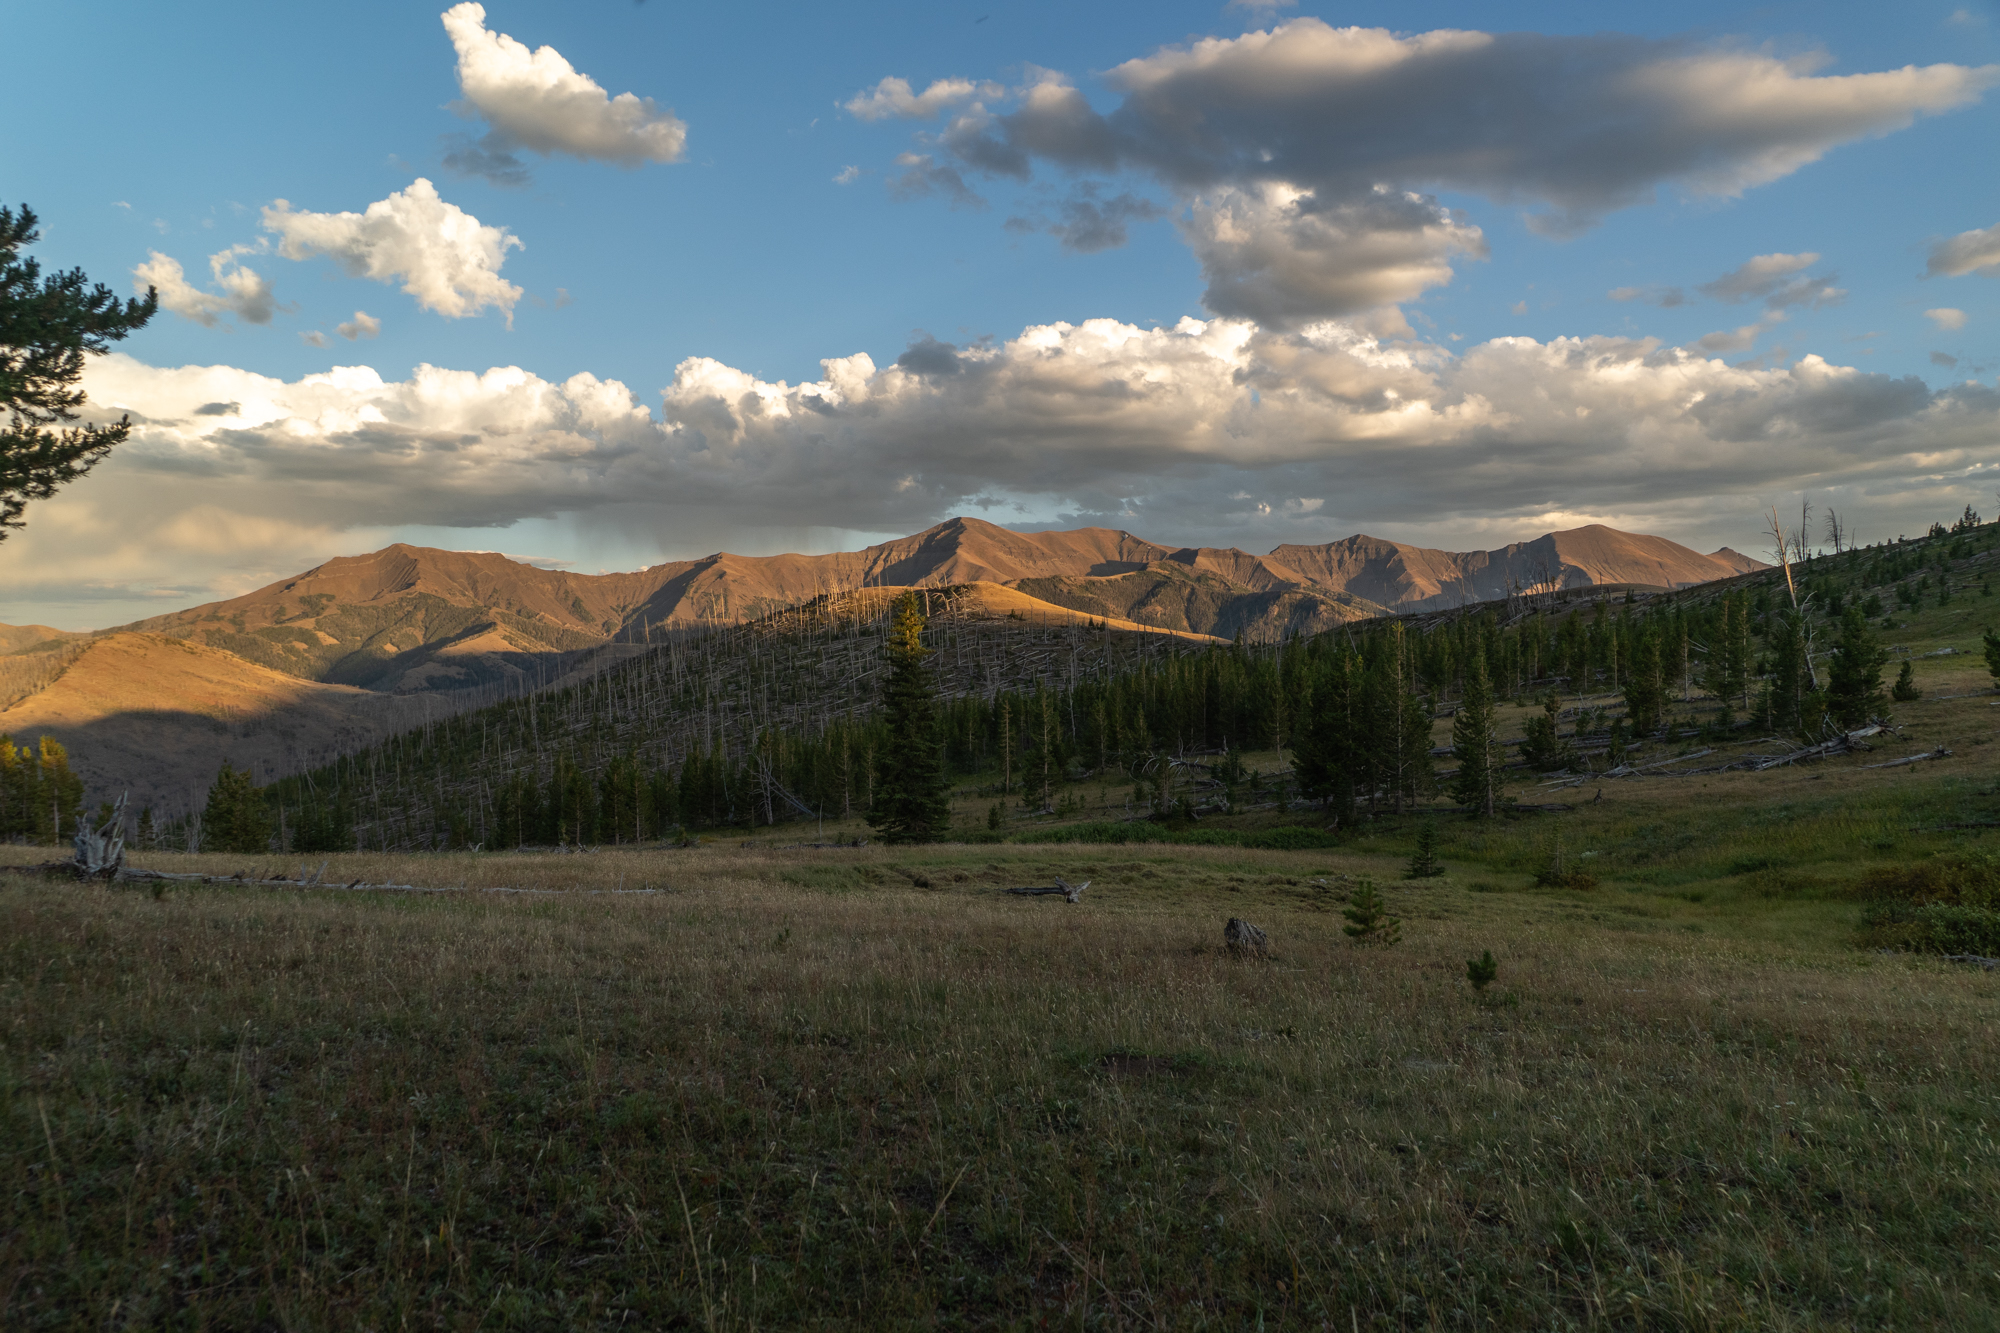
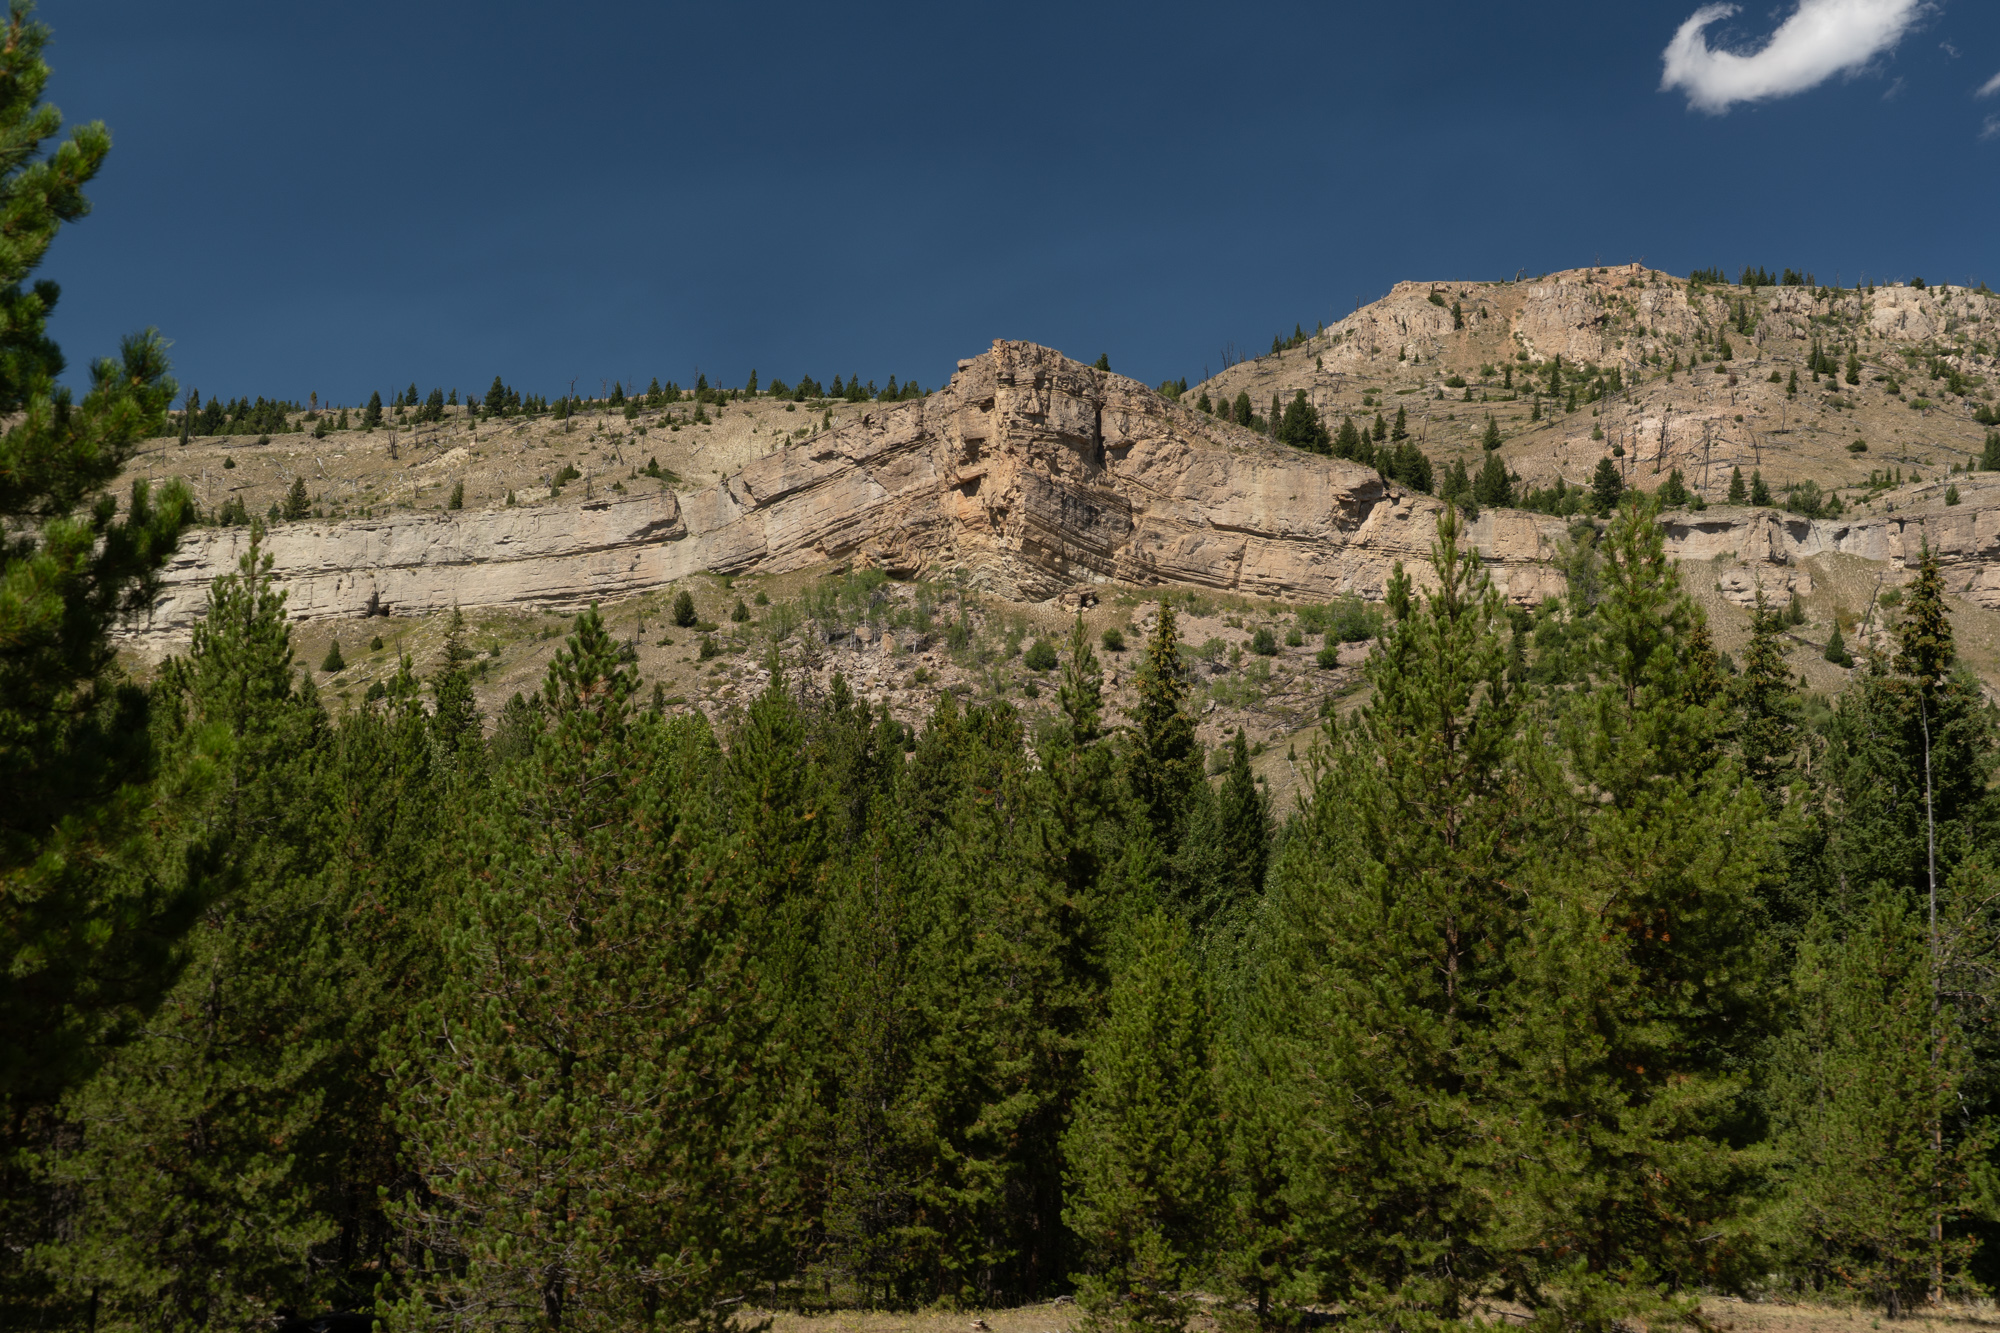
The scenery on the ridge is incredible. The ridge also serves as the boundary for Yellowstone National Park, so everything to your west is in the park. It might not look like much on the map but there is a lot of climbing involved on this ridge hike. Don't expect to go very fast up there, even though the terrain itself is mostly grassy. Near the peaks it can get a little rocky.
You'll find petrified wood and other cool rocks coming out of the ground! You'll want to make it to Canoe Lake to set up camp, unless you are prepared for a dry camp.
Day 3: 11.5 miles
Summary: The trickiest part of the hike is at the end of the ridge section. Then you're back on a well-maintained trail the rest of the way. Definitely camp at Frenchies Camp.
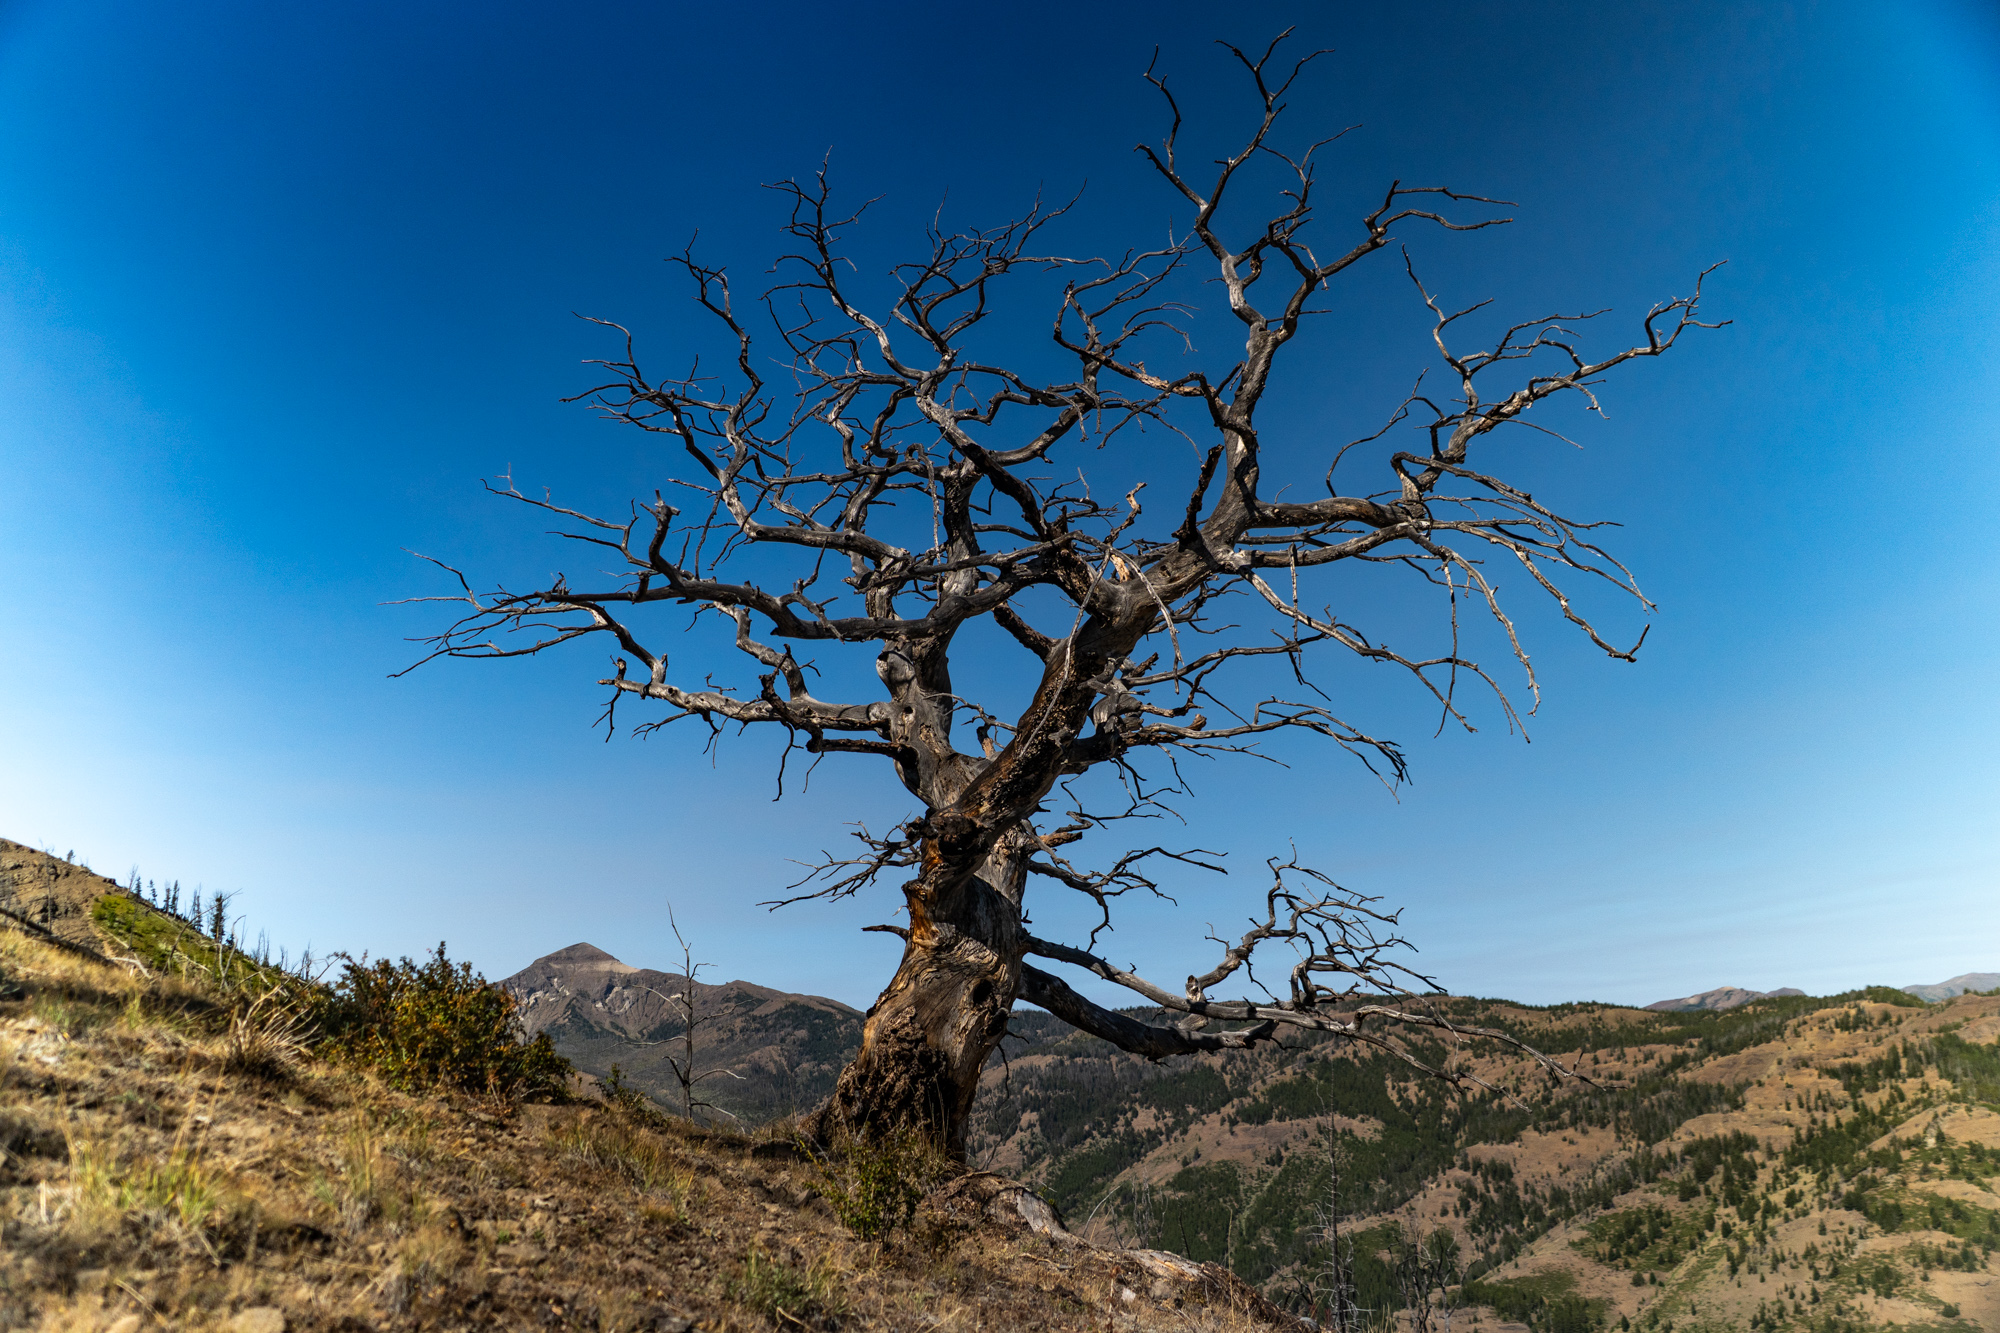
Continue along the ridge.When you get to the unnamed peak just before Boot Jack Pass be very careful in your route finding. Getting down from that peak to the pass is very steep and loose. The way that I went was probably not the best way. The map pack includes a very specific route down from the peak. I haven't tested that way down, but it looks like it will be better than the way I went. Either way it will be challenging, so take your time.
Once at the pass, the hiking gets very easy again. Follow the Papoose Ridge Trail. After about 6.7 miles you'll see a sign for Frenchies Camp. You definitely want to camp there. It turned out to be one of my top favorite campsites ever. The view is incredible, there's an established fire pit, bear hang, and nearby spring. It has everything you need for a comfortable and scenic backcountry camp.
Day 4: 11. miles
Summary: A casual and pleasant hike down to the trailhead.
The rest of the hike is fairly uneventful but in a good way. The hiking is mostly downhill, the scenery is good, the trail is in good shape and it's just really nice. You'll find water again as you get to the drainage. Then you're back at the trailhead.
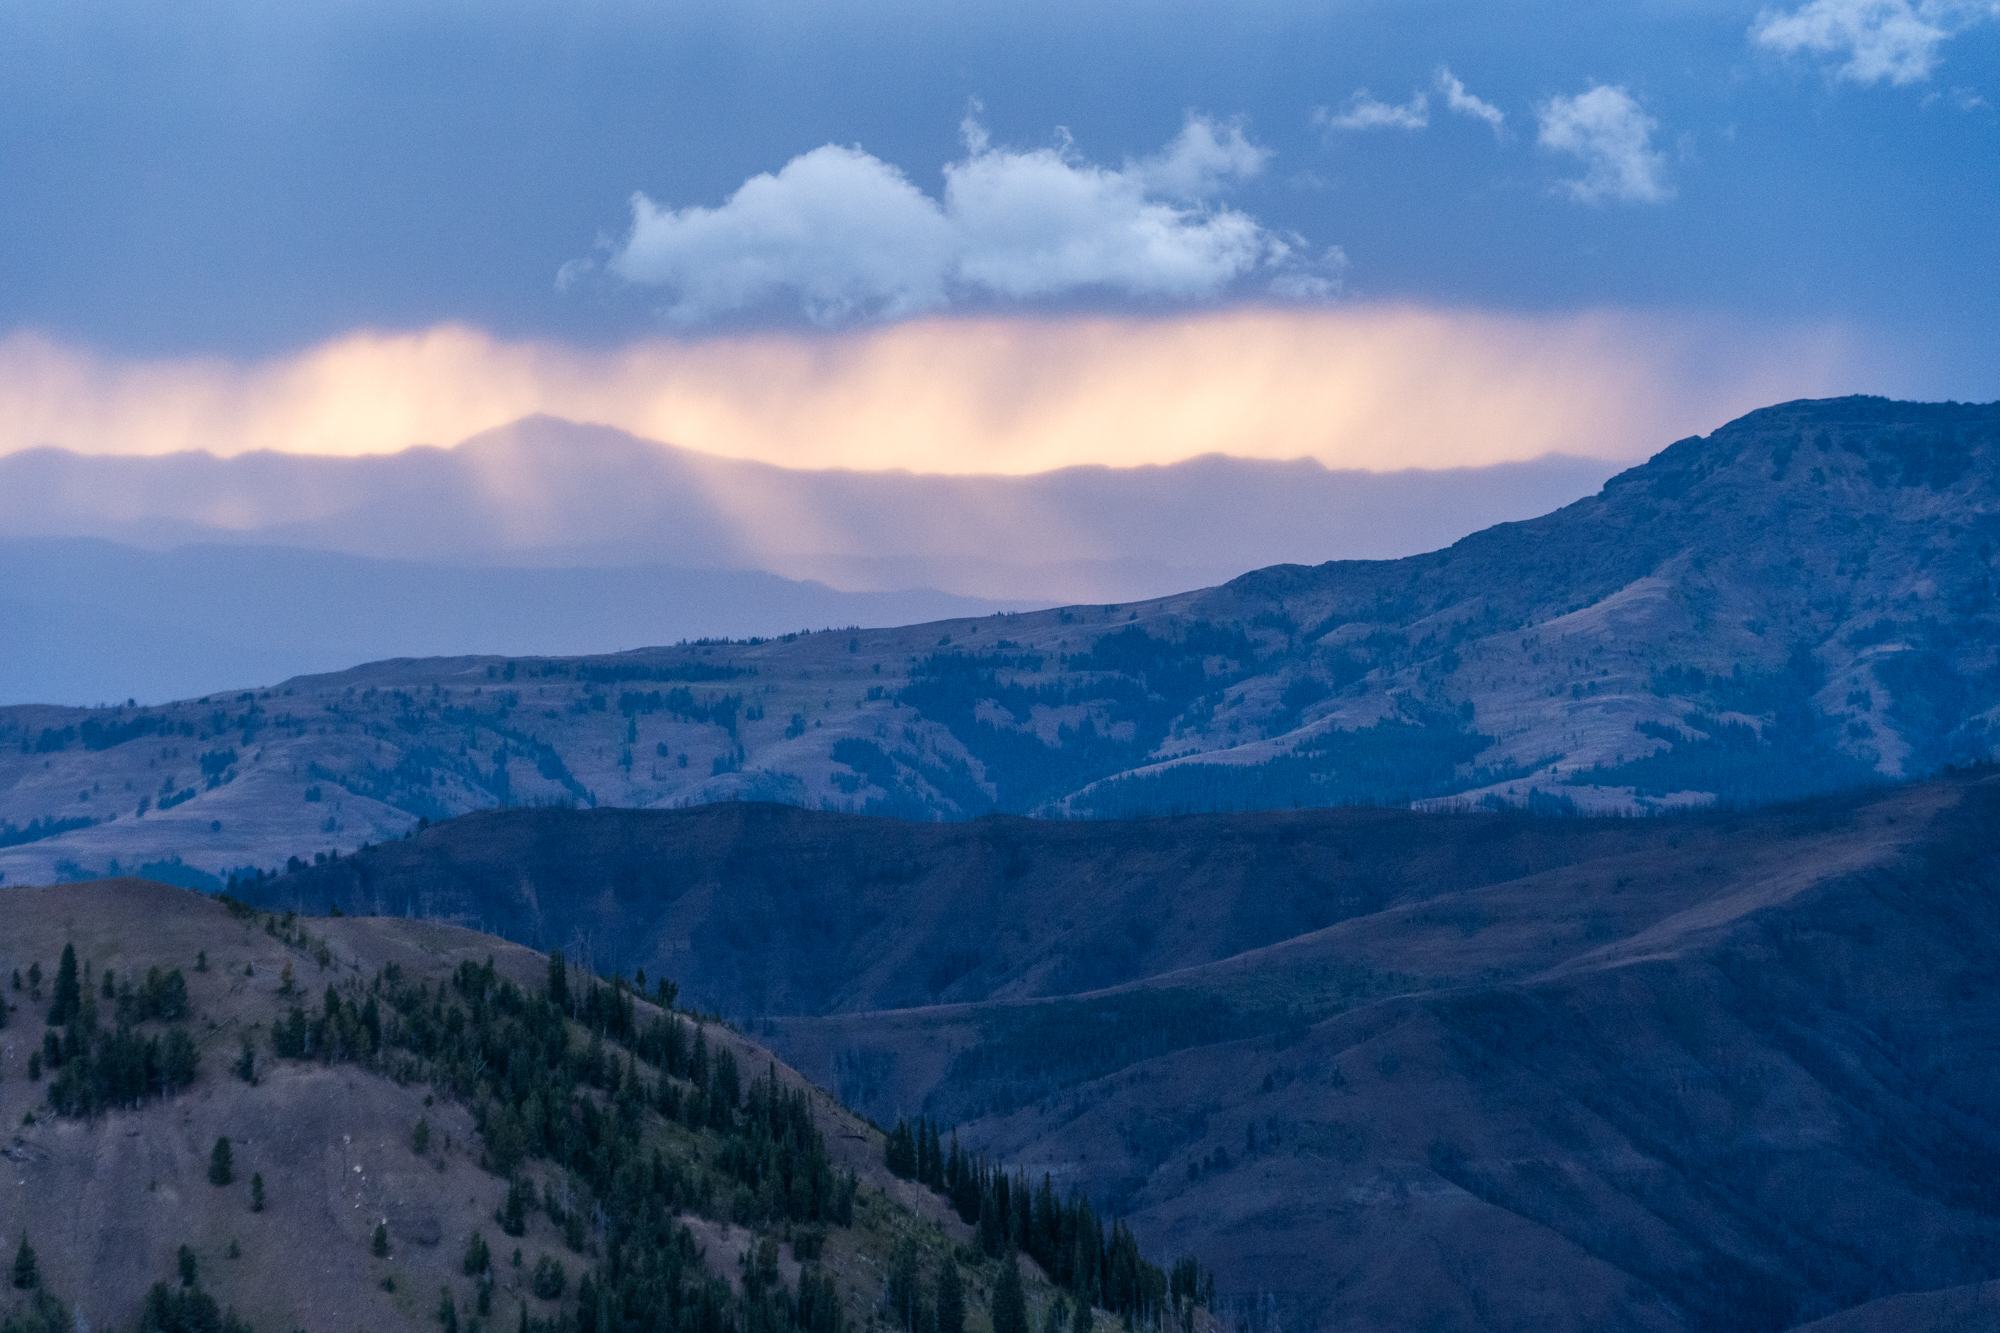
Best time to hike
Just like any other ridge route, you’ll be exposed to the elements for at least 15 miles on this hike. Later in the summer is better to avoid the worst of the thunderstorms. With that being said, you could find a good weather window to hike this route from early summer through early fall.
What to bring
The gear that you would bring on any 3-4 day backpacking trip in the mountains will suffice for this trip. There are some longer water carries, so be prepared for that. This is intense bear country so be prepared to hang your food, carry bear spray, and use safe bear practices.